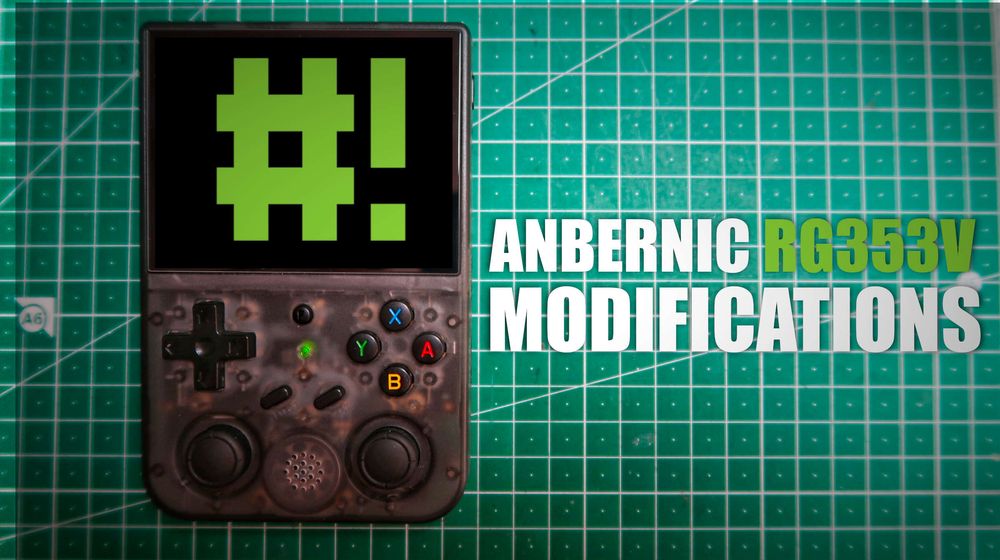
Anbernic RG353V Disassembly and Modifications
Synopsis
So I ended up getting the Anbernic RG535V handheld game console. In this article we will completely disassemble the device and make a few small modifications to improve performance and optimize gameplay.
Disassembly
The modifications discussed in this article will require you to disassemble your device. Your device is YOUR device. If you break it, don't blame me.
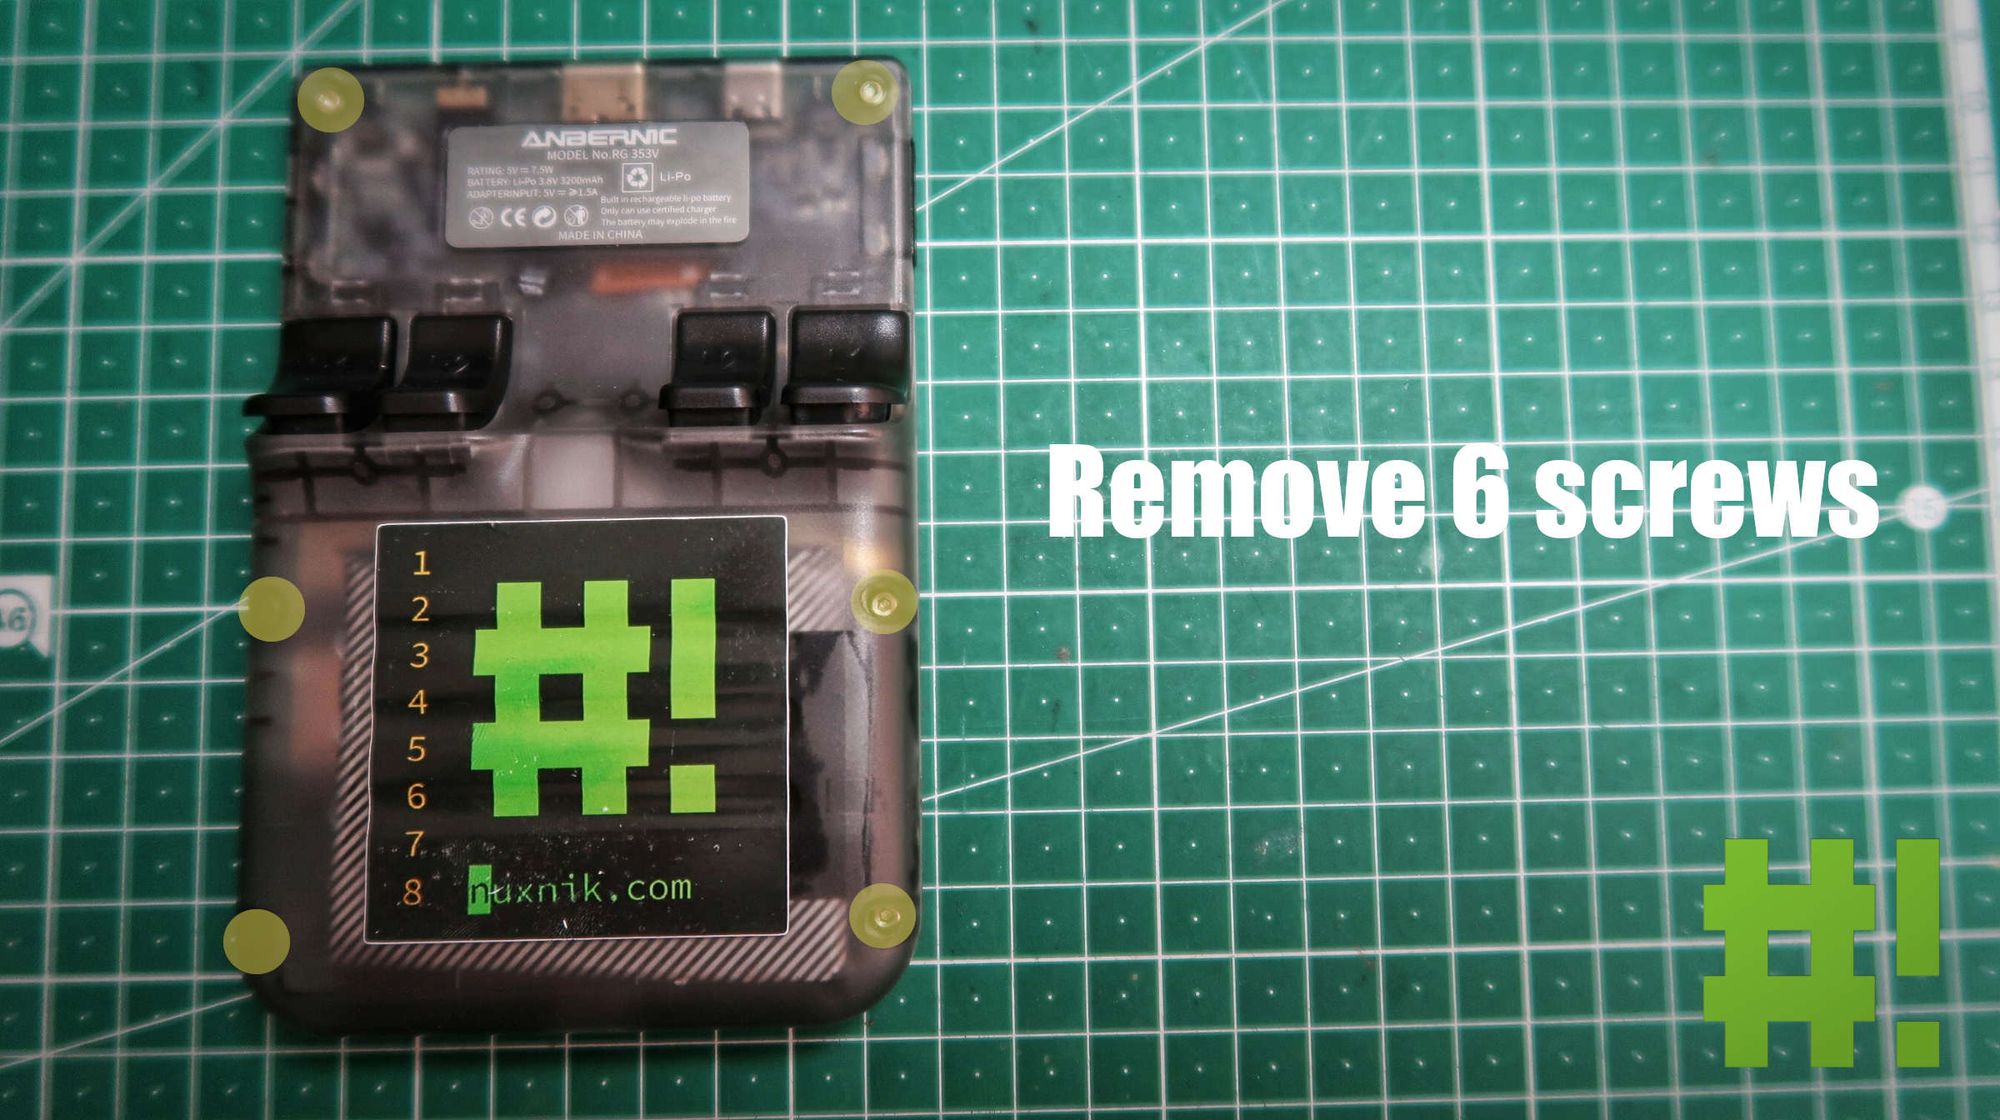
Firstly, let's remove the outer shell. Turn it over and remove the 6 screws holding the shell together.
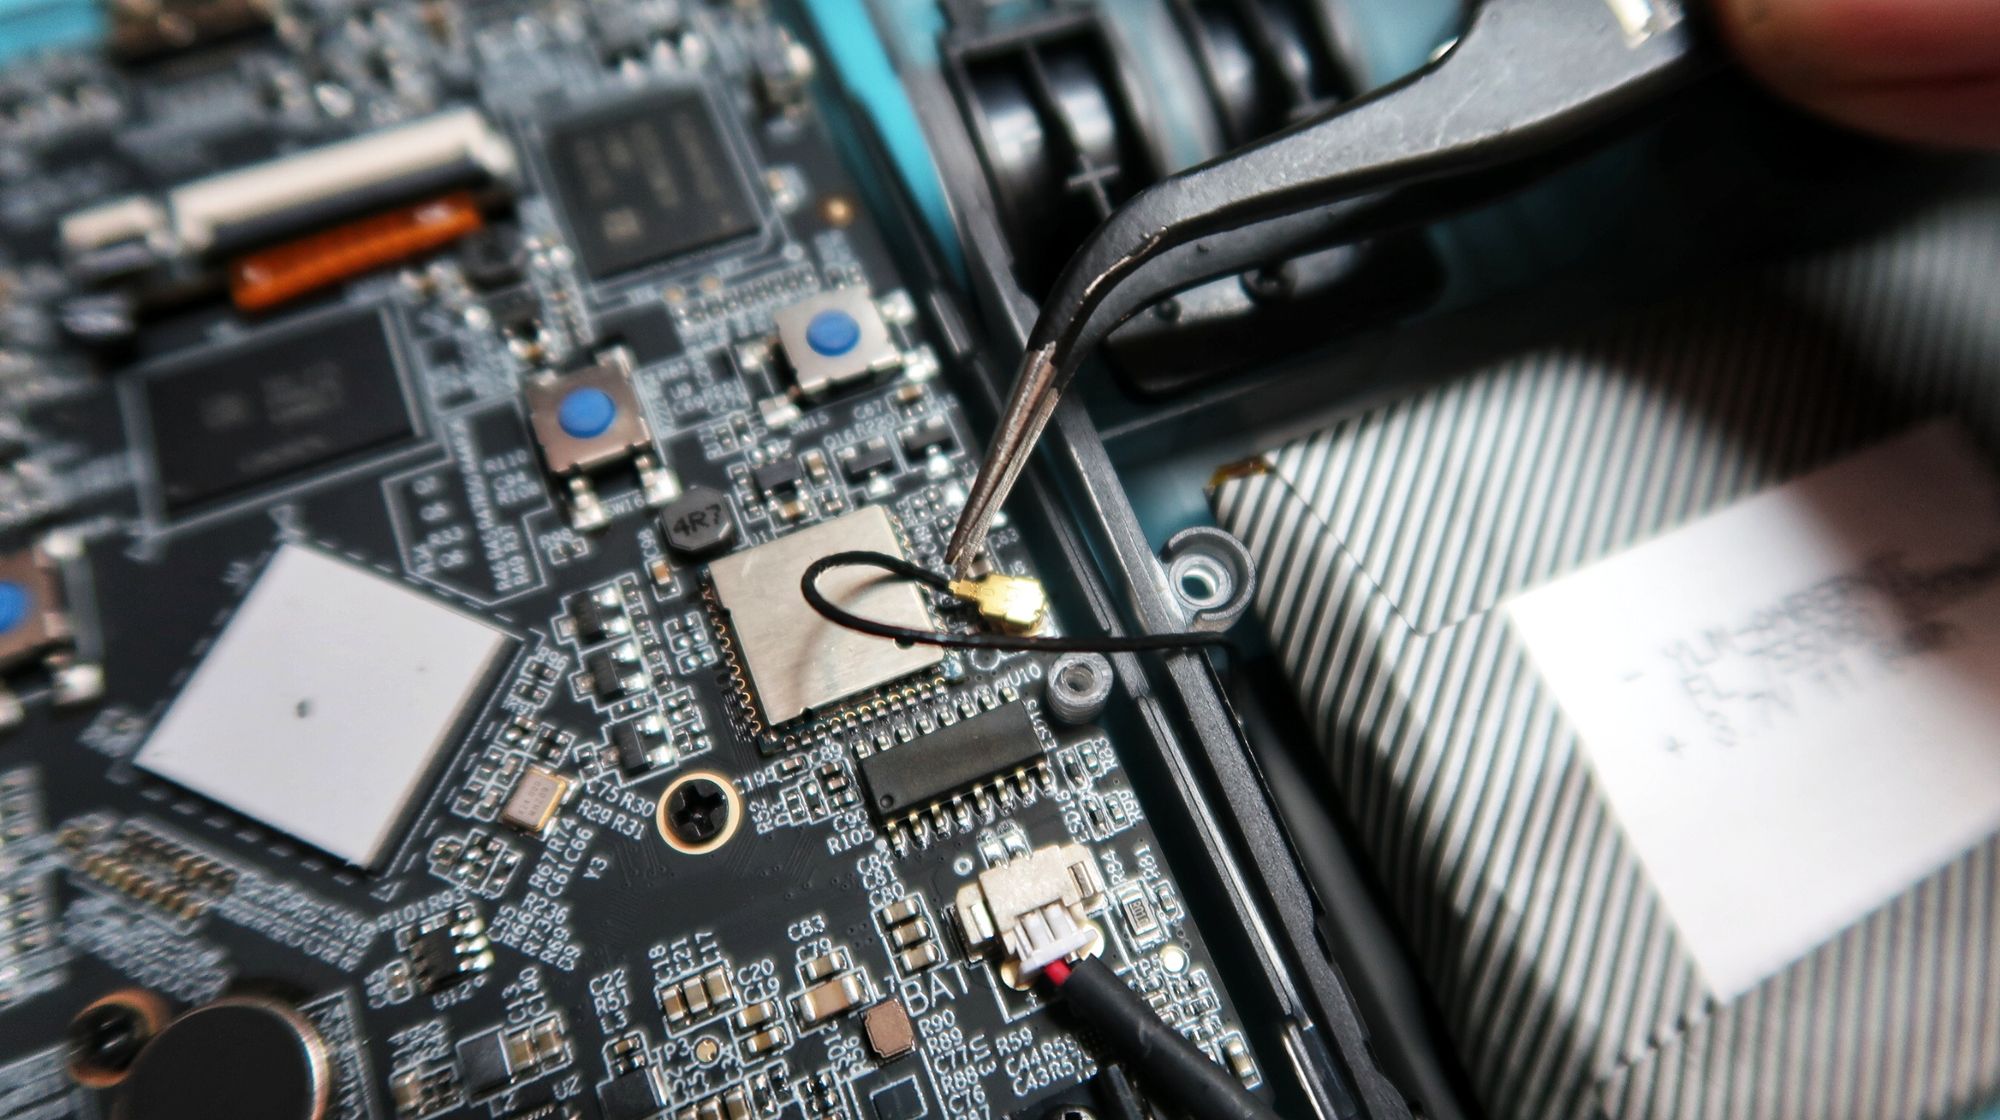
Pry open the outer shell with your fingernails or a plastic spudger and open the two sides to the right like a book. The back shell is still connected by the battery and the wifi antenna.
TIP: When disassembling a device, I like to keep the screws in the same order. I always start from the top left, move right and work my way down. I use a silicon mat with numbered screw slots to keep track of which screw is which. When reassembling, I reverse the process, starting at the bottom right, moving left and work my way up. That way, the same screws will fit into the same holes.
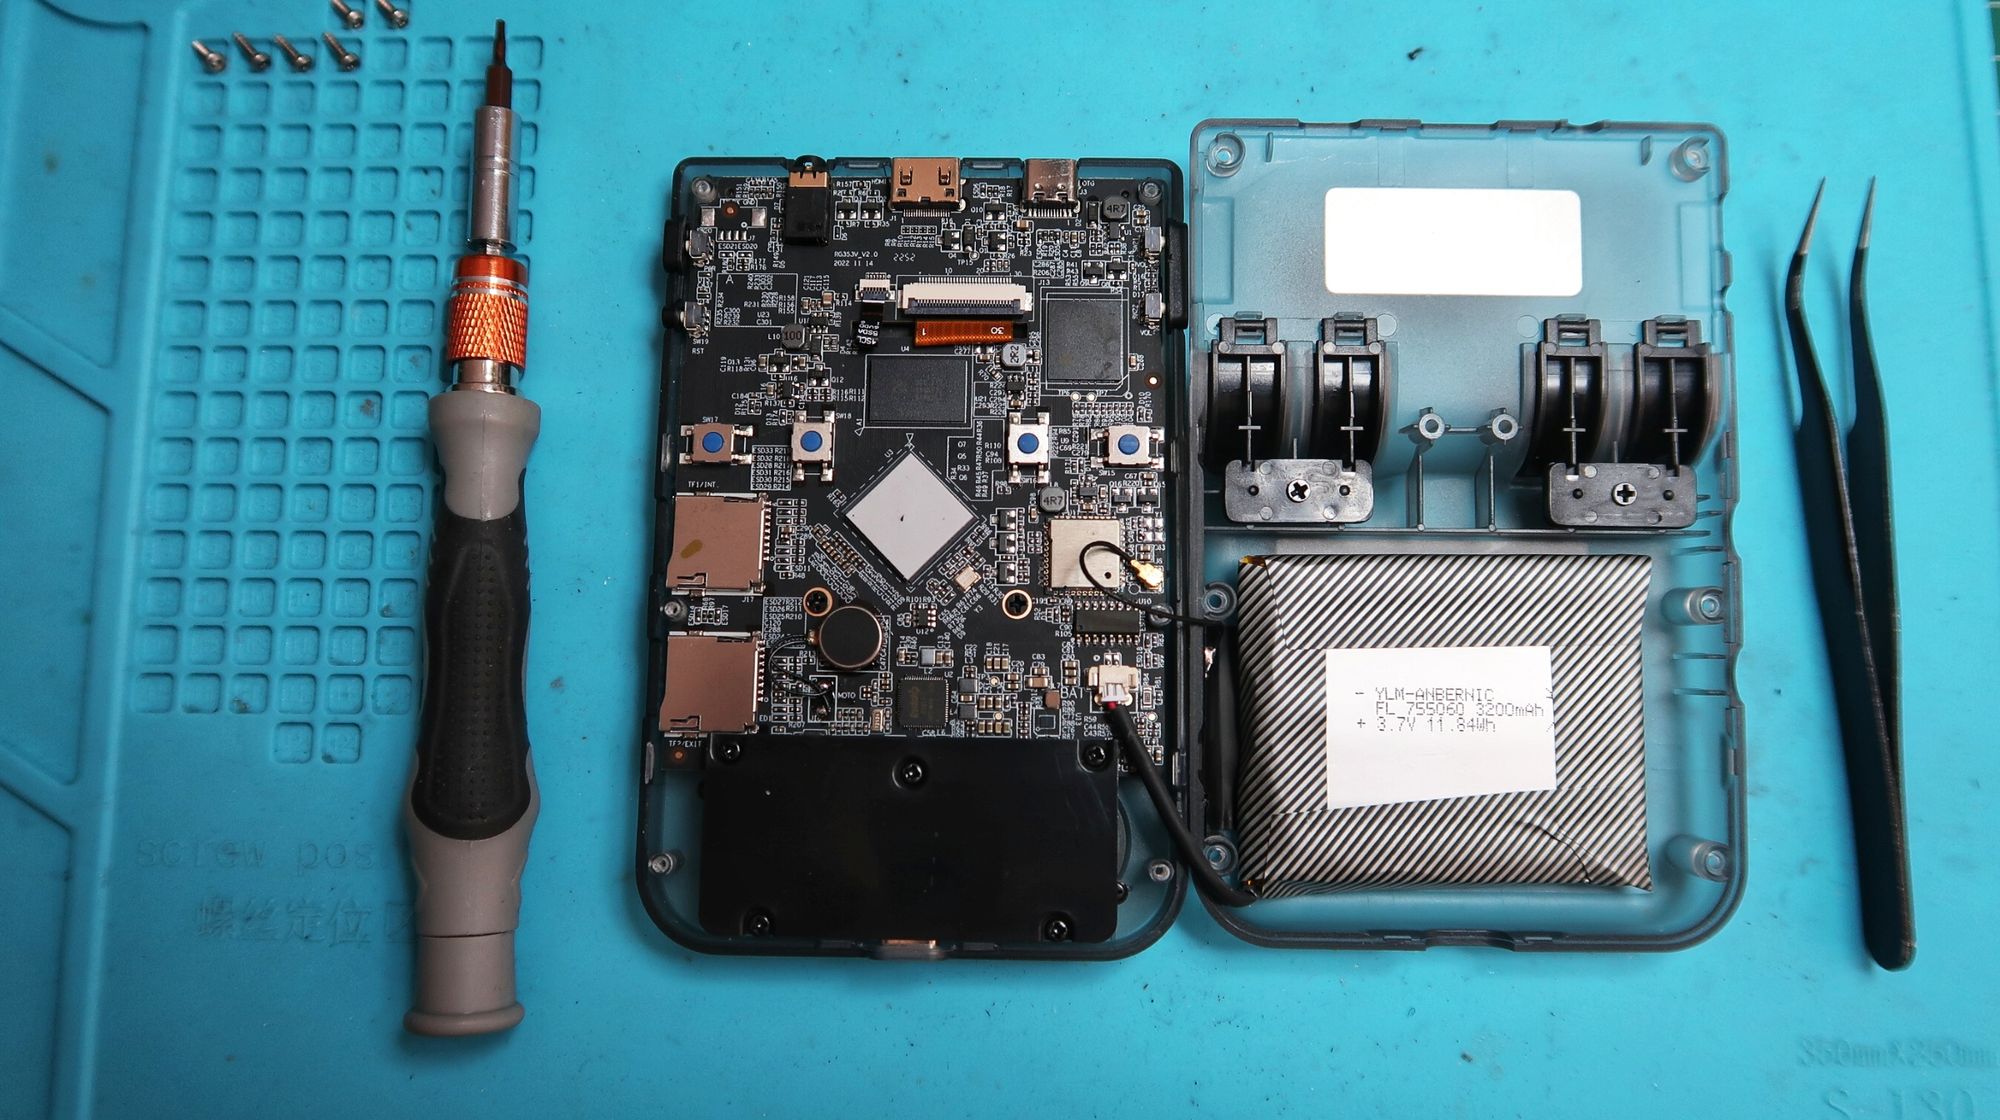
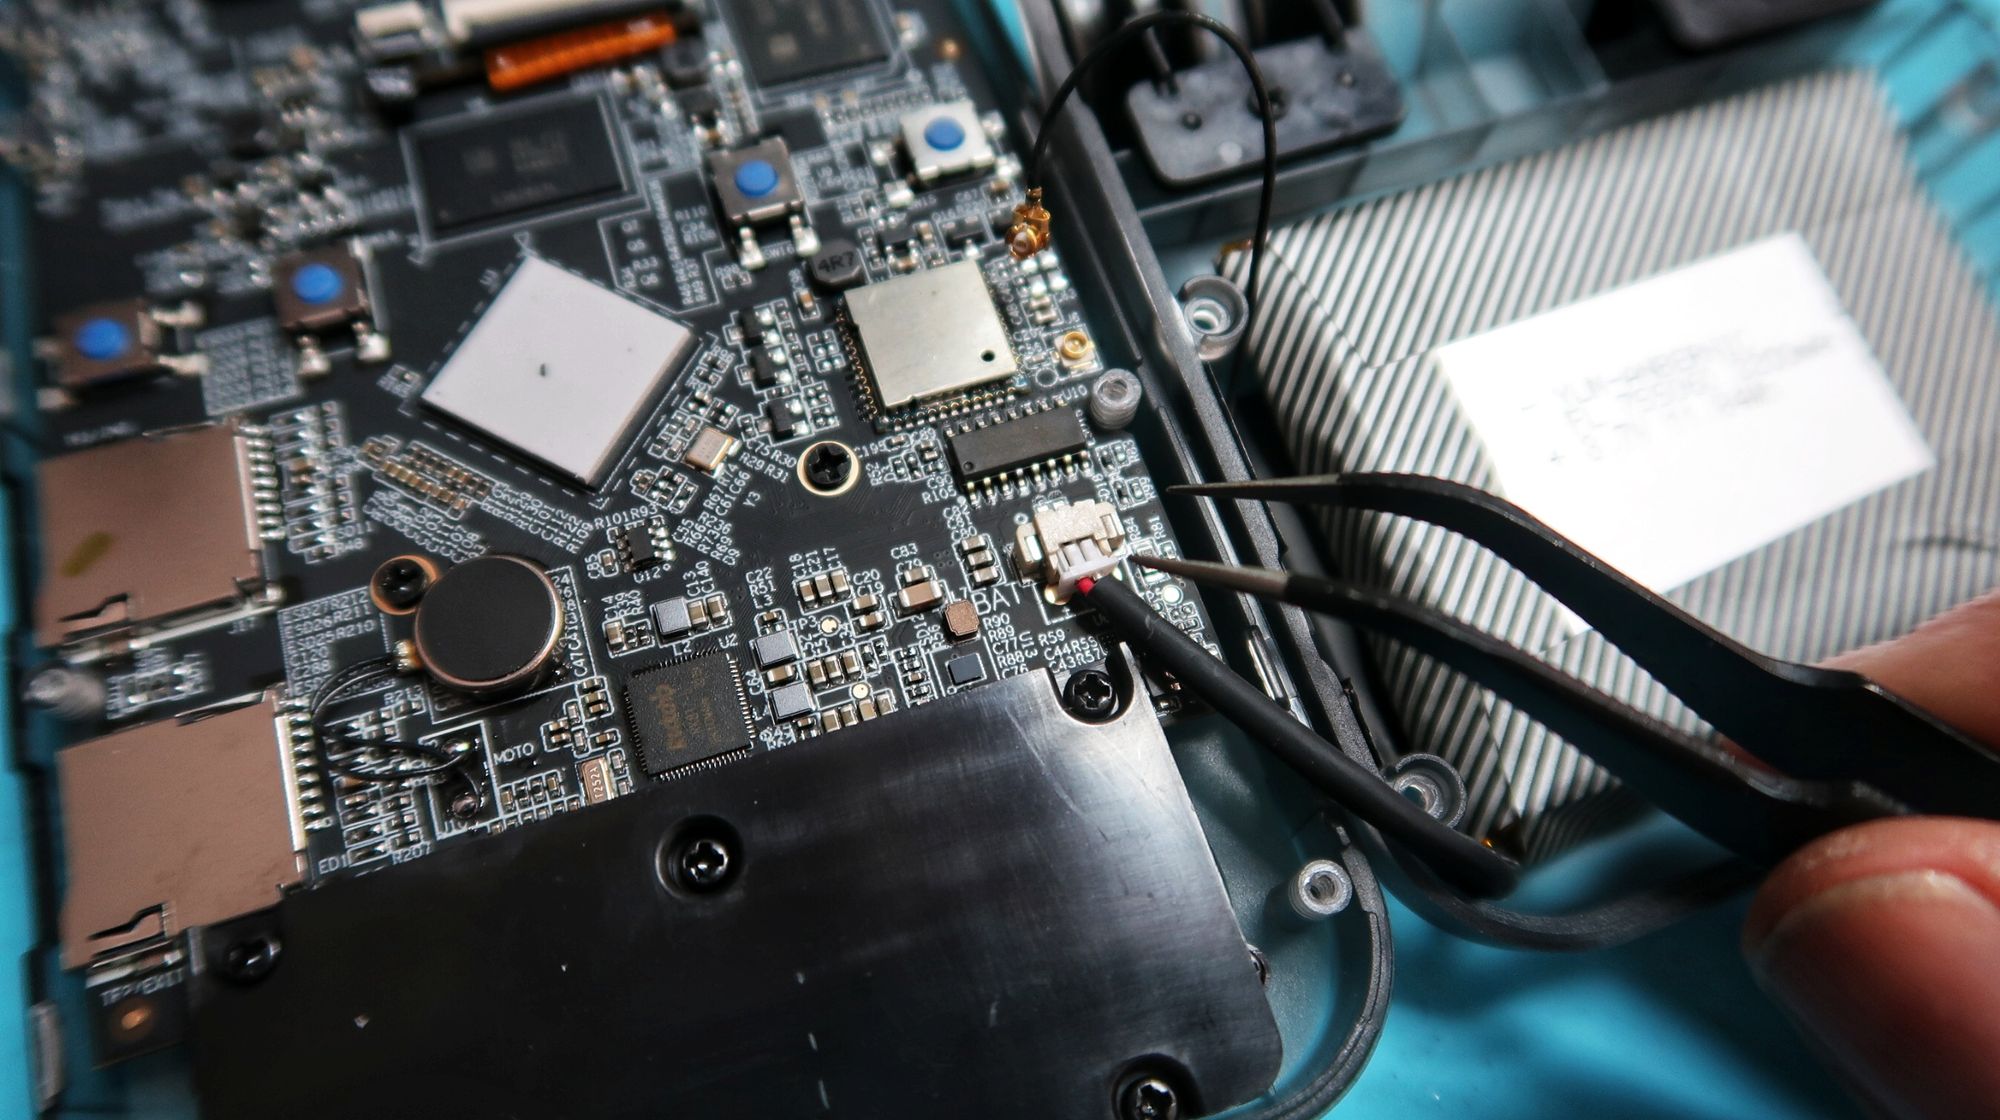
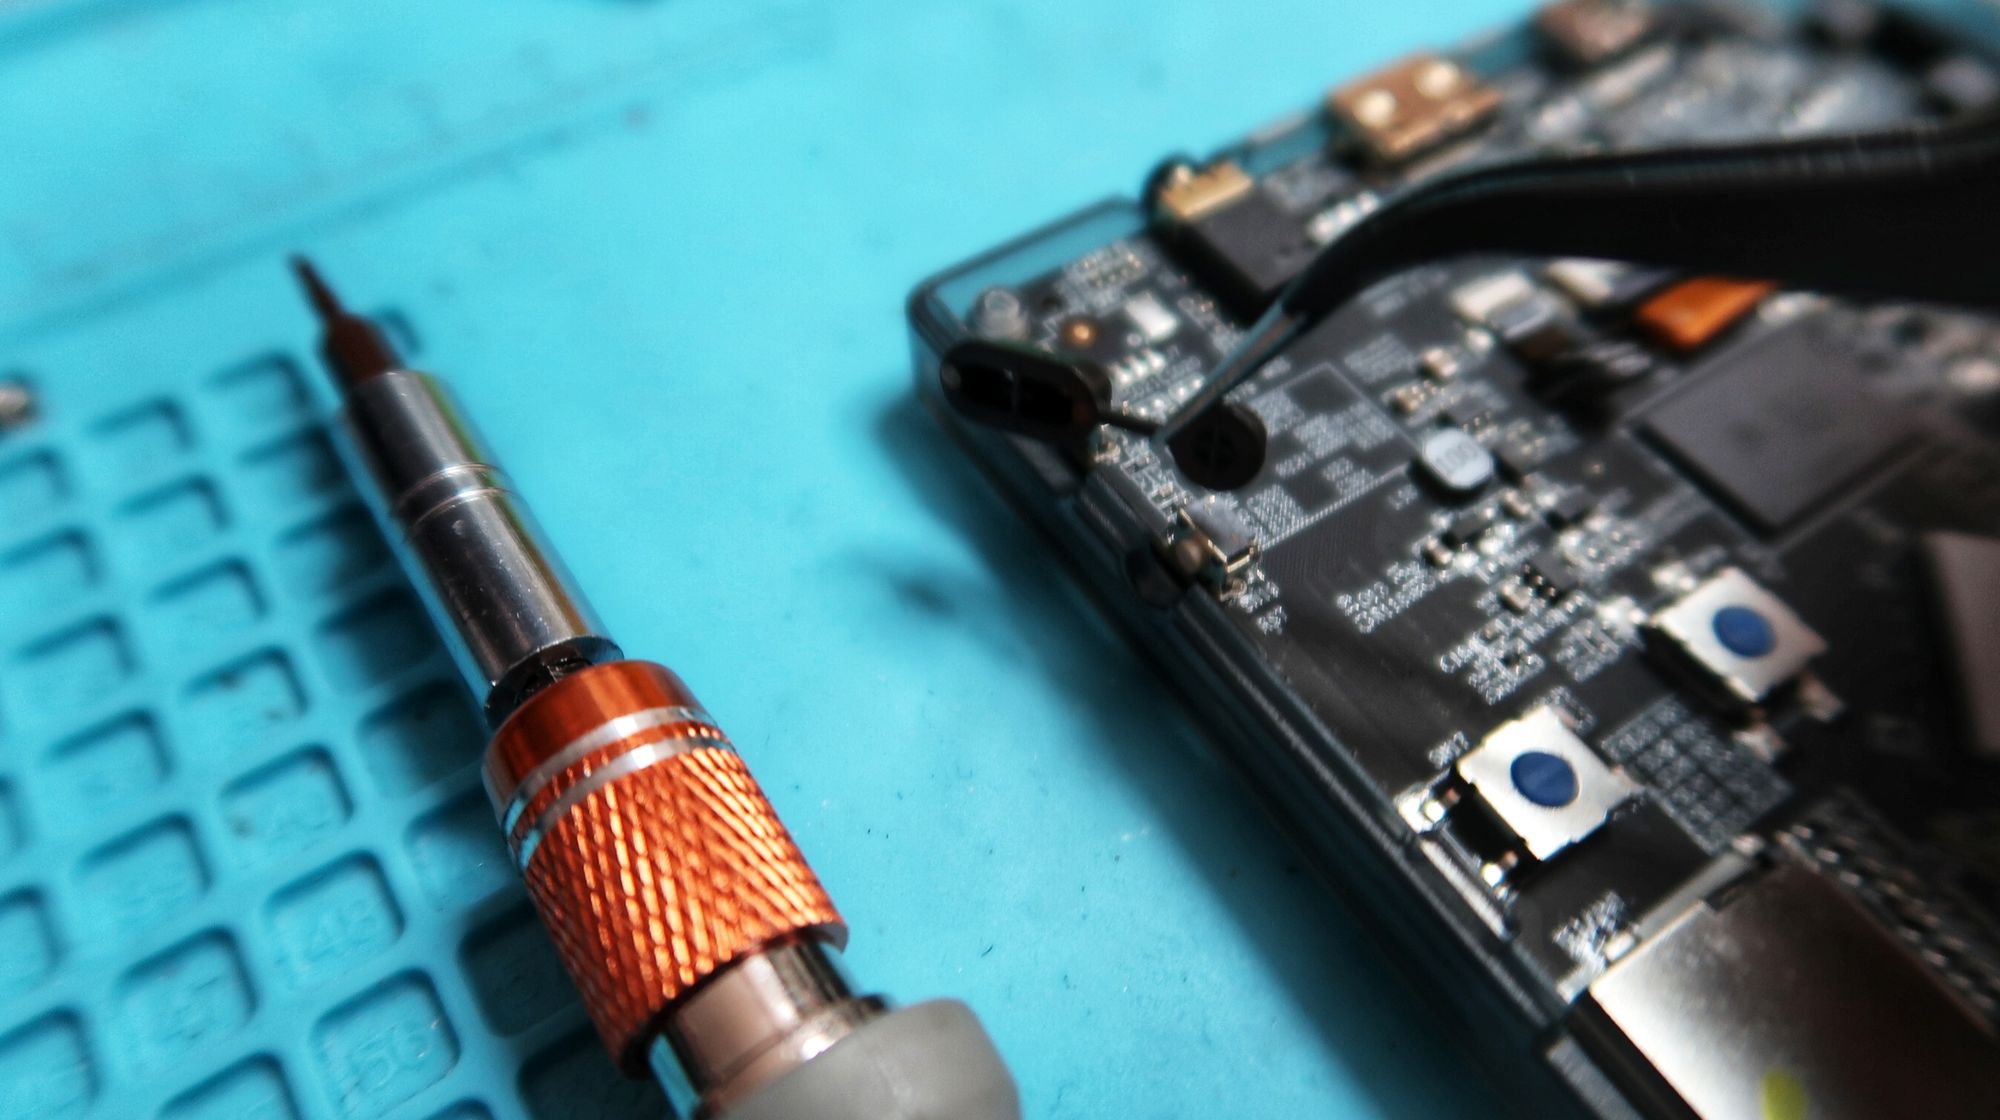
Now we can remove the wifi antenna and the battery. Use tweezers if you can, this will keep you from damaging the parts.
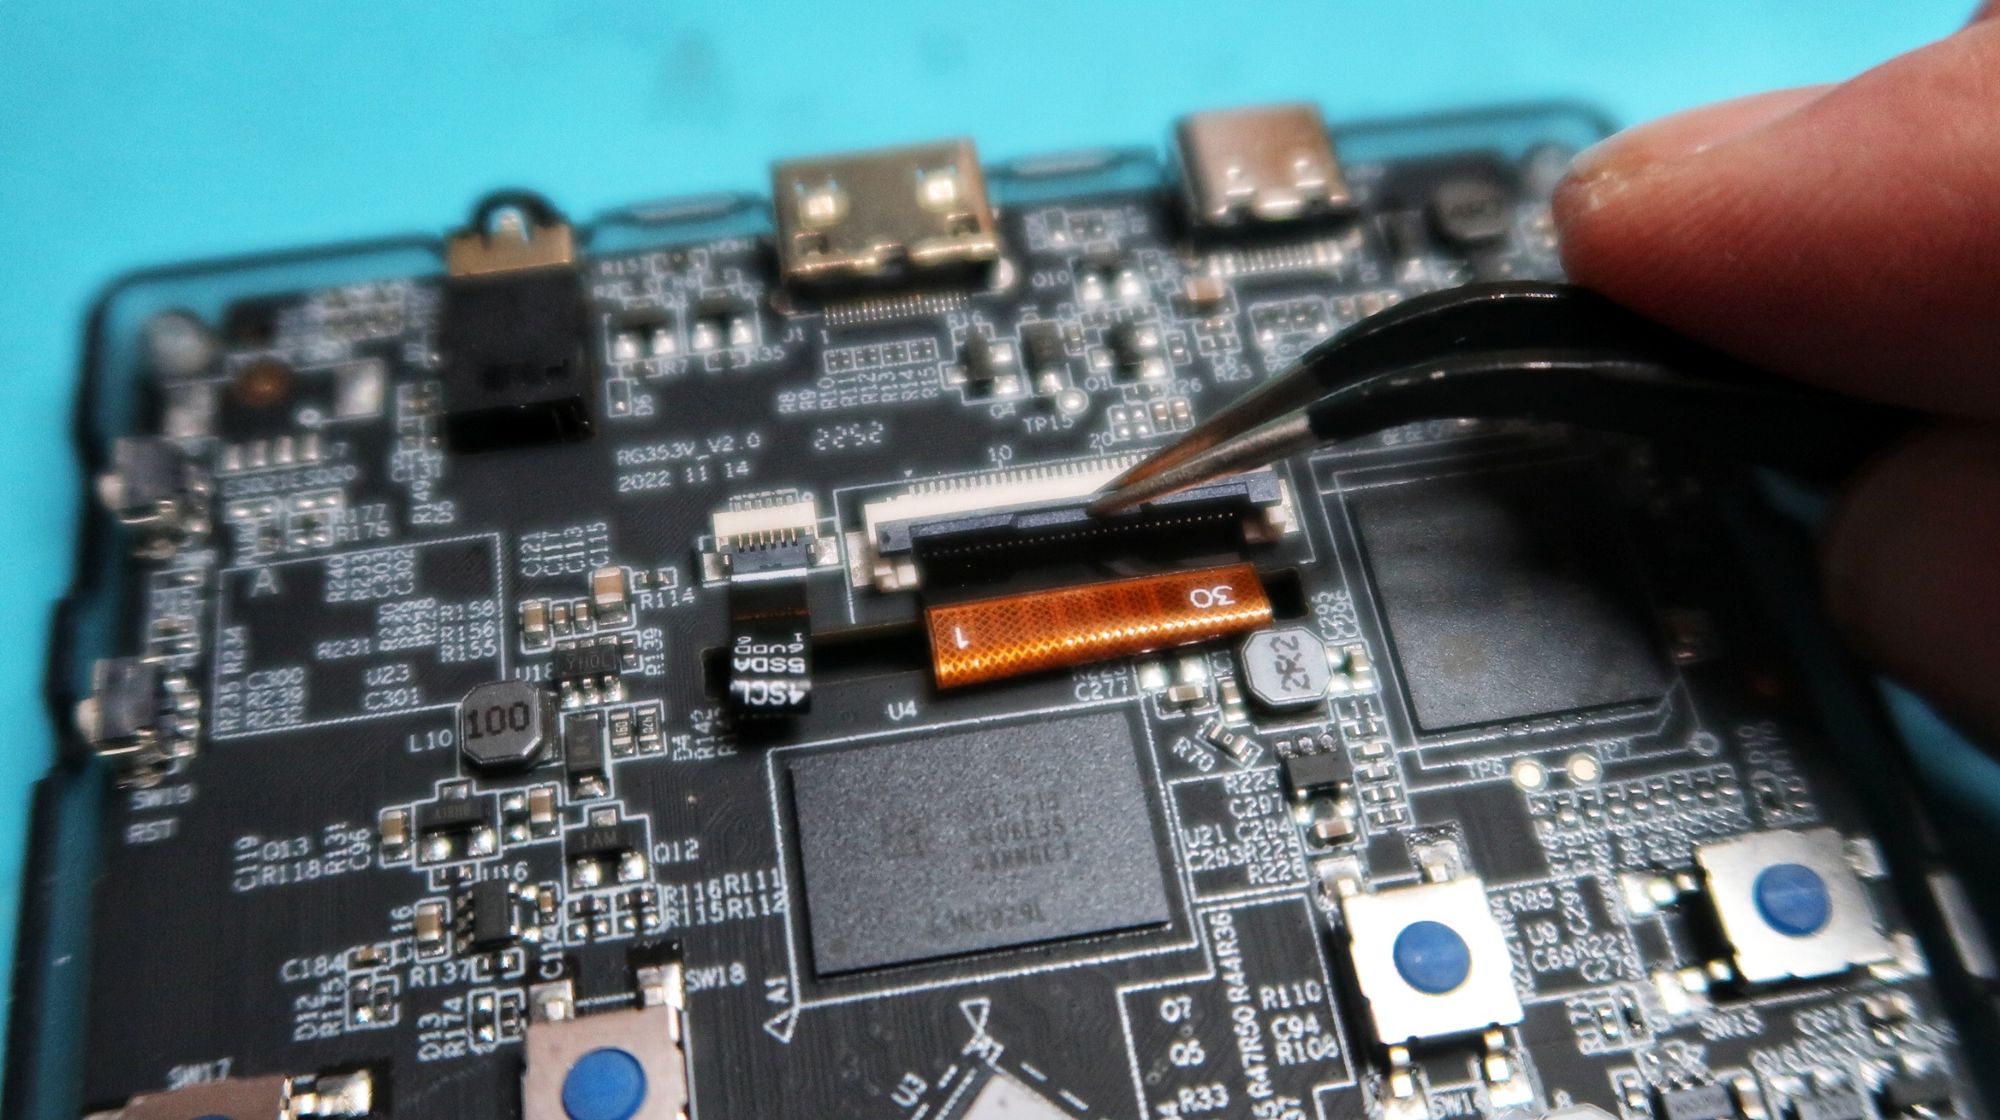
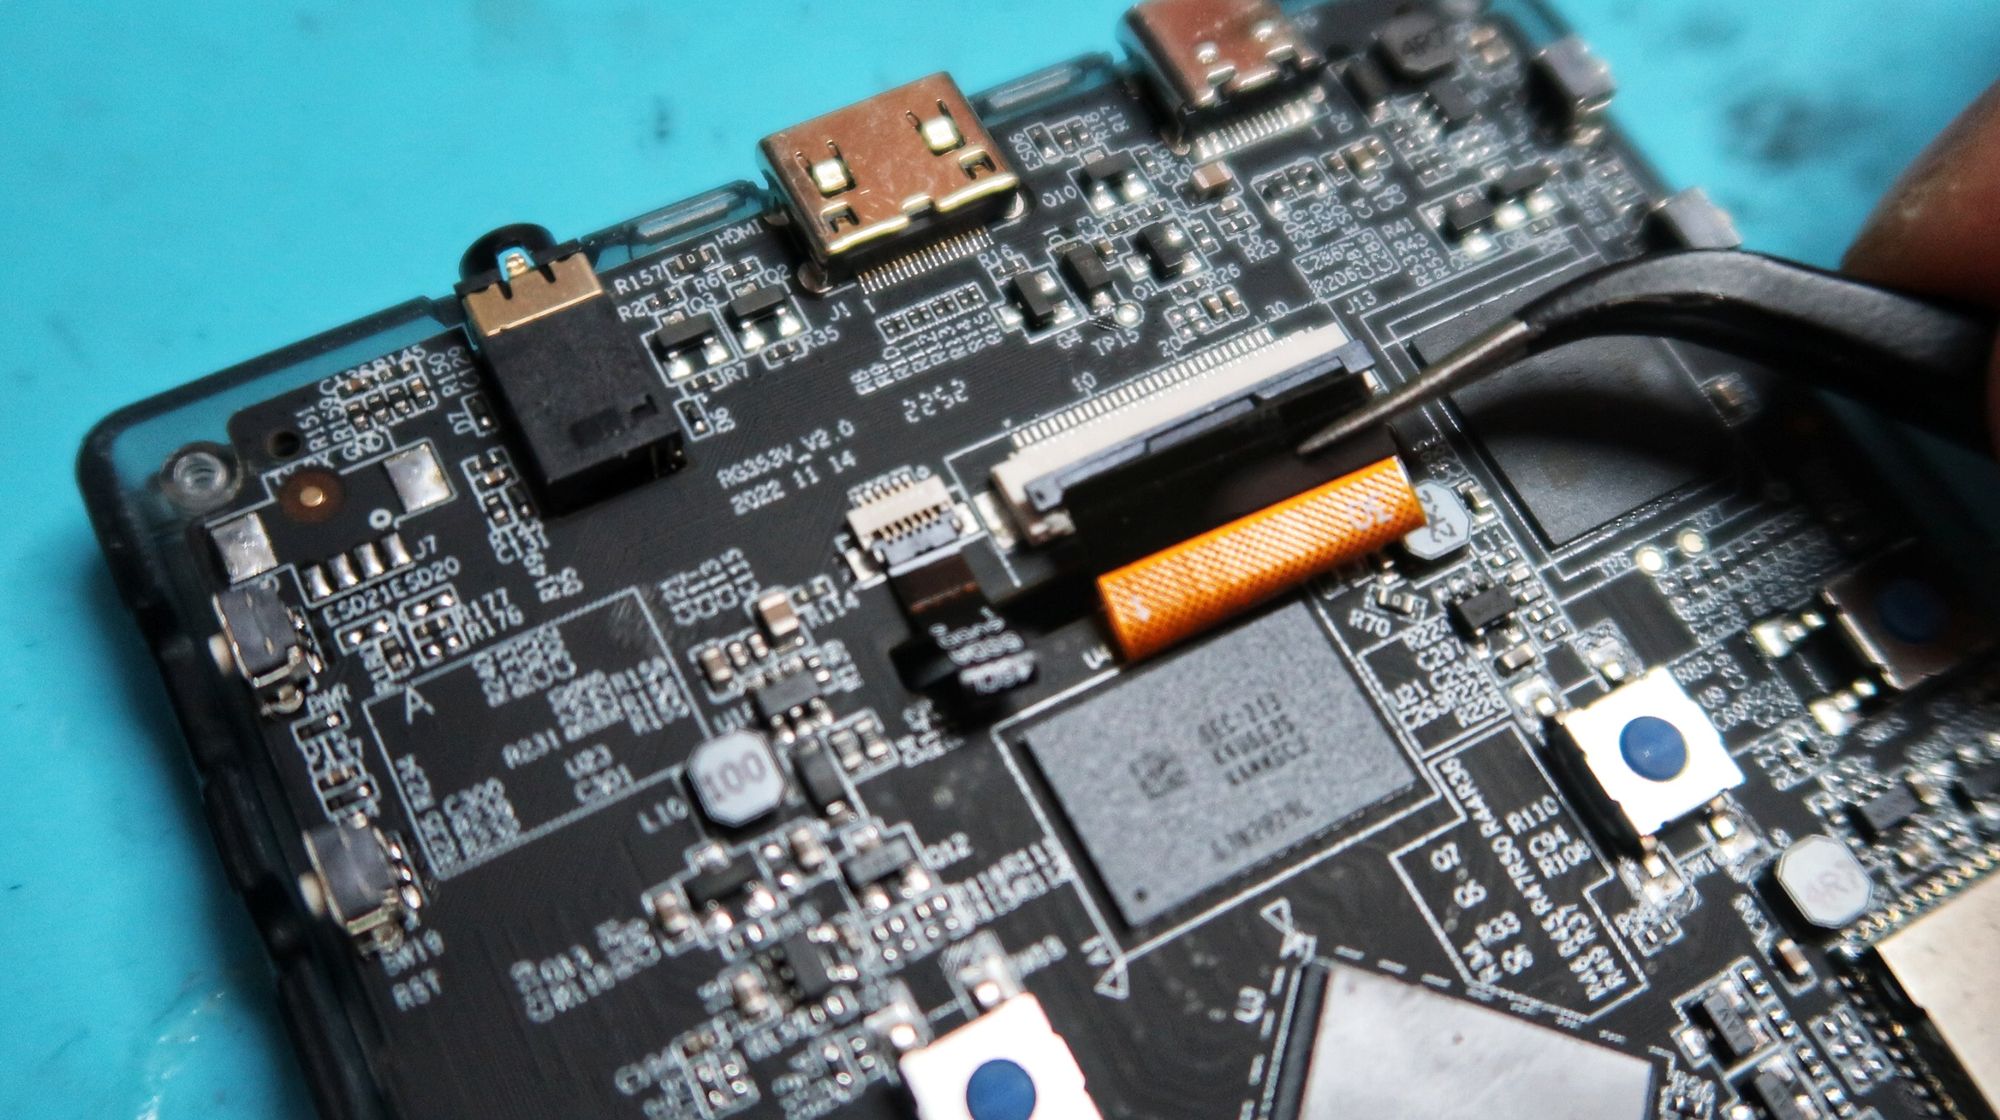
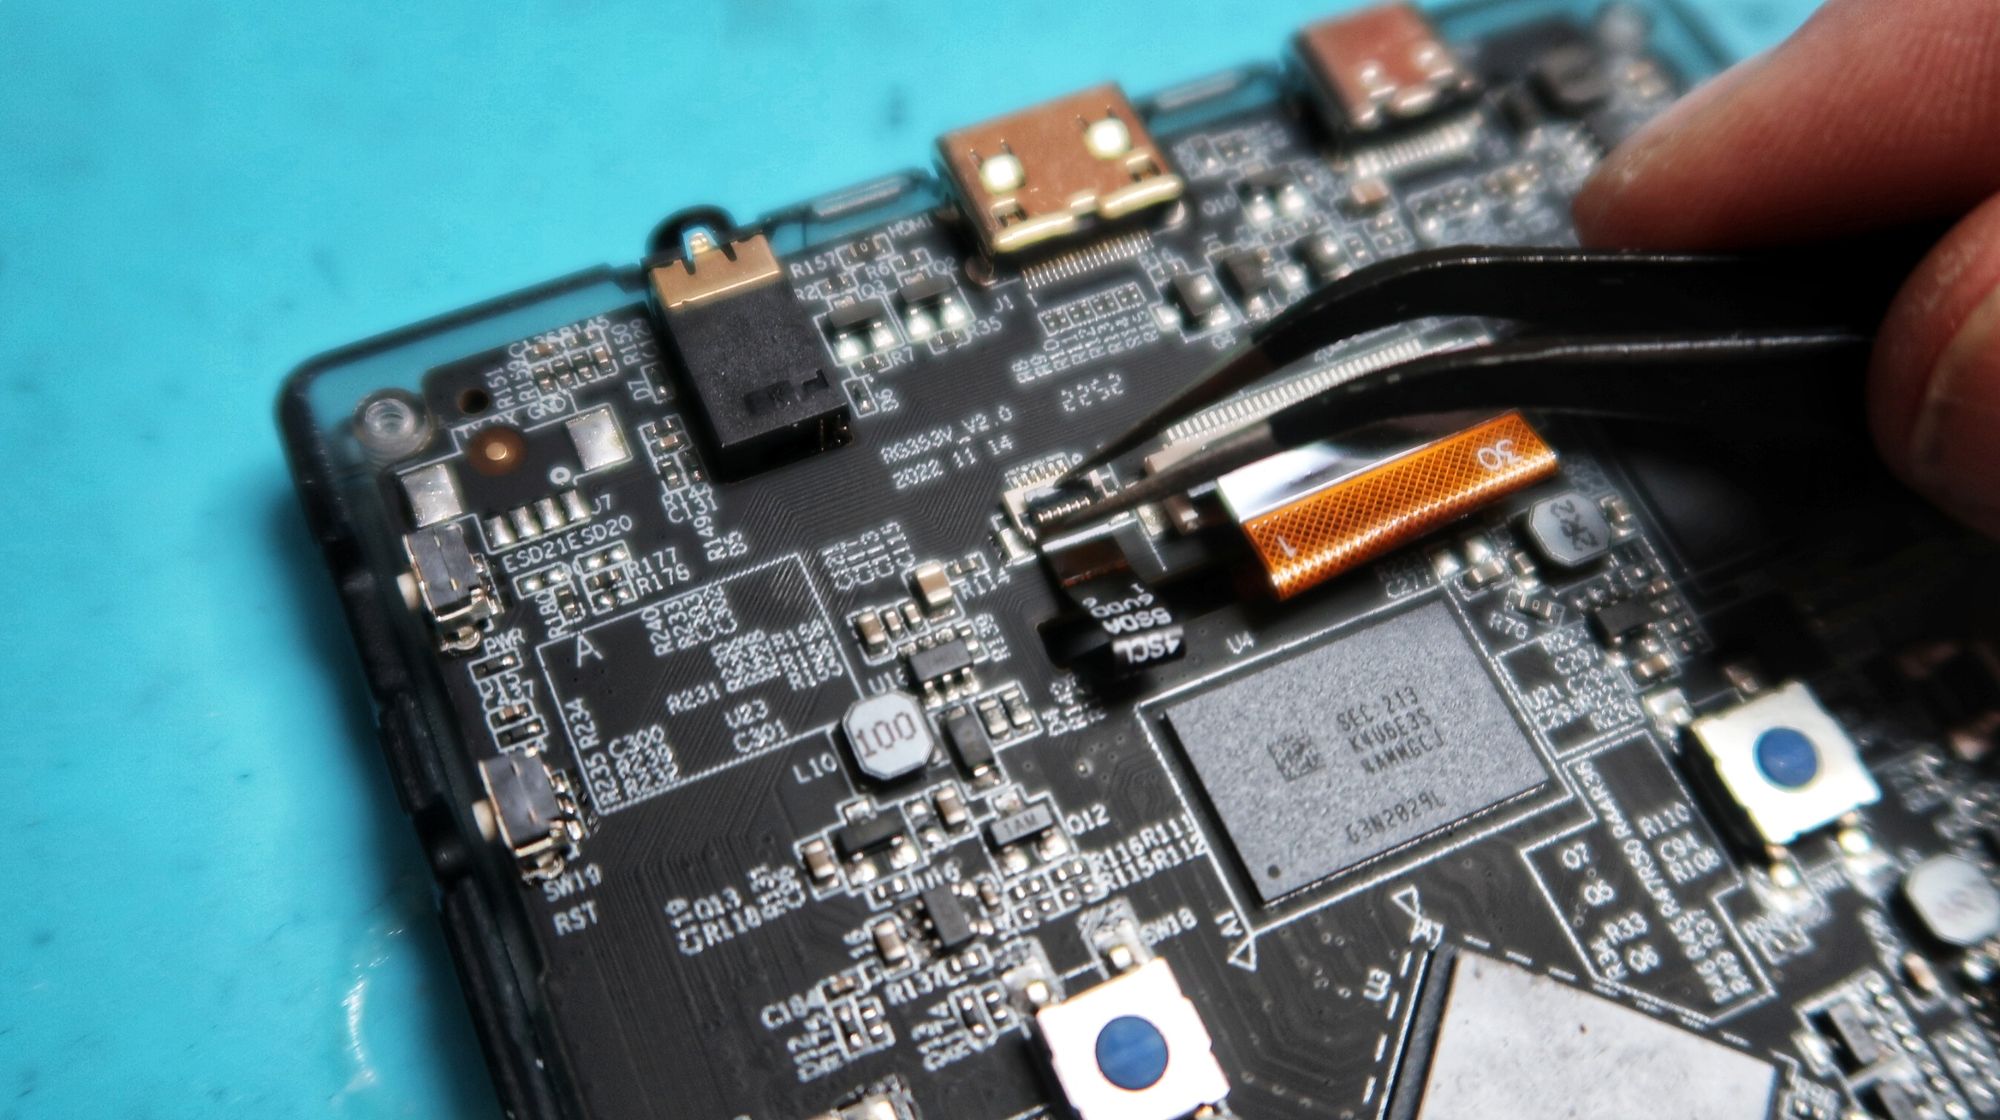
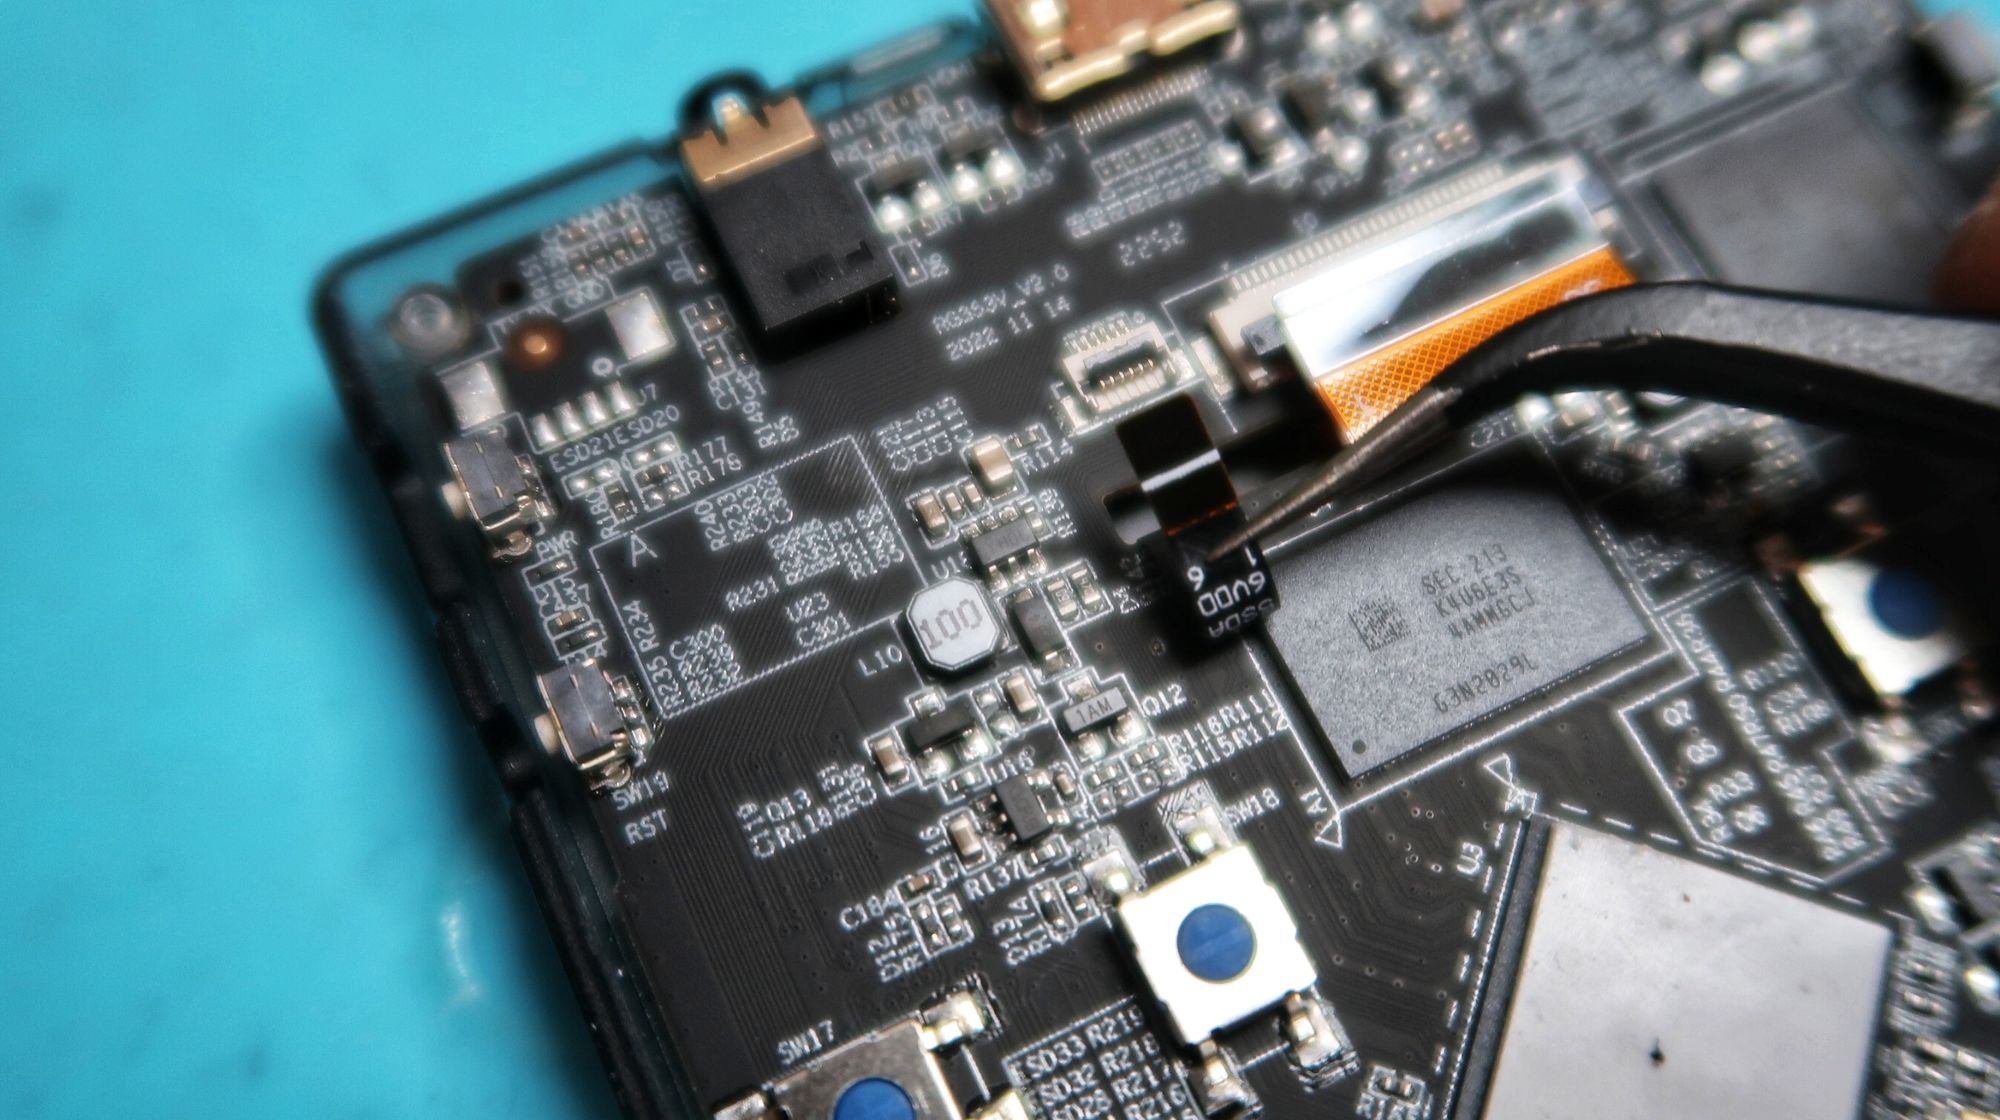
Next we will remove the ribbon cables for the display and touch panel. With some tweezers or your fingernail, flip the plastic clasp for both the display and the touch screen. Carefully and gently remove the ribbon cables by pulling down.
Remove the power and volume buttons and put them aside, preferably somewhere where you can find them again.
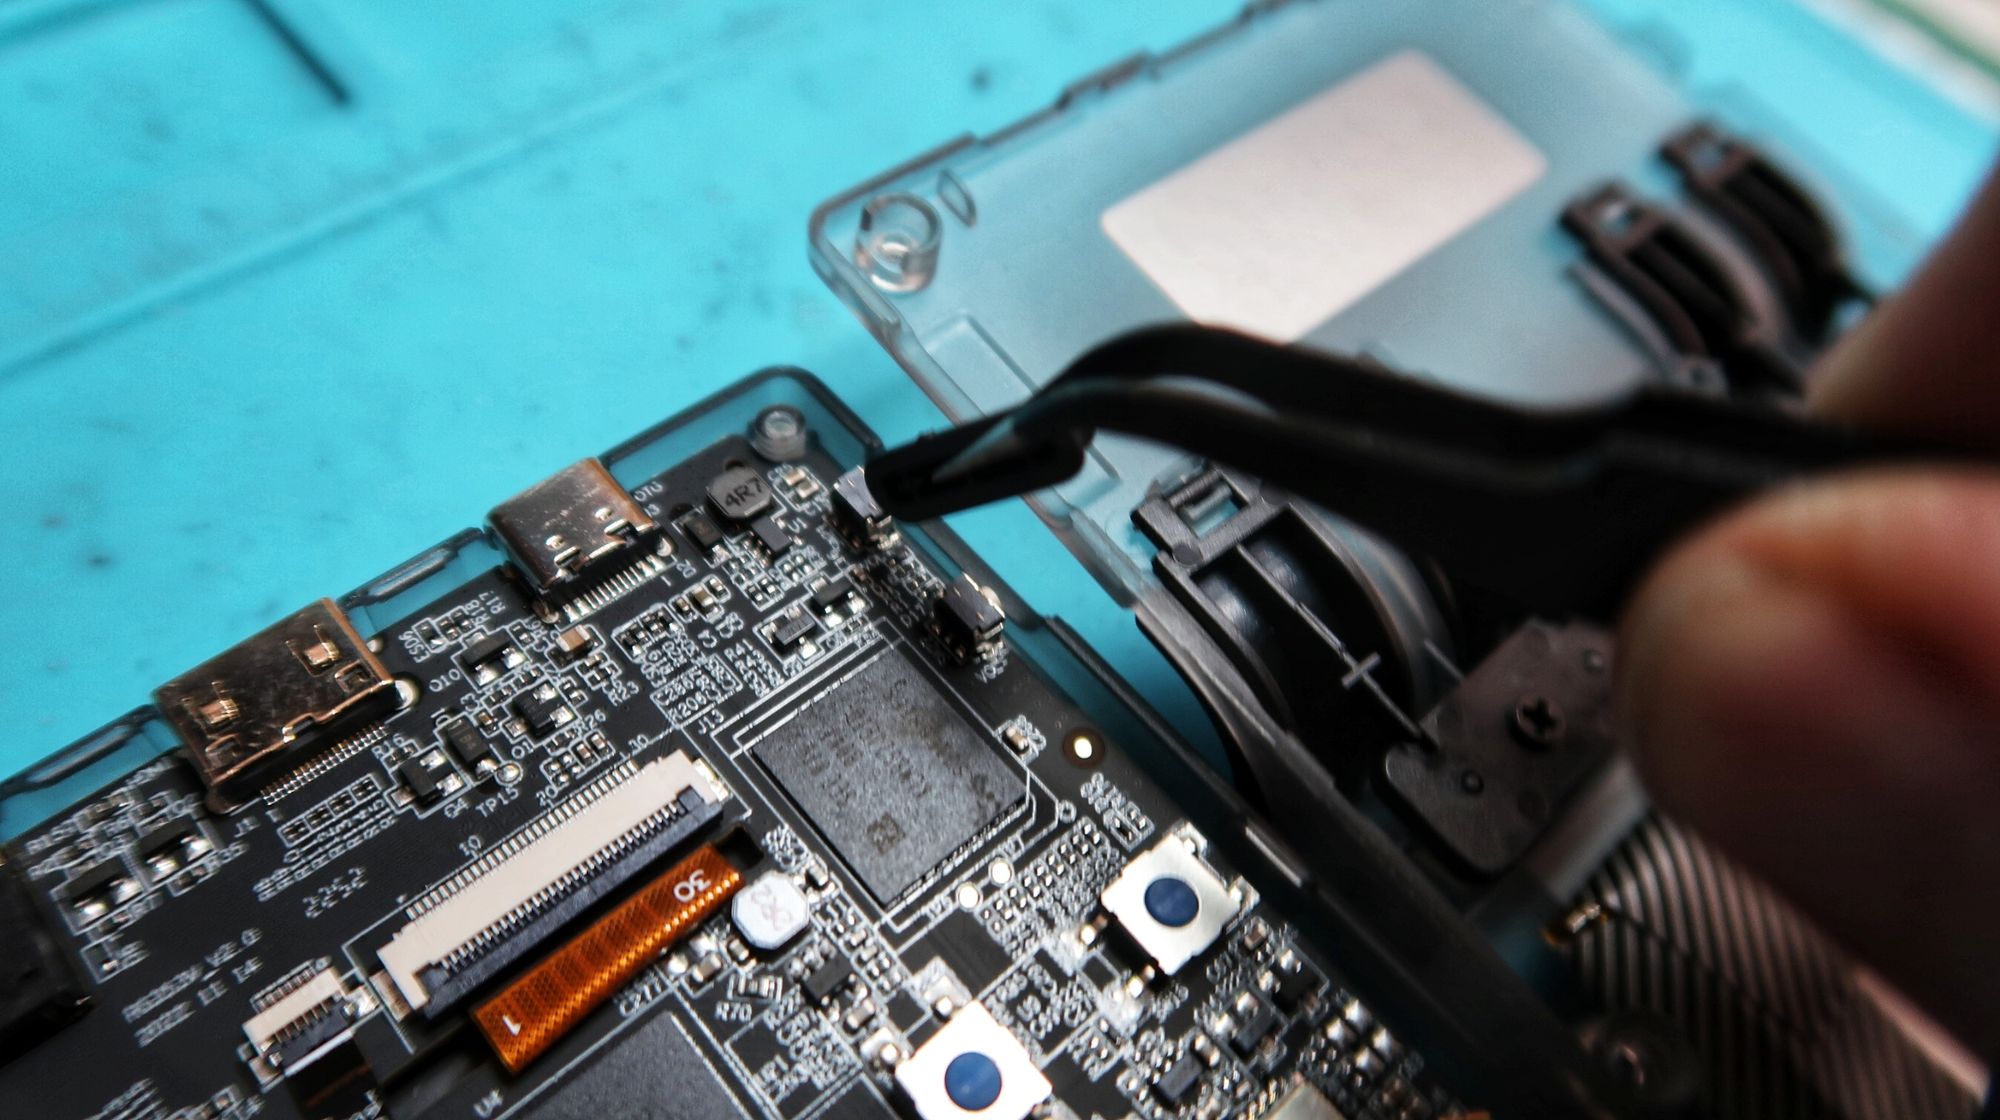
Now, we can remove the plastic guard covering the analog sticks. There are 5 screws. Don't forget to remove the two bottom screws next to the USB-C charger.
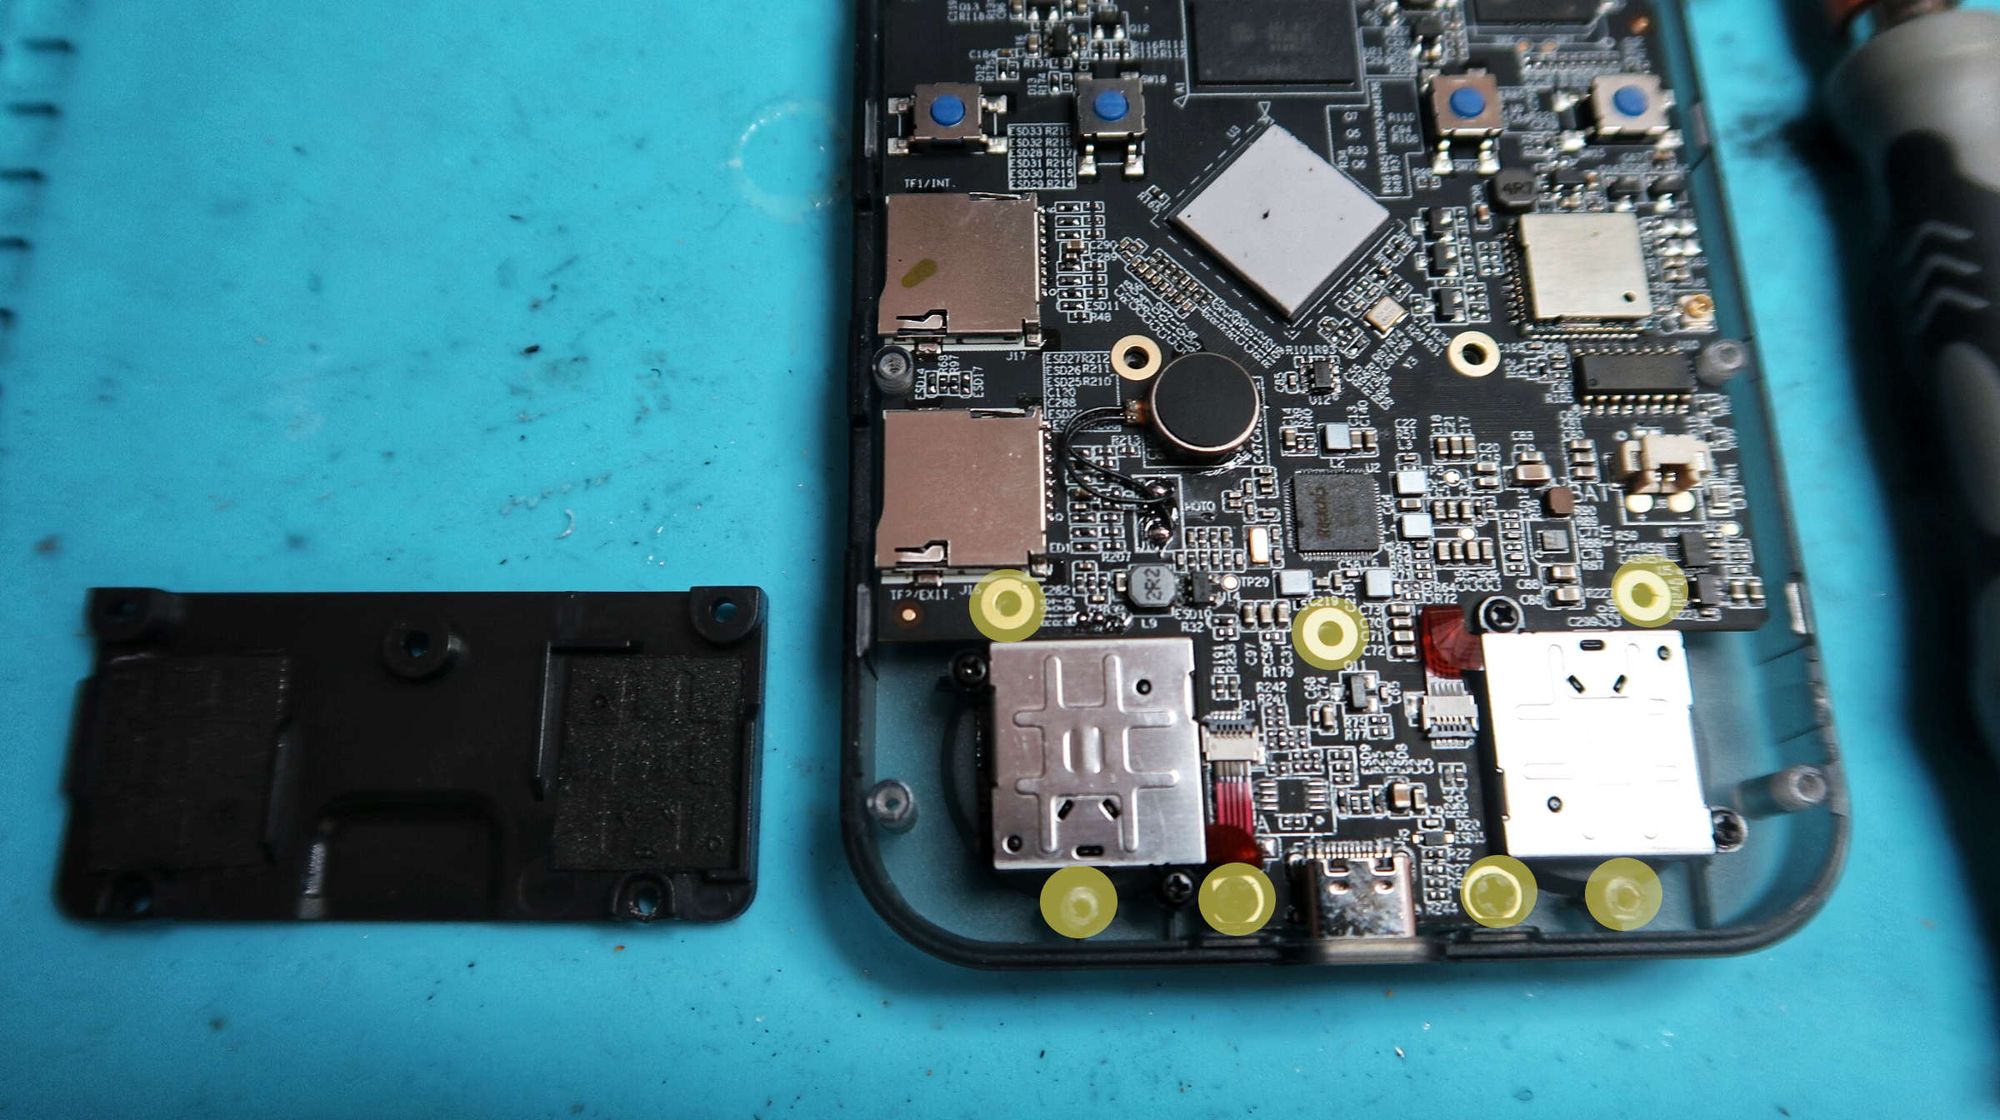
Before removing the main board, we need to remove the right analog stick. Lift the small plastic clasps of both of the ribbon cables and pull the cables out with your tweezer. Unscrew the two screws holding the right analog stick into place. Now lift the right analog stick out of the housing and put aside. The left stick can stay in the housing.

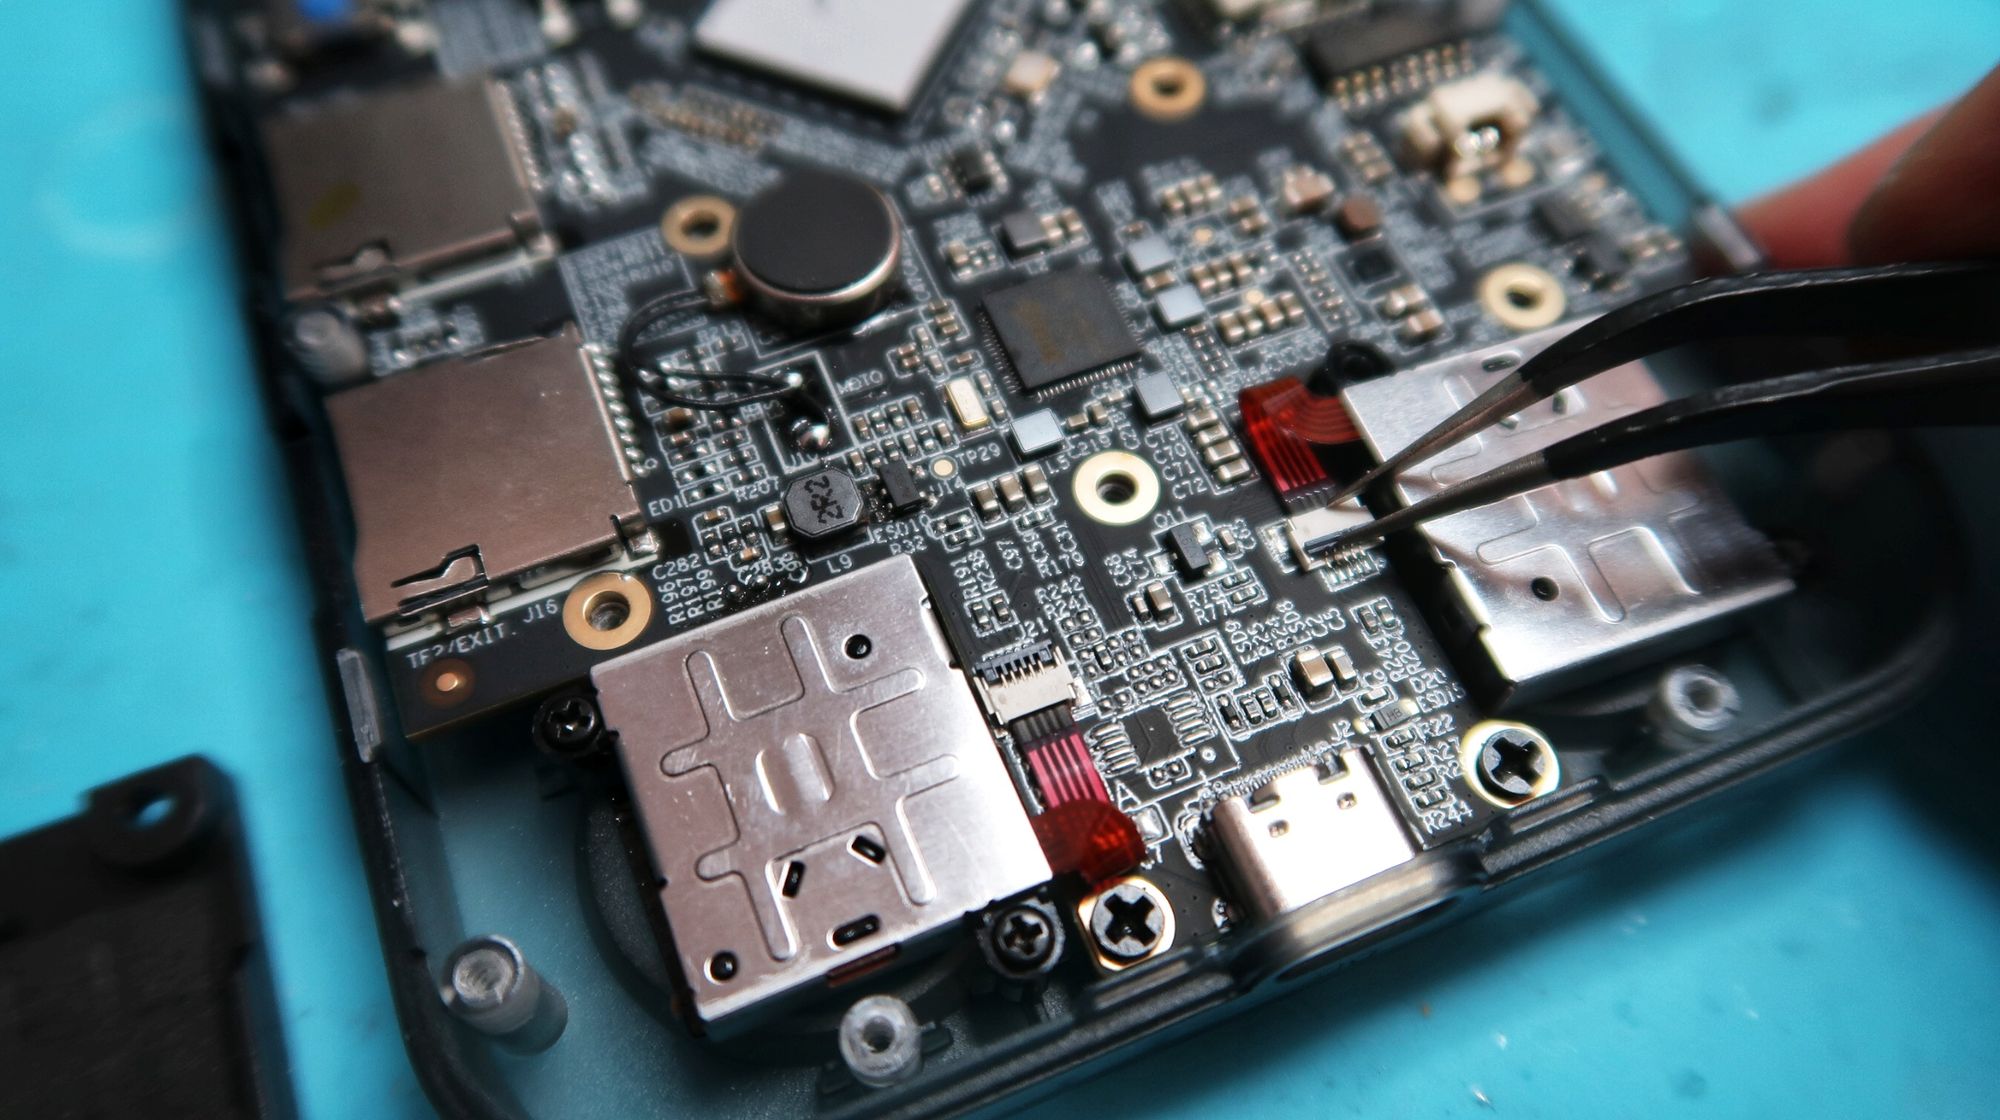
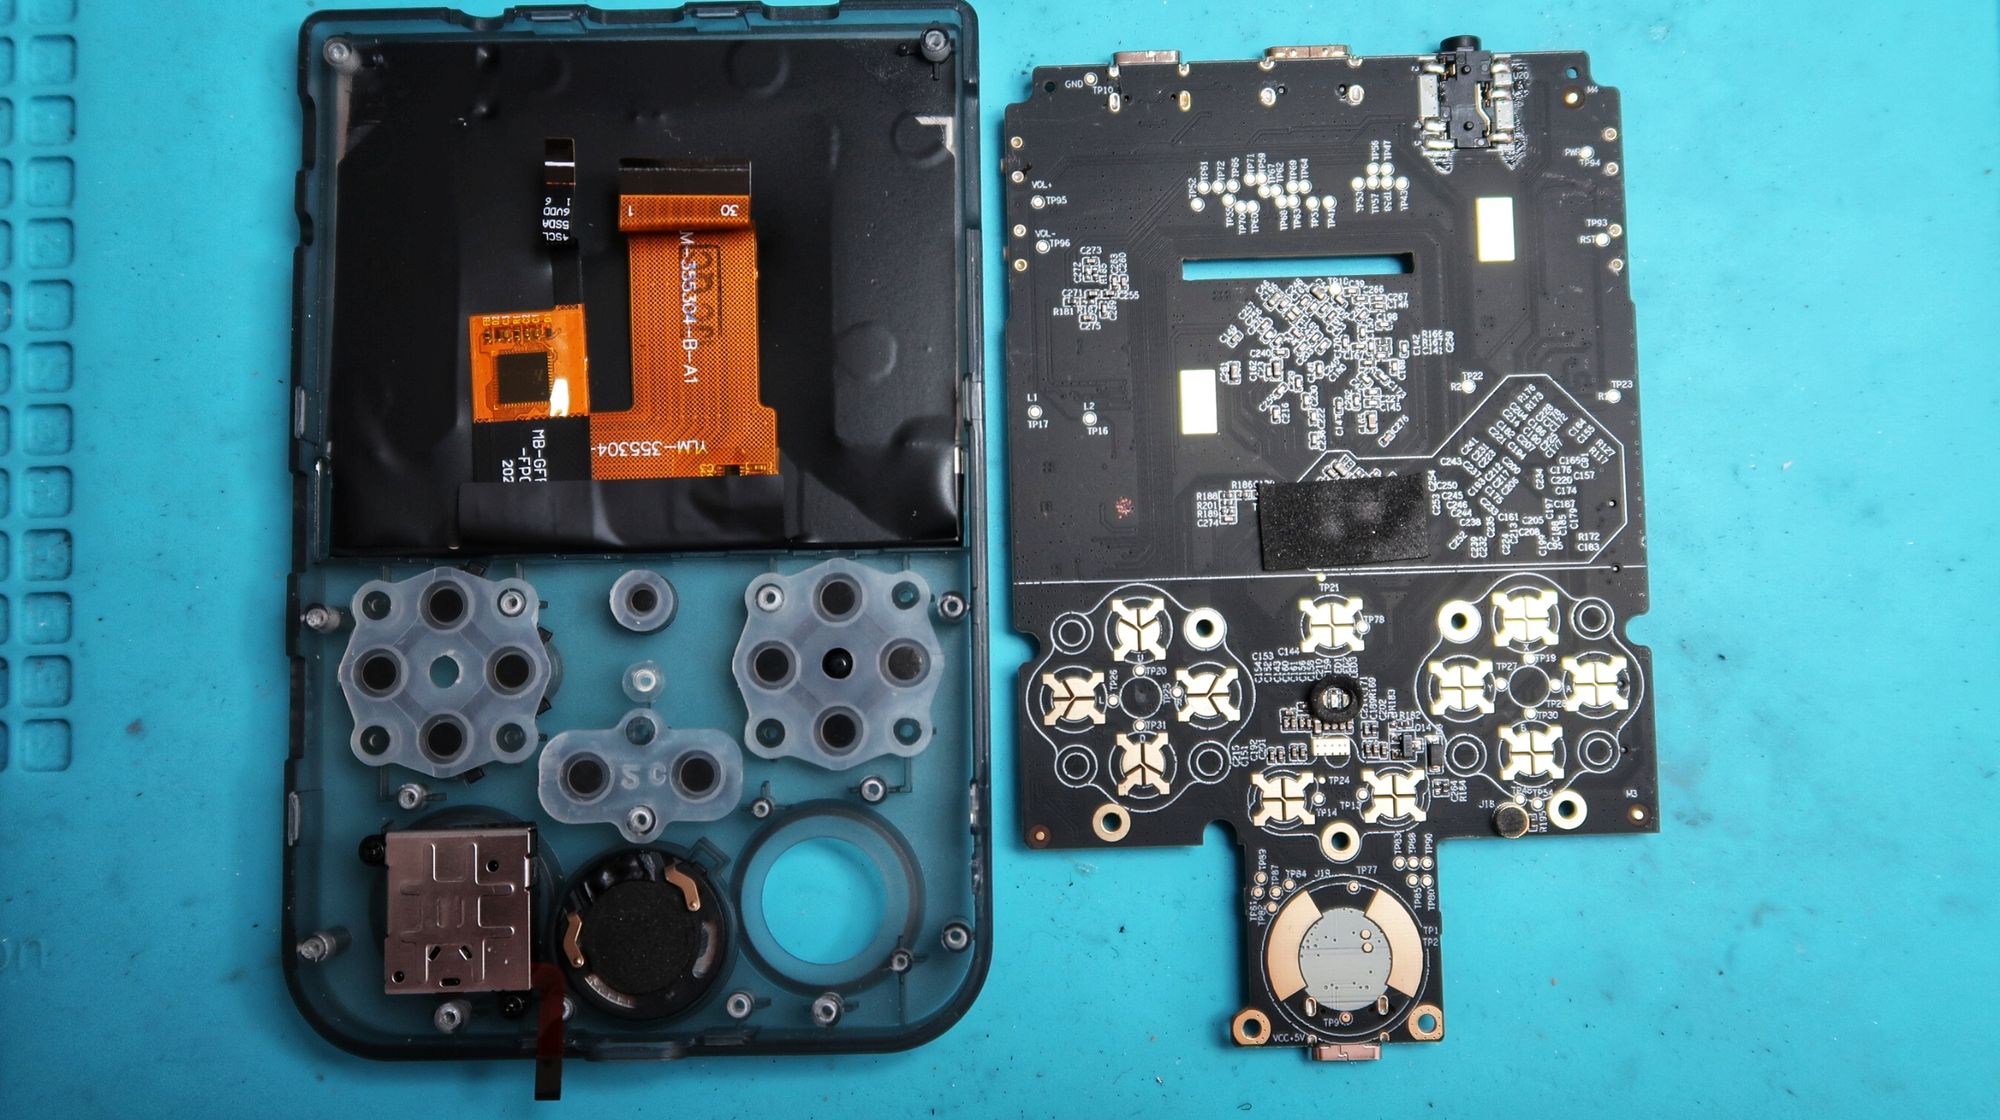
Let's remove the main board from the shell. Gently lift the main board from the top and pull it out of the housing.
Modifications
Now that the device is laid bare, let's add a few modifications.
Heat Sink
When playing for extended periods, my screen would start to show a double "ghost" image at the bottom of the display. It was a clone of the top of the display, like a transparent overlay. As I continued playing, the ghosting double image would slowly move up until the display was not usable.
After scouring the internet for a fix to this problem, I didn't turn up any results. Either this problem is specific to my device or no one has come forward as of yet. If this is also the case with your handheld, please leave a comment below.
I am still not sure if this is a hardware or software issue. I am assuming this is a potential software problem. It only seems to be an issue when playing games in ArkOS. If I reboot into the Android OS, the ghosting goes away. To be fair, I don't use the Android OS very often, (except to play with my flipper.zero). My assumption is that the display is reacting to the warmth of the RockChip CPU which is placed just underneath it. In order to prove my hypothesis, I will be adding a small aluminum 8.8x8.8 cm heat sink to the CPU. I tried adding a larger 1.4x1.4 cm heat sink but unfortunately, the support structures on the back shell kept it from fitting together. I considered dremeling out the support material, but decided against it. The CPU already has a thermal pad on top. I removed the adhesive from the heat sink and pressed it firmly to the CPU.
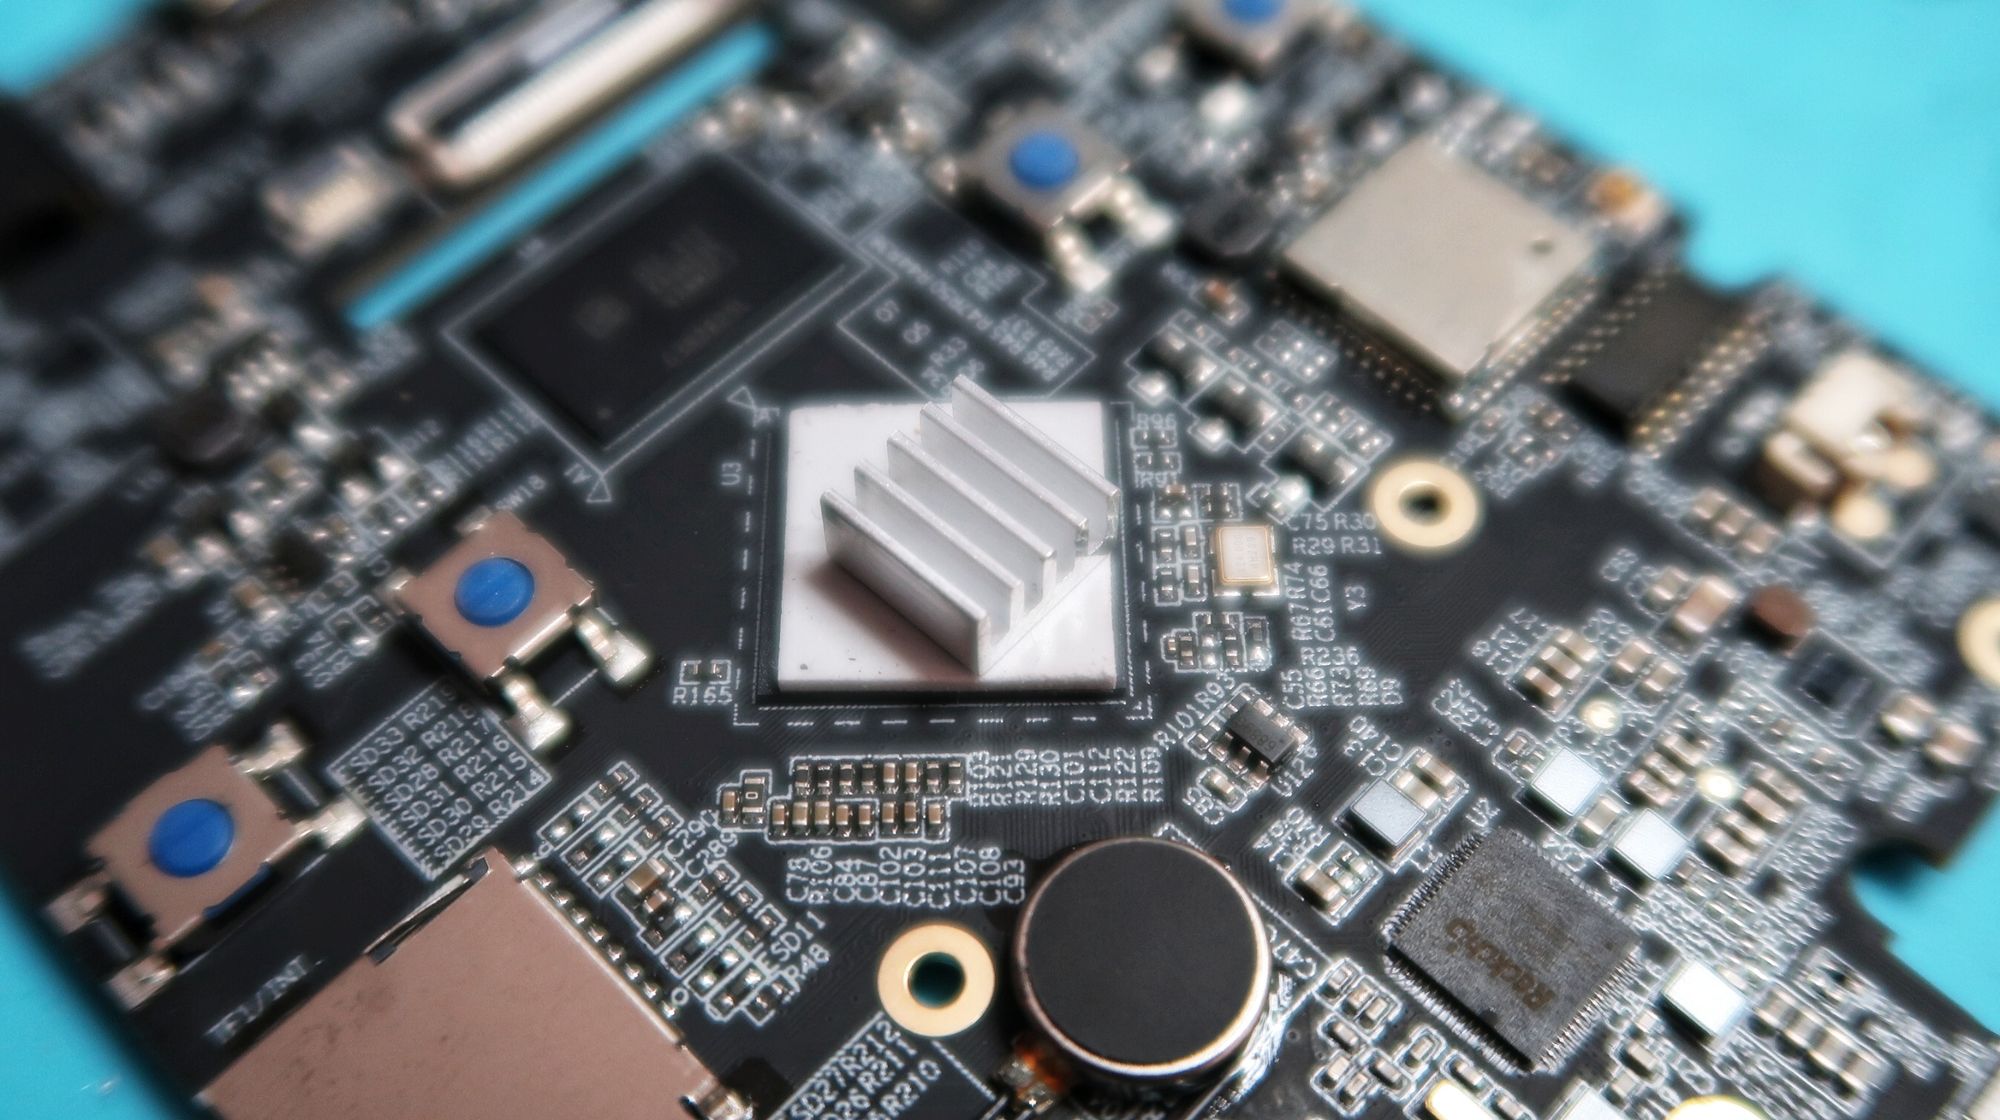
UPDATE 1 : Unfortunately, the heat sink didn't solve the problem with the "ghosting" on the screen. Here are some clues I have collected regarding this issue:
- Ghosting only occurs when using ArkOS.
- Ghosting does not appear when using Android (ArkOS issue?)
- After 20 - 30 minutes of game play - ghosting (heat?).
- Ghosting returns quicker when watching videos (more CPU intensive - heat?)
- Ghosting goes away after turning off the device and letting it sit for ca. 15 minutes. (heat?)
- If I press lightly on the lower right bezel of the screen, the ghosting will disappear as long as I apply pressure (defective ribbon cable?)
- I have a second RG353V. It has the exact same configuration and it works perfectly. (hardware/display issue?)
If you have an idea let us know in the comment below!
UPDATE 2 : It works! A big thanks to SMC in the comments for pointing this out. This problem has to do with the hardware definitions of the device tree dtb file. This file is used by the the linux kernel for hardware compatibility. Anbernic used two different display versions for the RG353V. If you are having the screen ghosting problems mentioned above and have the version 1 hardware display, try out this fix! It worked for me,
- Boot into Emulation Station
- Go to: Options -> Update. Complete the ArkOS update process
- Shutdown the system. Remove the SD card and insert it into your computer. Mount the third partition. This partition contains the linux "boot" folder. For example:
sudo mount /dev/sda3 /mnt/sdcard
- Change directory into the mounted folder and rename the following files:
cd /mnt/sdcard
mv -v rk3566-OC.dtb rk3566-OC.dtb.bak
mv -v rk3566-OC.dtb.bright rk3566-OC.dtb
- Reboot
- Profit!
If you are connected to Wifi, it is also possible to turn on the sshd service and ssh directly into the device.
- Boot into Emulation Station
- Go to: Options -> Advanced -> Enable Remote Services
- Push "select". Scroll to the bottom of the configuration page and you should see the IP address which was assigned to the device
- Open a terminal on your computer
ssh ark@192.168.1.18
The default password is 'ark'.
- Change directory to the boot folder
cd /boot
- Rename the dtb files
sudo mv -v rk3566-OC.dtb rk3566-OC.dtb.bak
sudo mv -v rk3566-OC.dtb.bright rk3566-OC.dtb
- Profit!
D-PAD
Anbernic devices are notorious for their suboptimal d-pad performance. The controller inputs bleed into each other, meaning pressing the left button could possibly trigger the up or down triggers depending on the direction of the pressure. This is annoying, especially when you are playing in hardcore mode on Retro Achievements, get to the end boss and have the %&$%§! D-pad not react like it should, messing up your cheevo/high score. Everyone and their dog has written about this modification, but since my device is already open, I'll write about it too.
Get some electrical tape and cut two small strips approximately 2cm long. Cross them over the d-pad and insulate the inner sides of the pads.
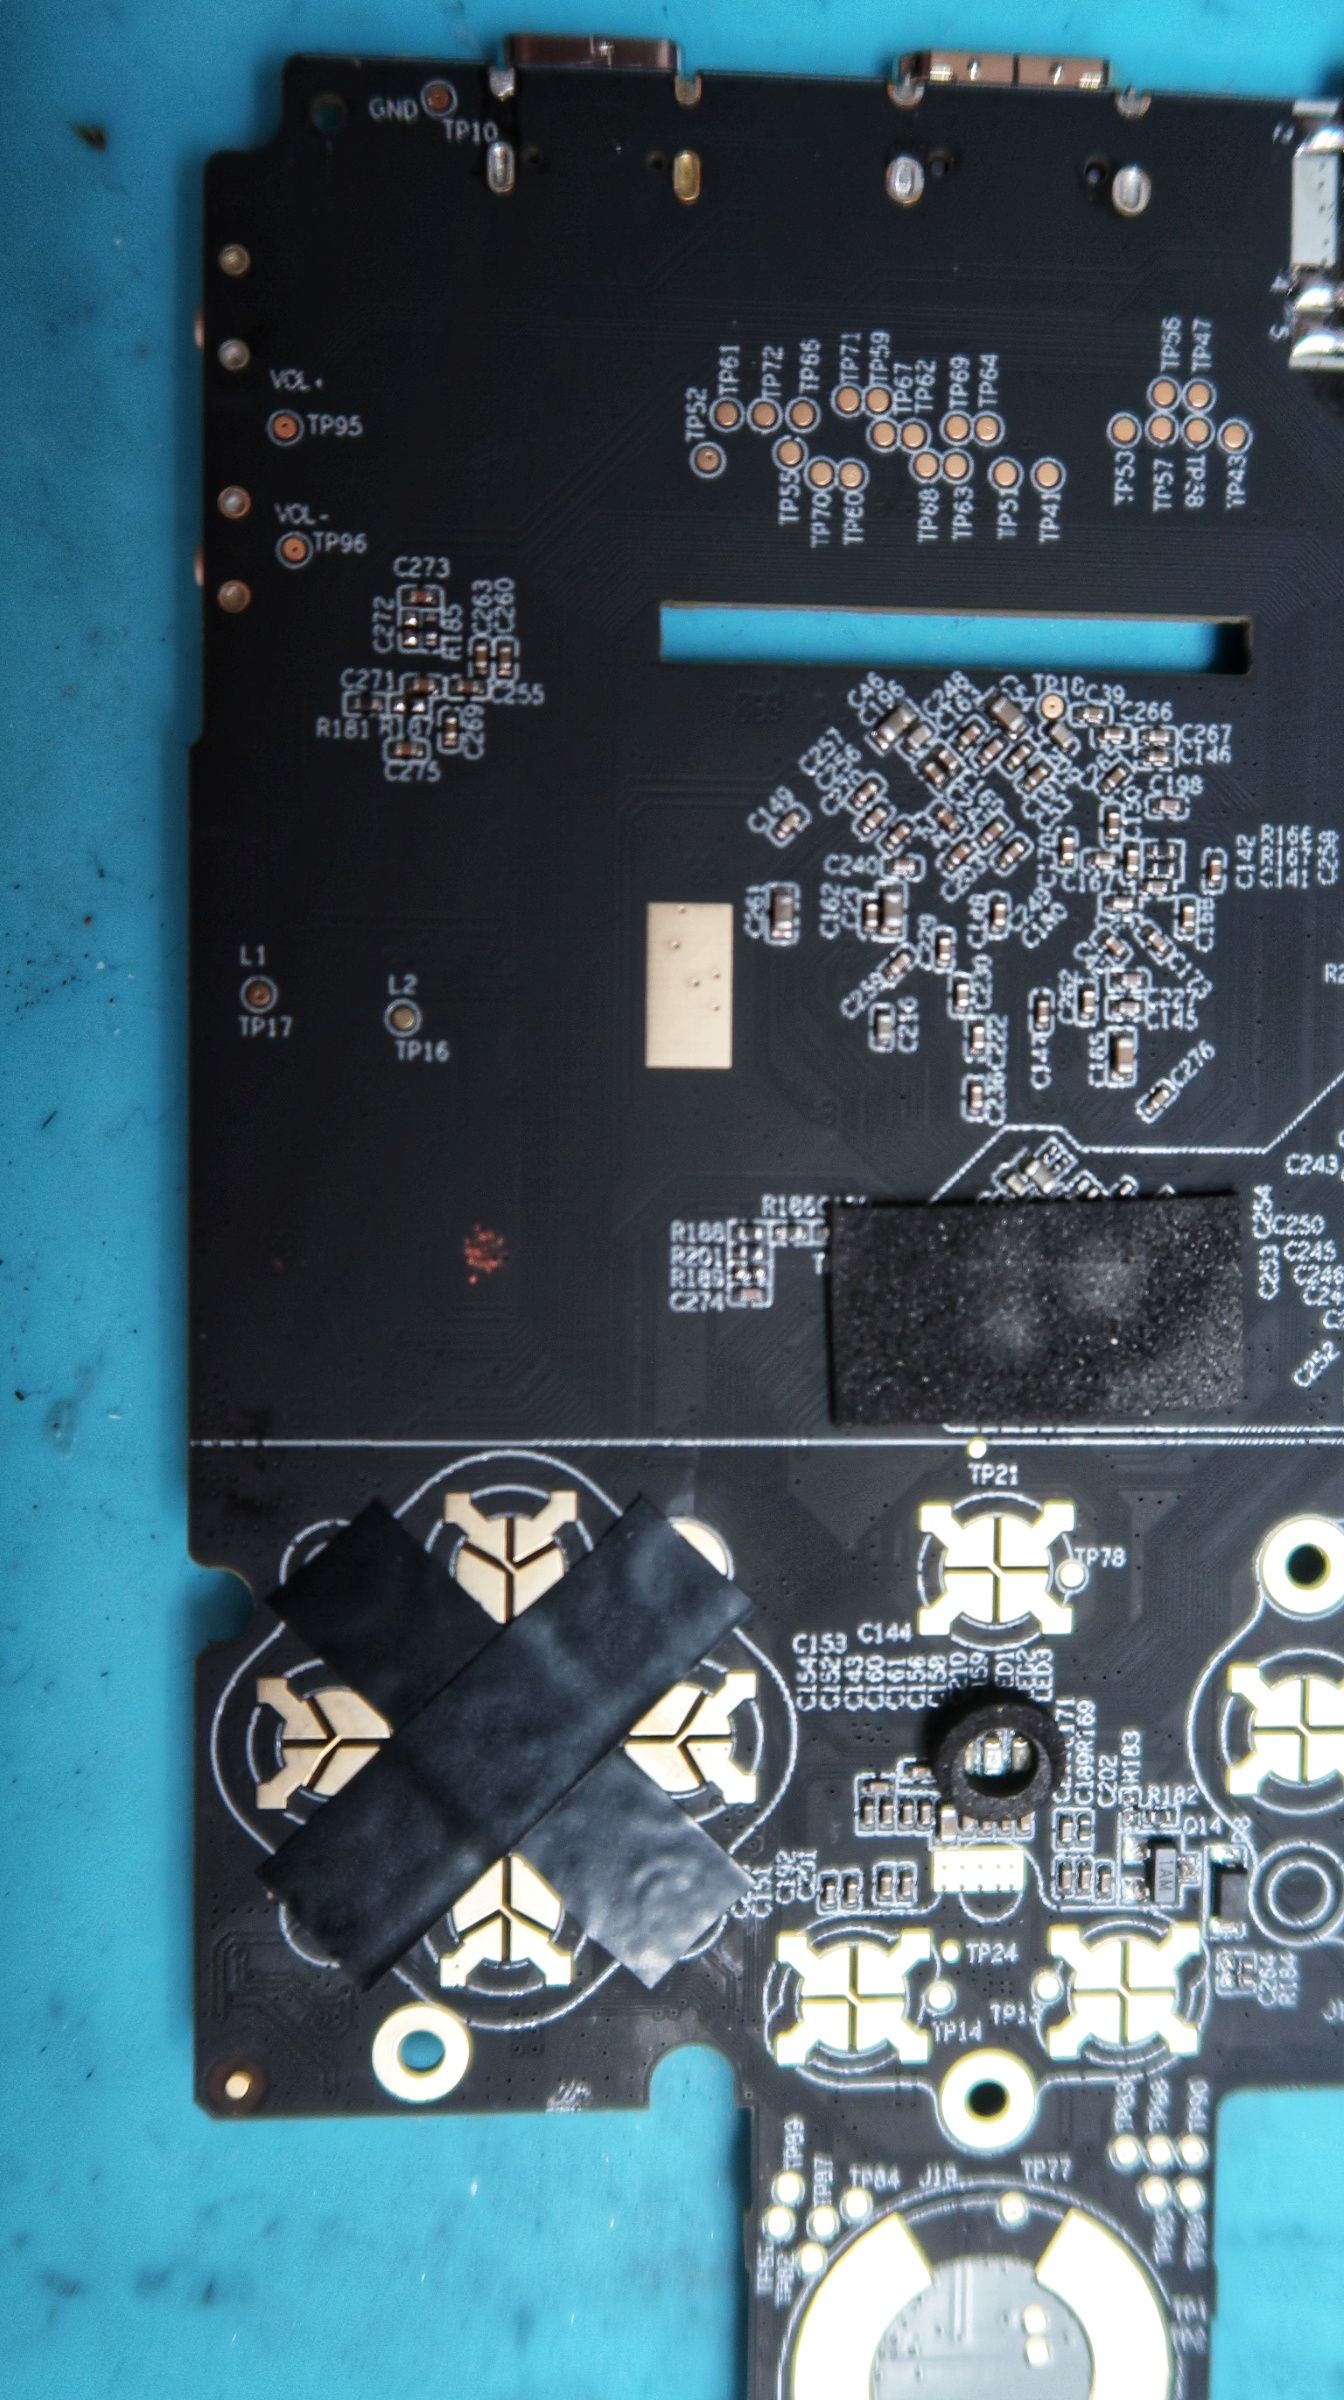
The electrical tape will help insulate the bleed over from the corresponding buttons.
That's it! To reassemble, follow my disassembly guide in reverse.
Final Thoughts
This device is well worth the money. I have gotten hours and hours of fun out of it.
Even if you are not in the market for a retro gaming handheld, the hardware is fun and hackable amd can be used for other purposes. I am thinking about writing an article or two about using the RG353V as a thin client / hacking device. Leave a comment below if you would be interested in an article like that.
If you are already a retro gamer, follow my profile on Retro Achievements or subscribe to my YouTube Channel.