
Bringing a Broken NES Back to Life
Synopsis
When I was a kid, all I wanted was a Nintendo Entertainment System (NES). My parents weren't going to get me one, so I got a job and worked through an entire summer to save up enough money to buy my very own. When the day finally arrived, I purchased the complete package: an NES console, two controllers, the Zapper gun, Power Pad, and a three-in-one cartridge featuring Super Mario Bros., Duck Hunt, and World Class Track Meet.
Over the past 35 years, I'm not sure what happened to it. I am assuming it ended up in a garage sale after I moved out. For many years since then, I've been playing emulated NES games on my computer. In the last 4 years, I've also been gaming on my growing collection of retro handheld devices. But despite these alternatives, the feeling of playing on original hardware is still different – and that nostalgia has never really faded.
Given my fondness for old games and my enjoyment of fixing things, I decided to buy a broken NES and restore it to its former glory. This article tells the story of how I tracked down an old console, brought it back to life, and relived the days of playing classic games on authentic hardware.
Tools
If you want to follow along and restore your own console, here's a list of the tools I used to complete this project.
- Soldering iron
- Dremel rotary tool (with steel brushes)
- Toothbrushes
- Scrubbing brush
- Steel brushes
- Phillips screwdriver
Materials
To restore your NES console, you'll need the following materials:
- 1 x NES console
- 2 x controllers
- Hydrogen peroxide cream (12%)
- Cellophane wrap
- Patience - yes, that is a material :)
Disassembly
Removing the outer casing of both the console and controllers was relatively straightforward. All that's needed is a single Phillips screwdriver.
For a more detailed, step-by-step guide on disassembling your NES, please refer to this disassembly guide
Console Disassembly
I started by removing the six screws from the bottom of the console. Once these were out, I carefully flipped the console over and separated the two main components.
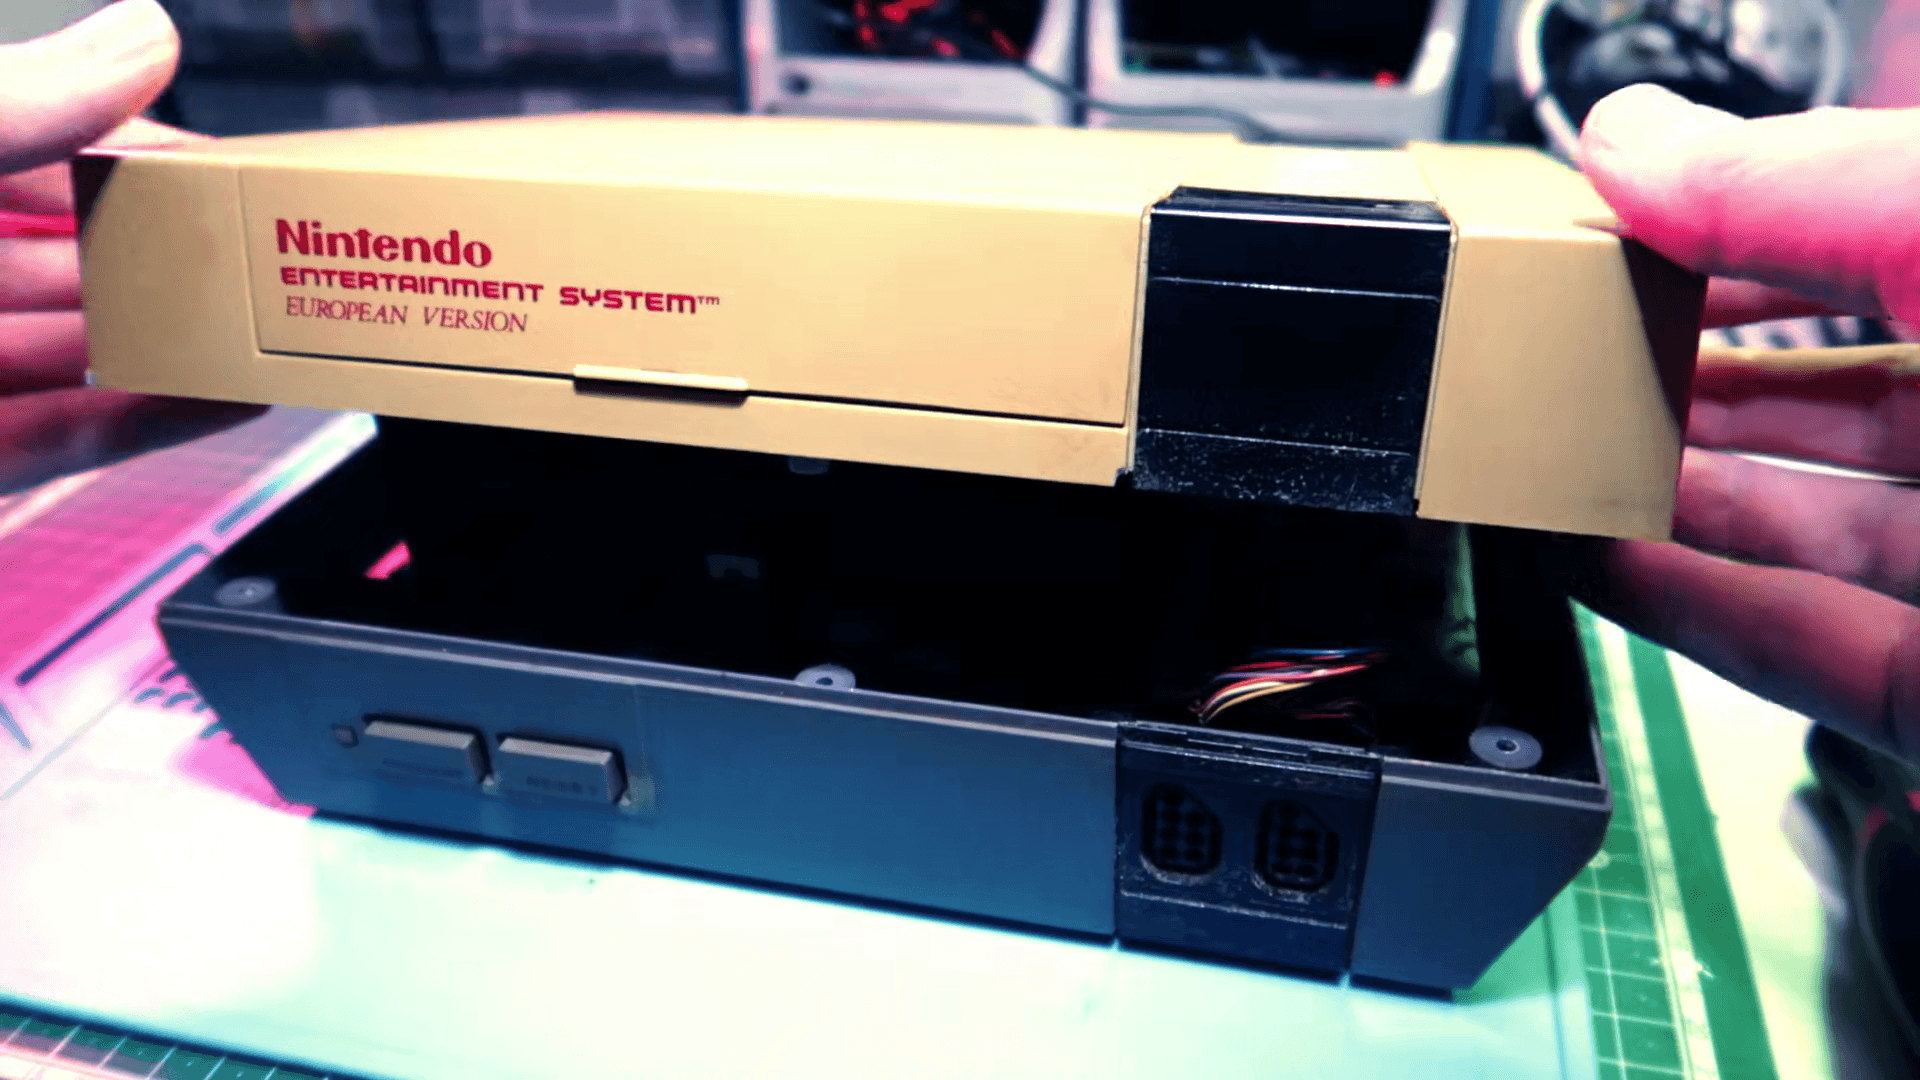
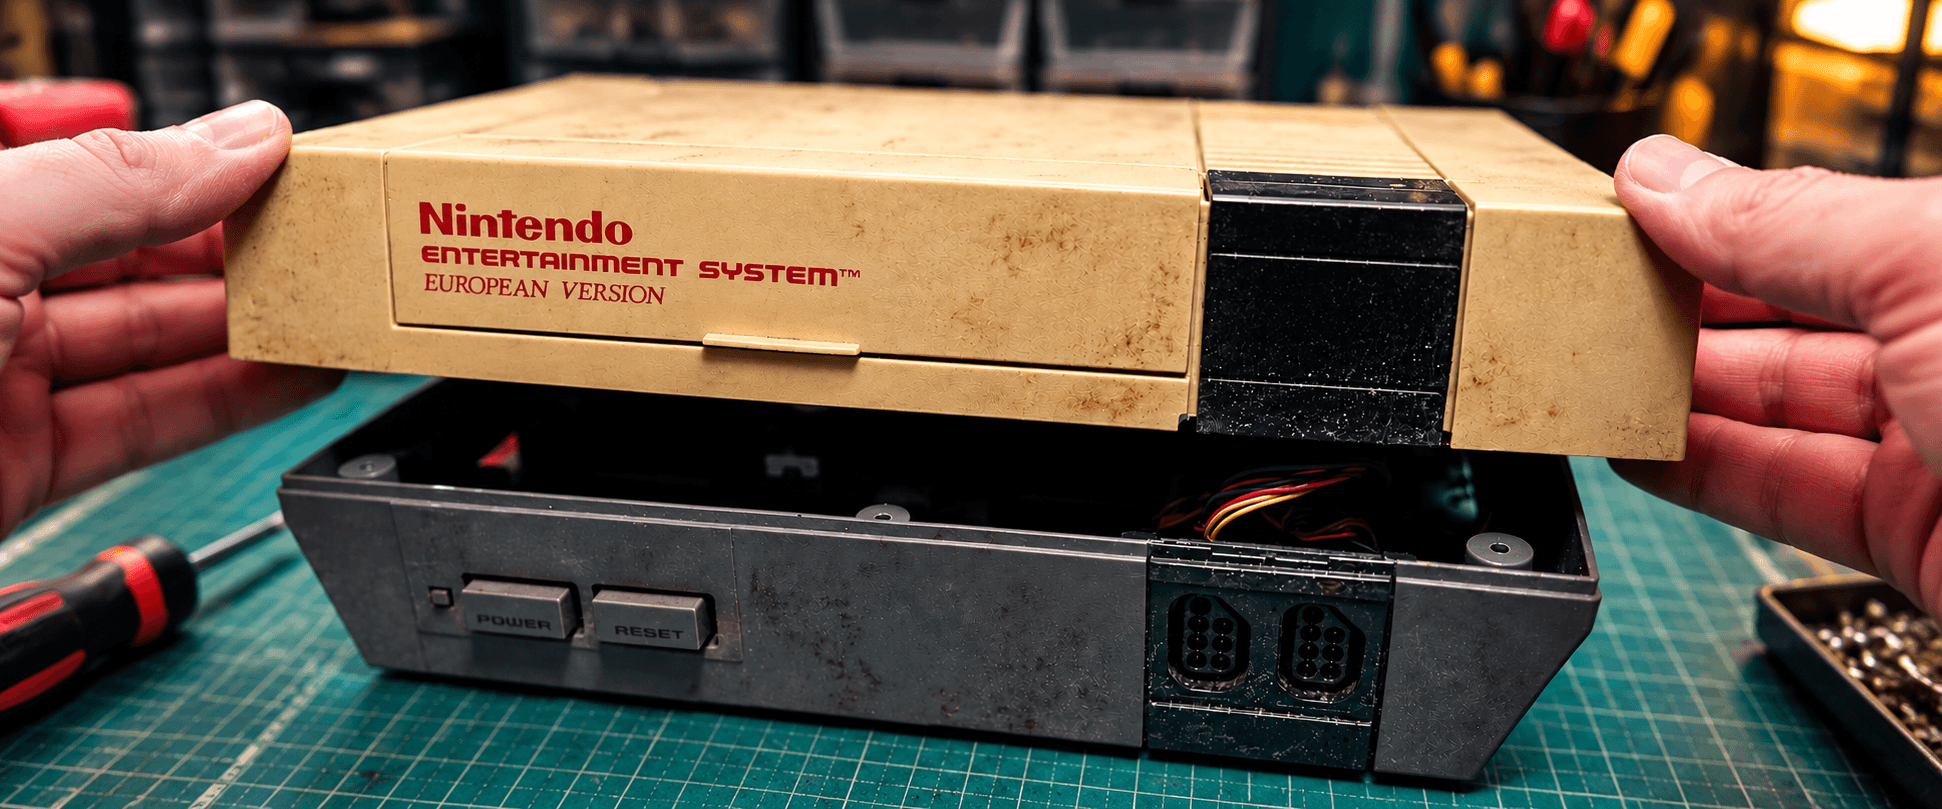
This NES console shows significant signs of wear and tear. Its condition suggests that it may have been stored in a damp environment for an extended period, accumulating dust, grime, and rust over the past 40 years.
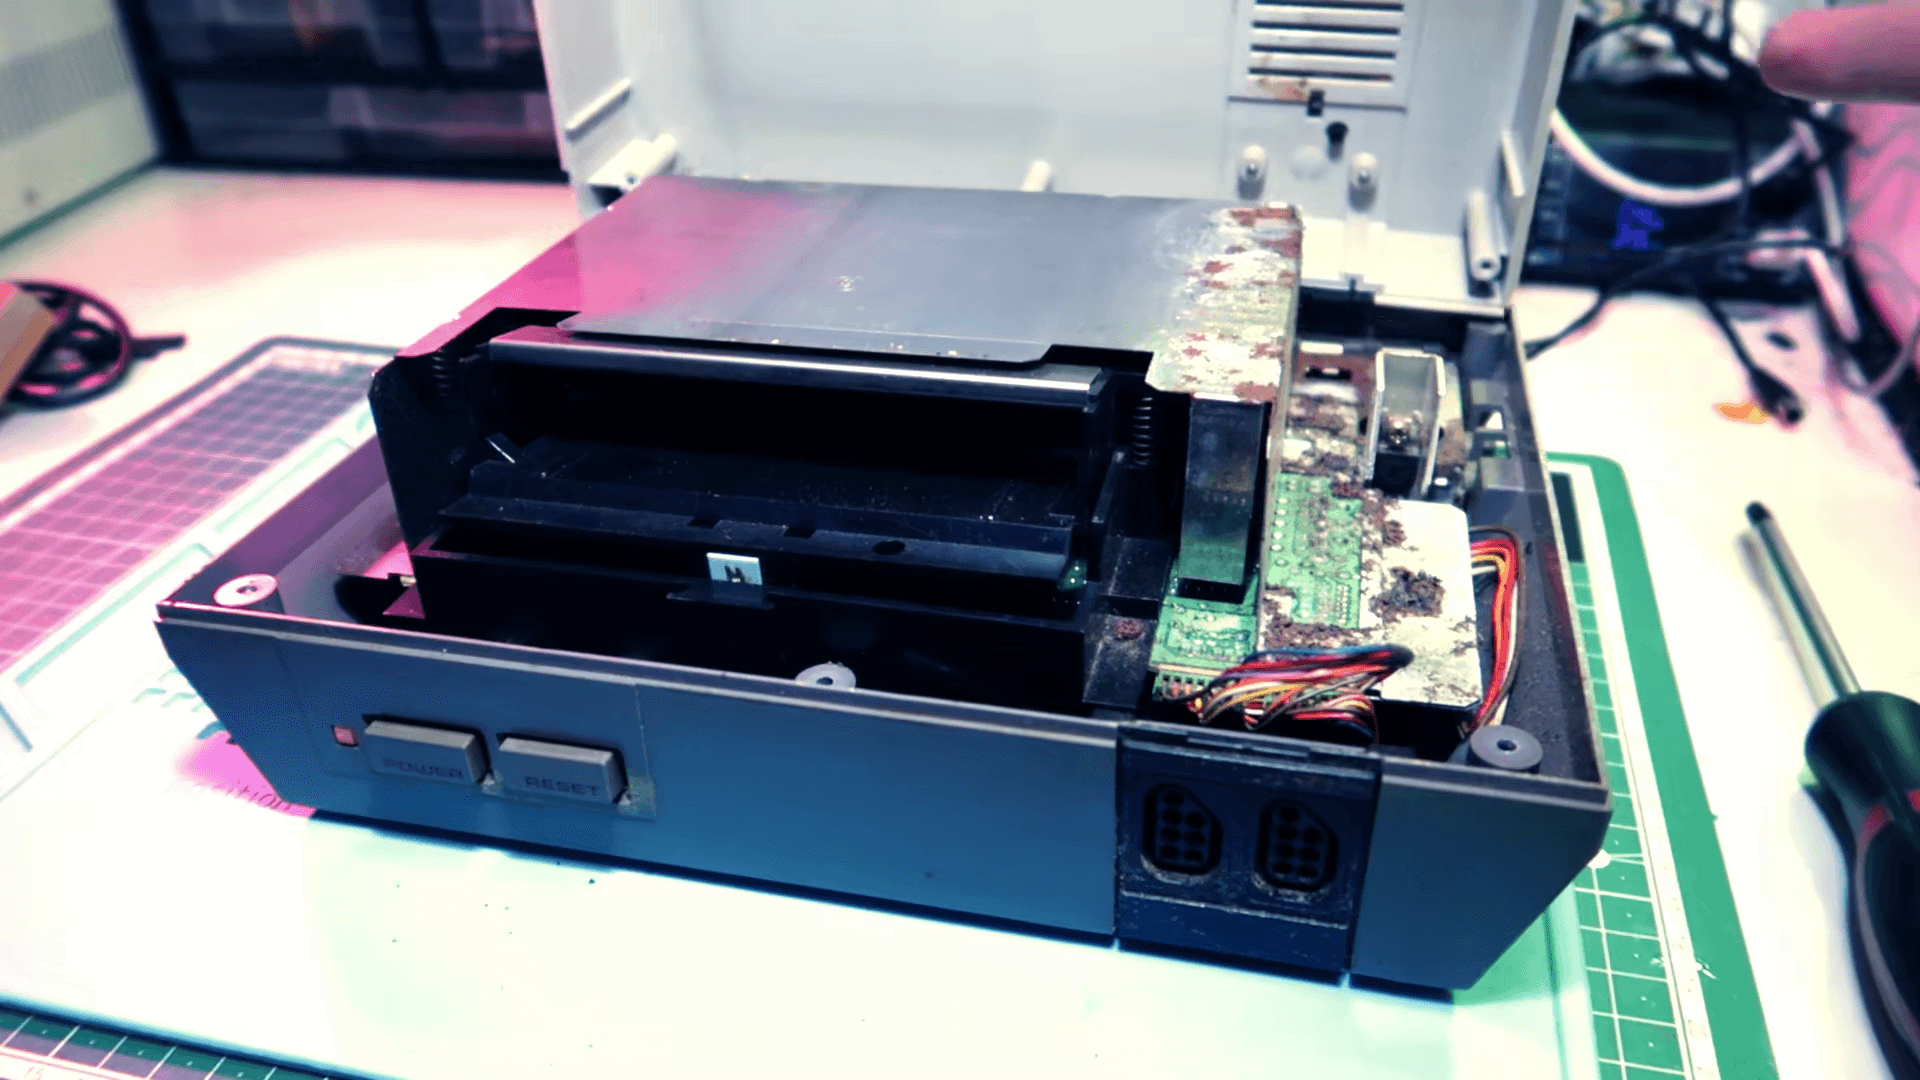
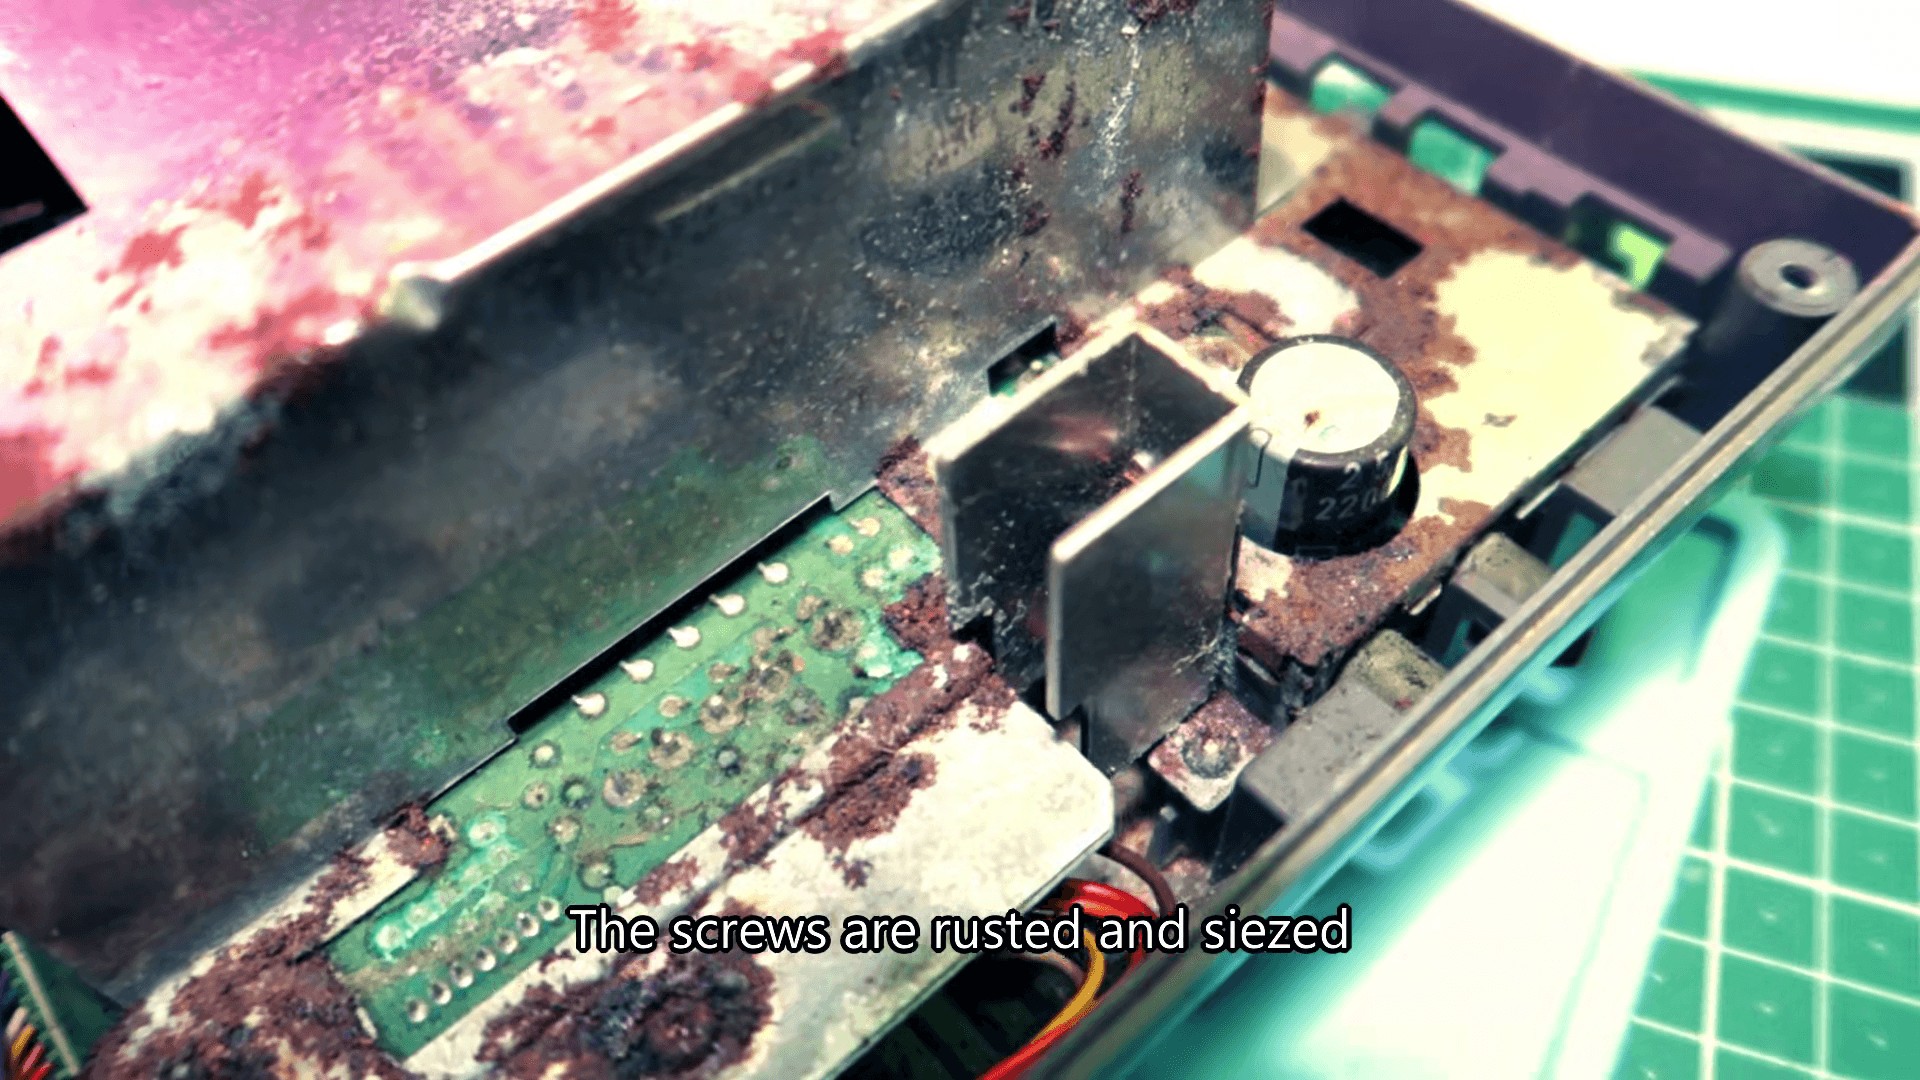
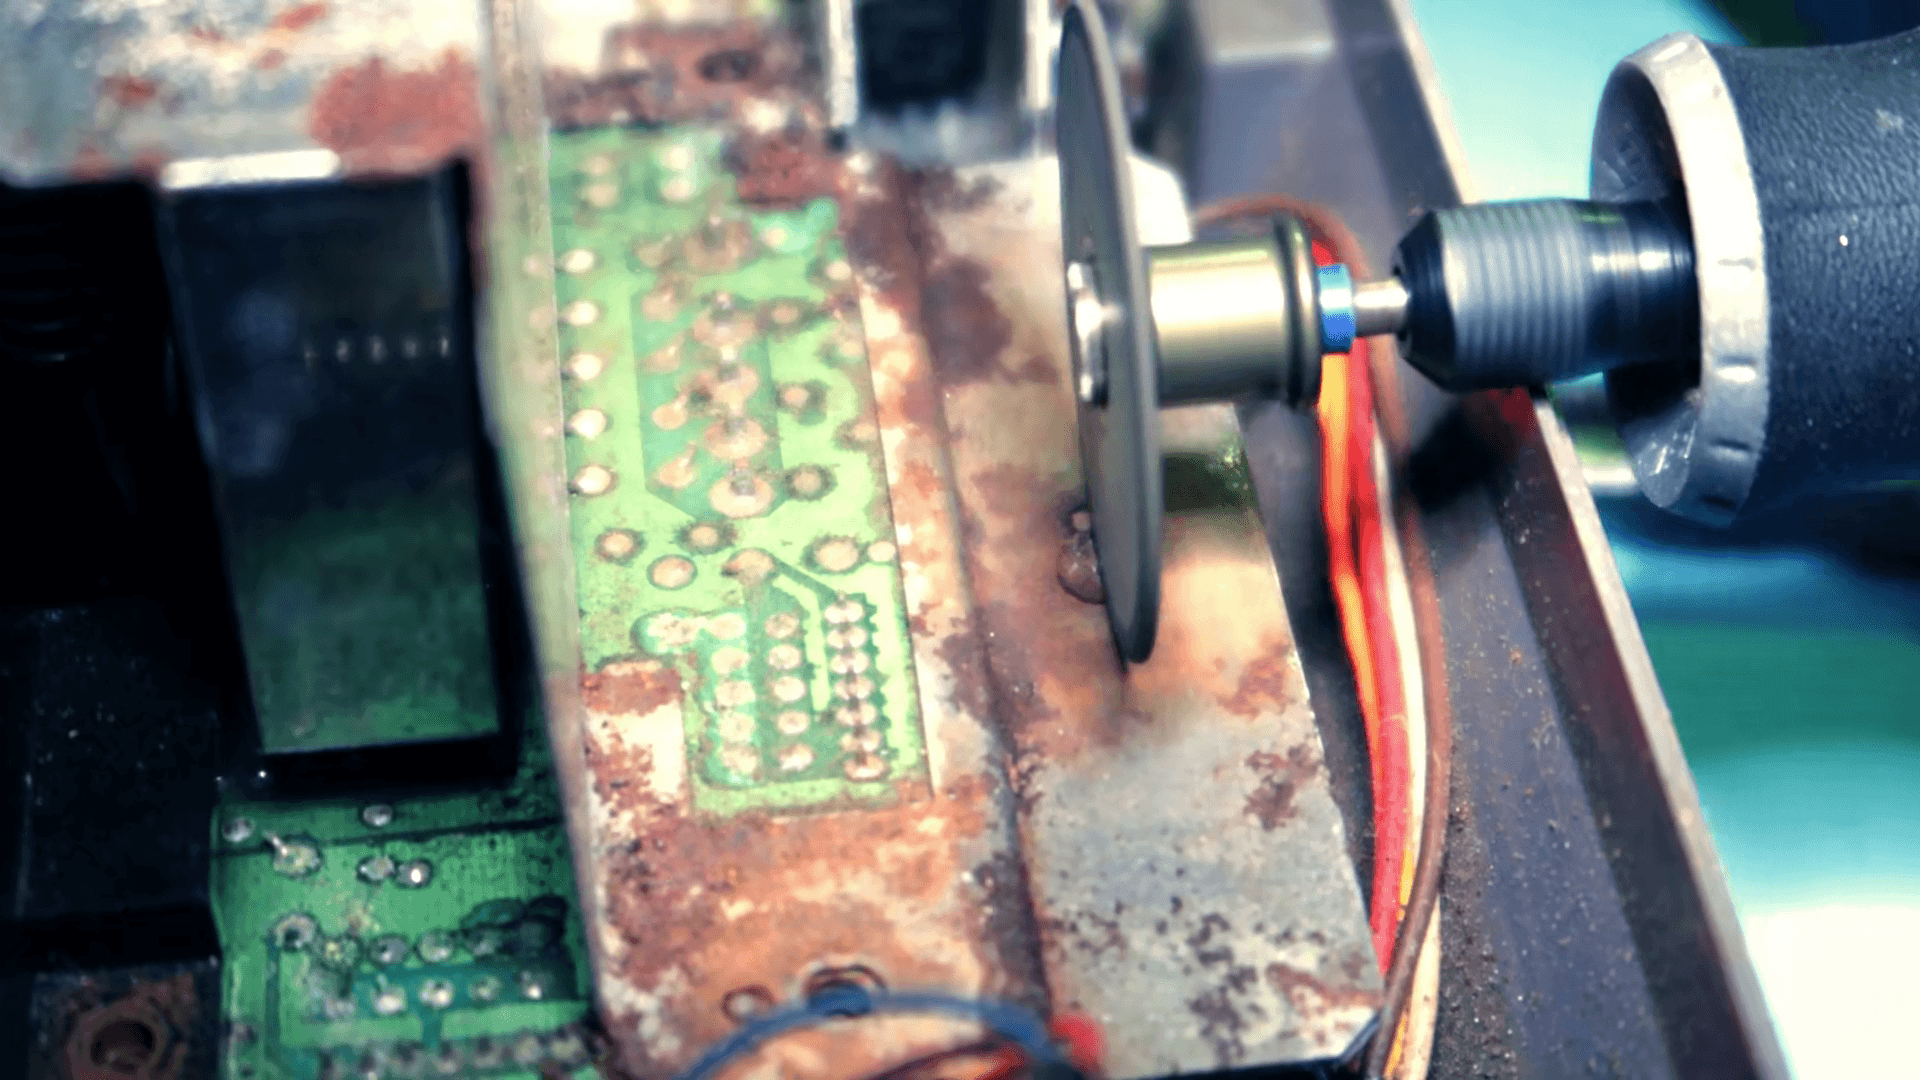
One of the screws was severely rusted, making it difficult to remove. Unfortunately, my attempt to loosen it resulted in stripping the screw head. To salvage the situation, I used my Dremel tool to carefully cut a single slot into the remaining portion of the screw head.
While trying to remove the screw, its head broke off. Fortunately, this wasn't a major issue. Since the RF shield could be removed and the rest of the console disassembled without it, I was able to proceed with the restoration process. Given that there are five other screws holding the components together, I'm confident that the missing screw won't cause any significant problems in the future.
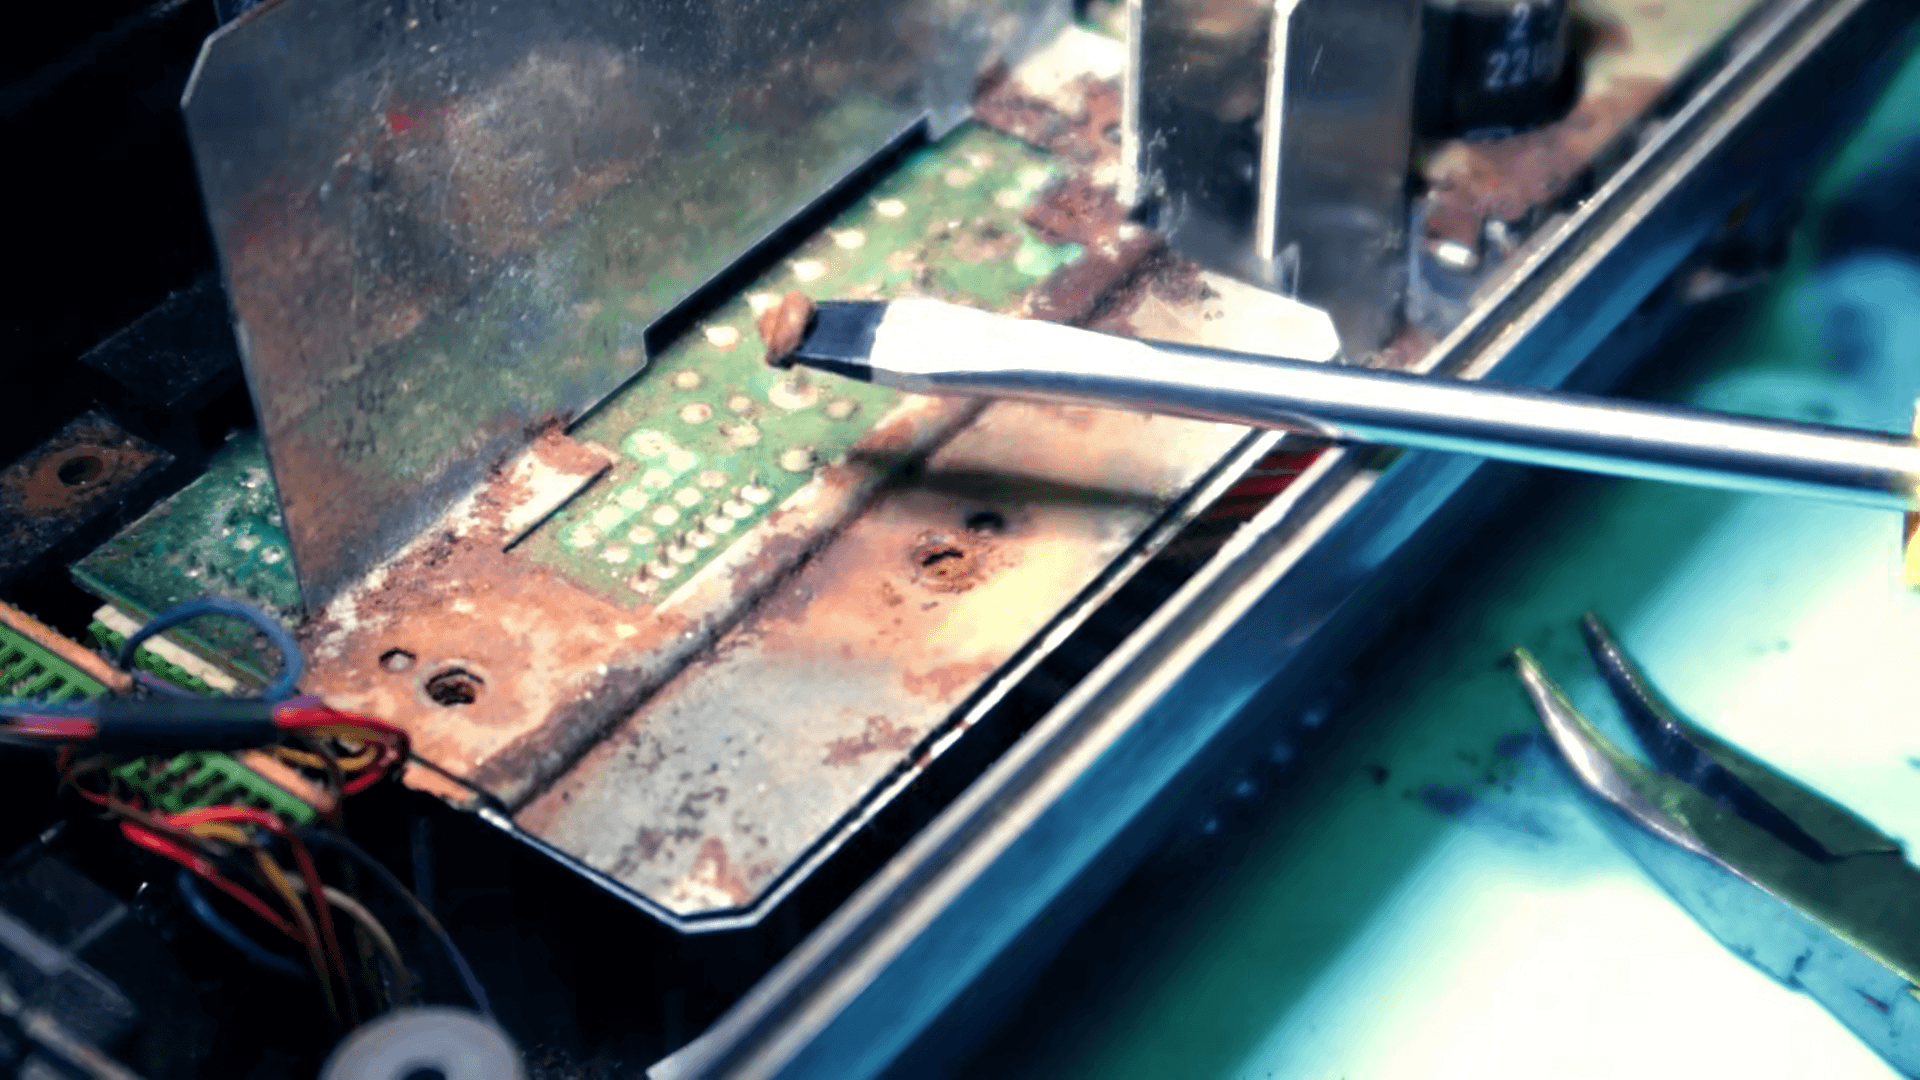
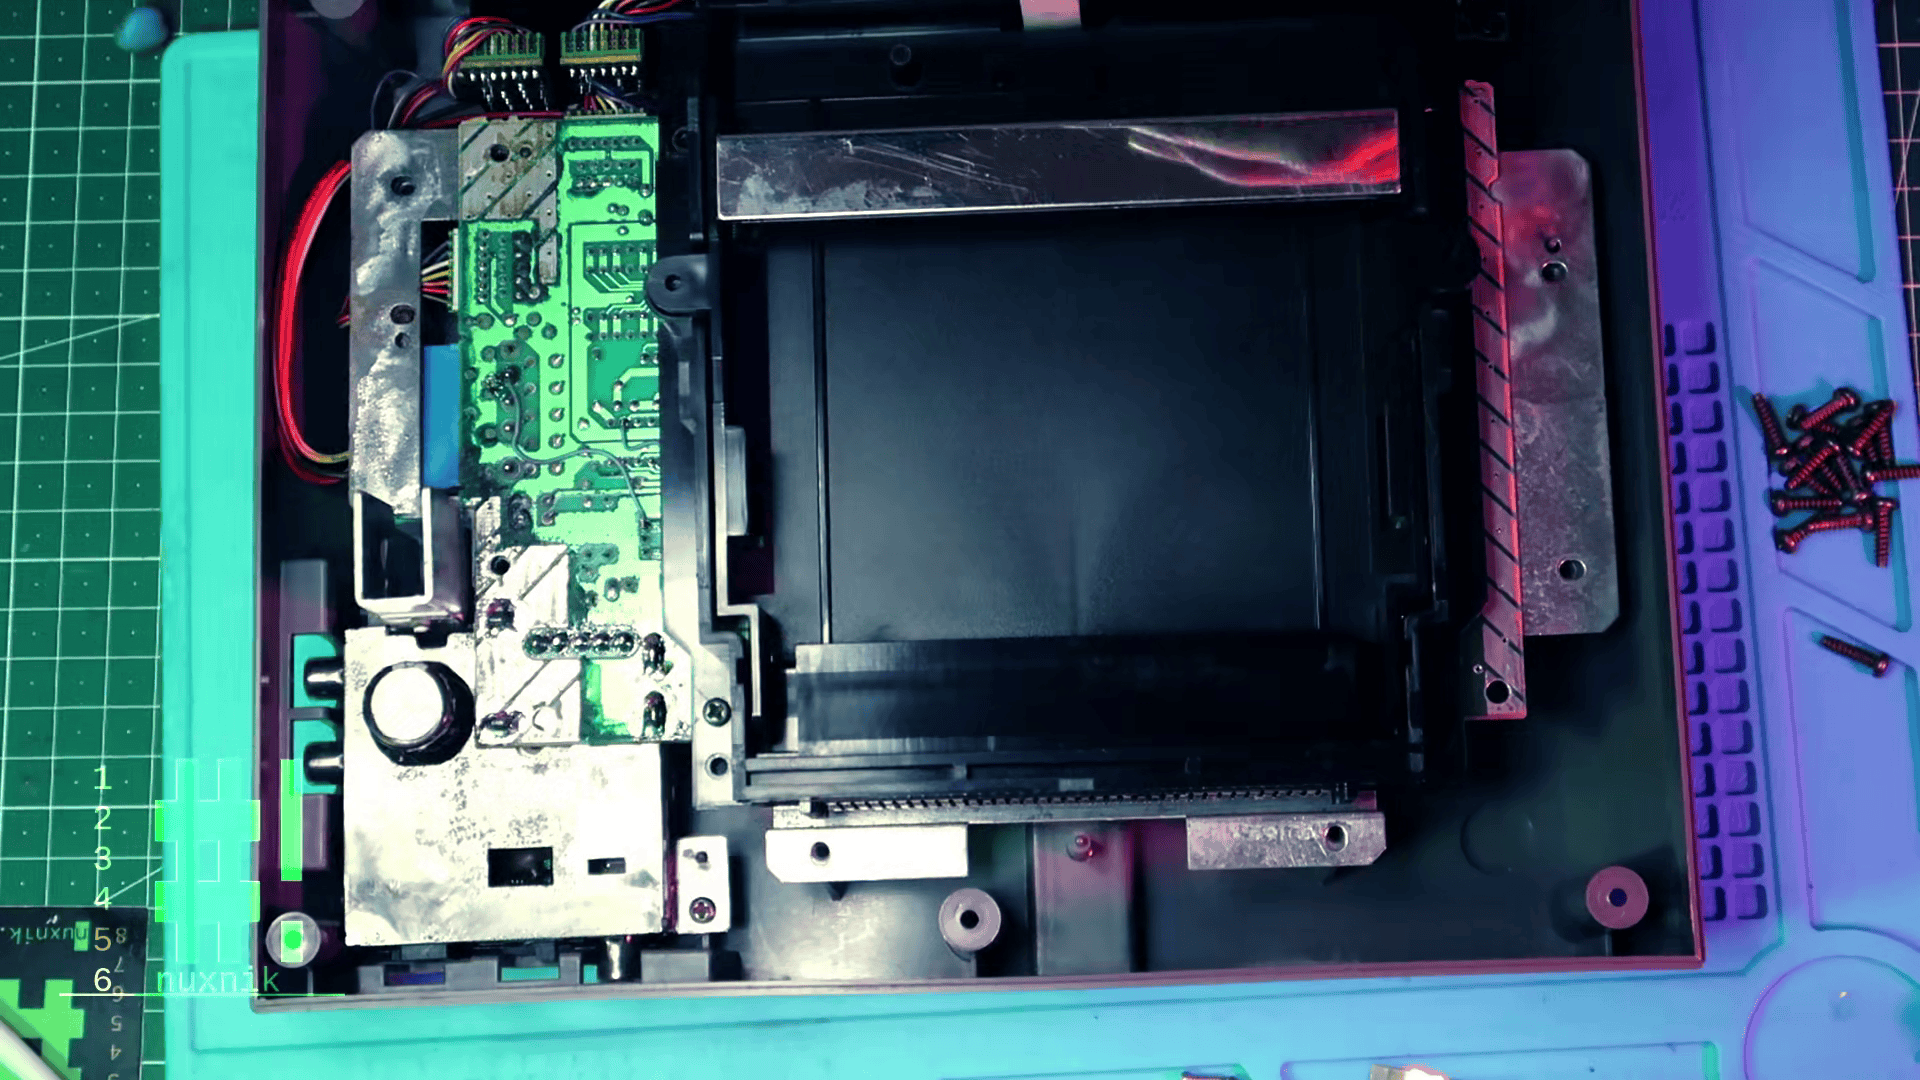
I then removed The RF shields and cartrdige tray.
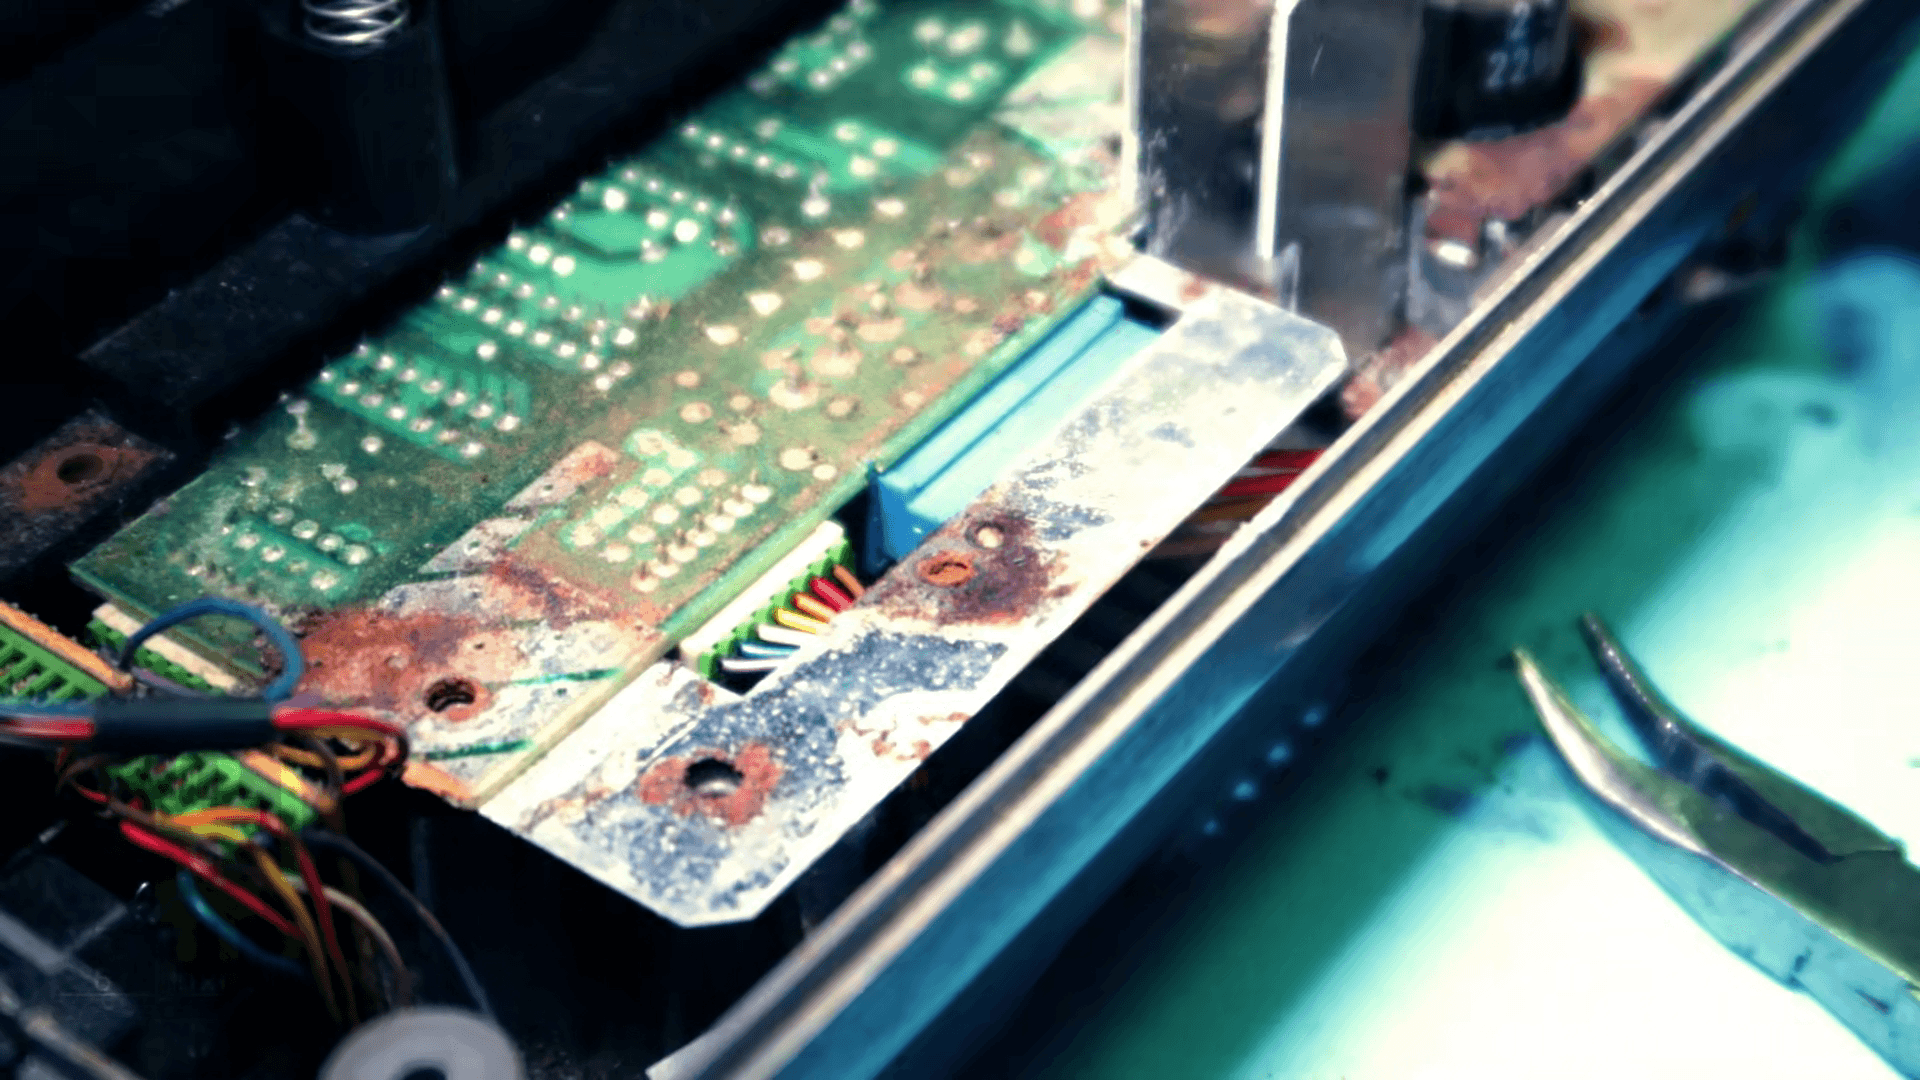
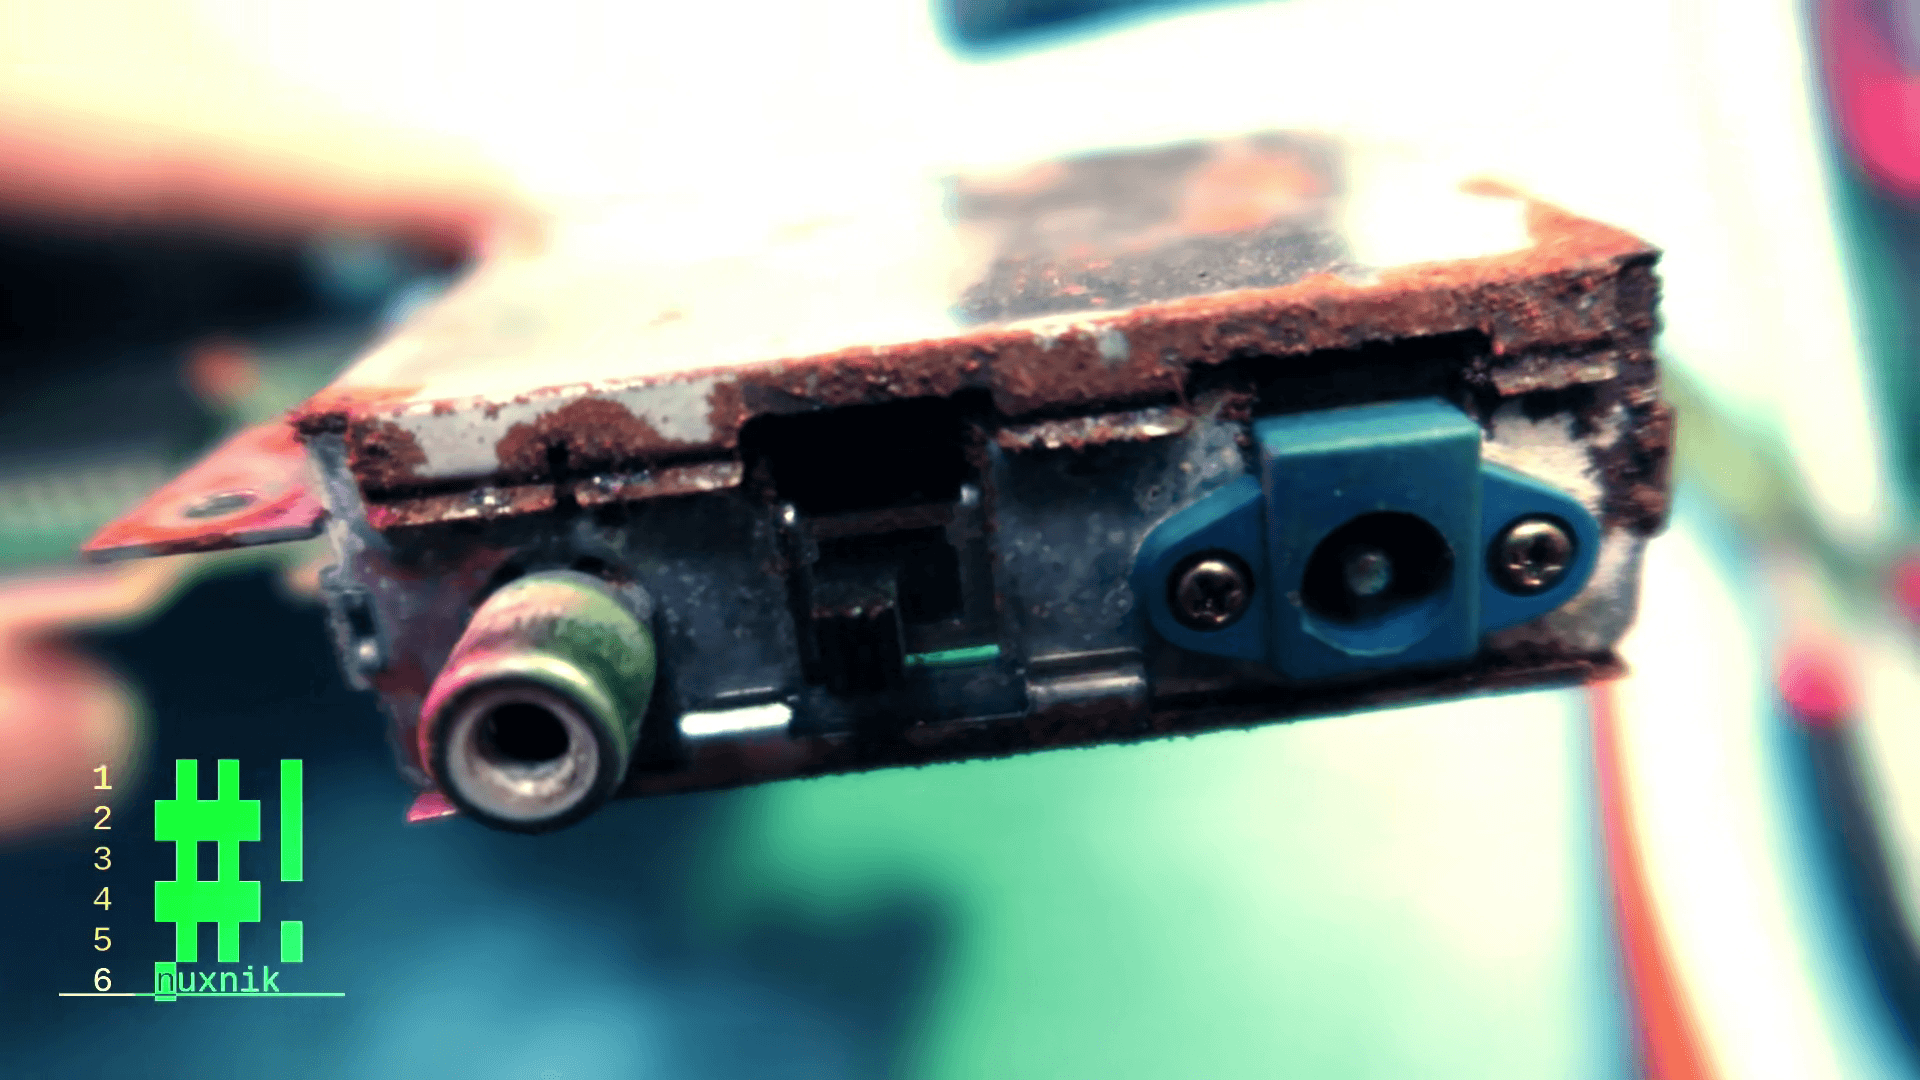
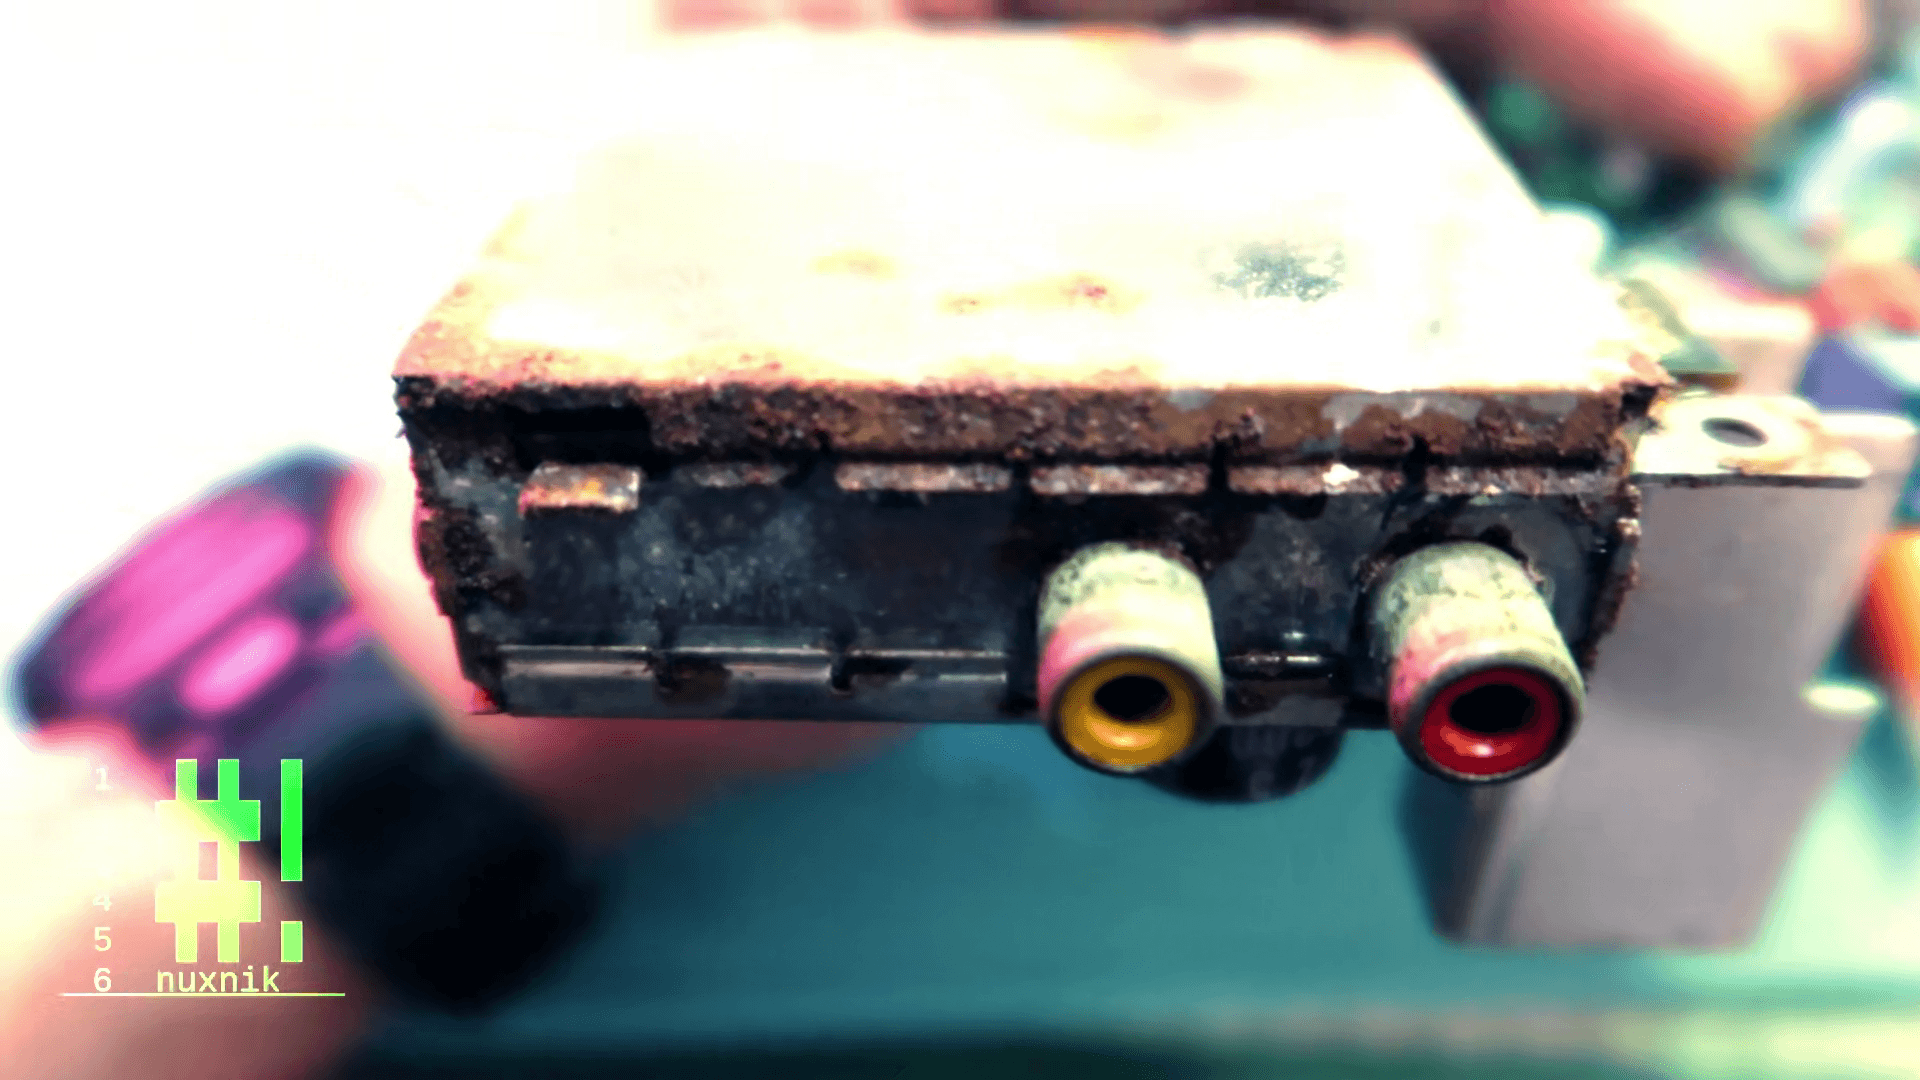
This restoration project is taking a more complicated turn than expected. The majority of the rust has accumulated near and on the power converter, which is a major concern. Furthermore, some of this rust has spread to the main board, leaving behind noticeable signs of oxidation.
Although the rusty condition is worrying, it's reassuring to see that the main board electronics appear to be largely intact, with only minor surface-level damage visible.
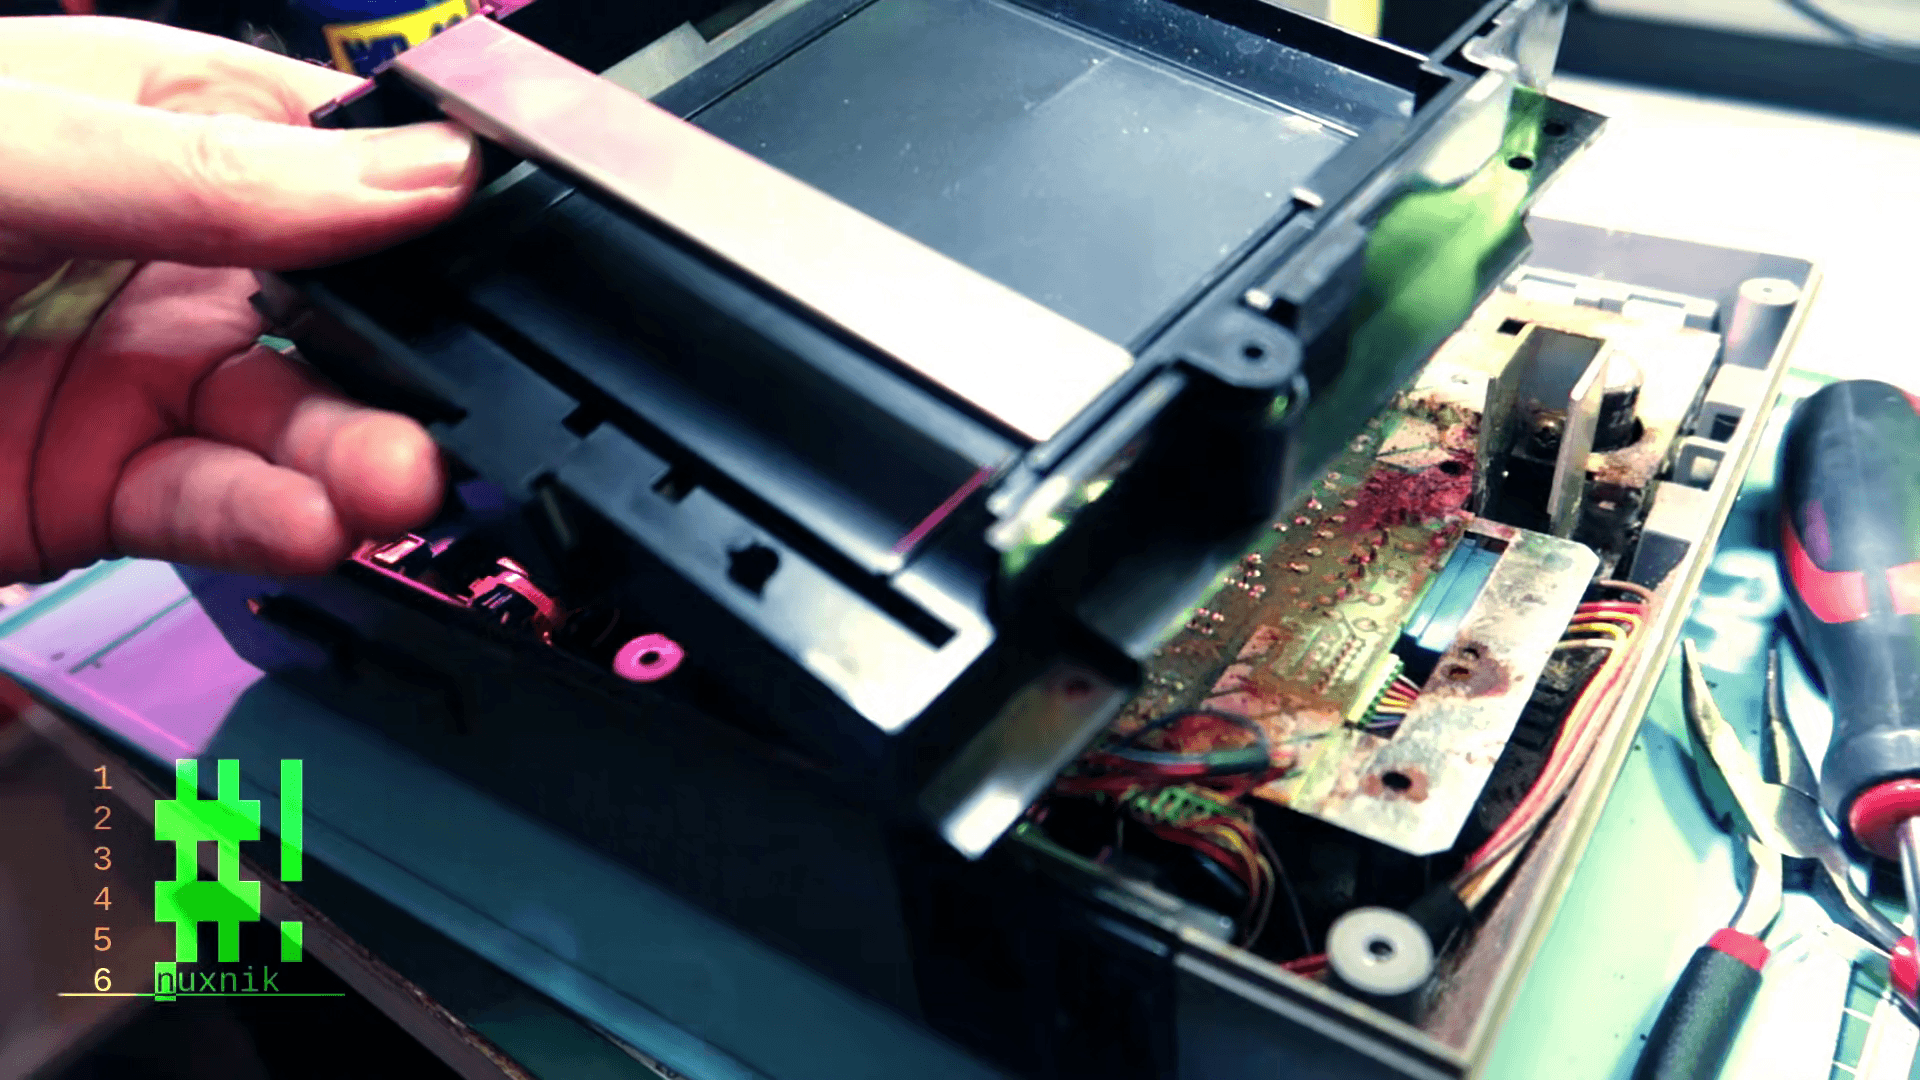
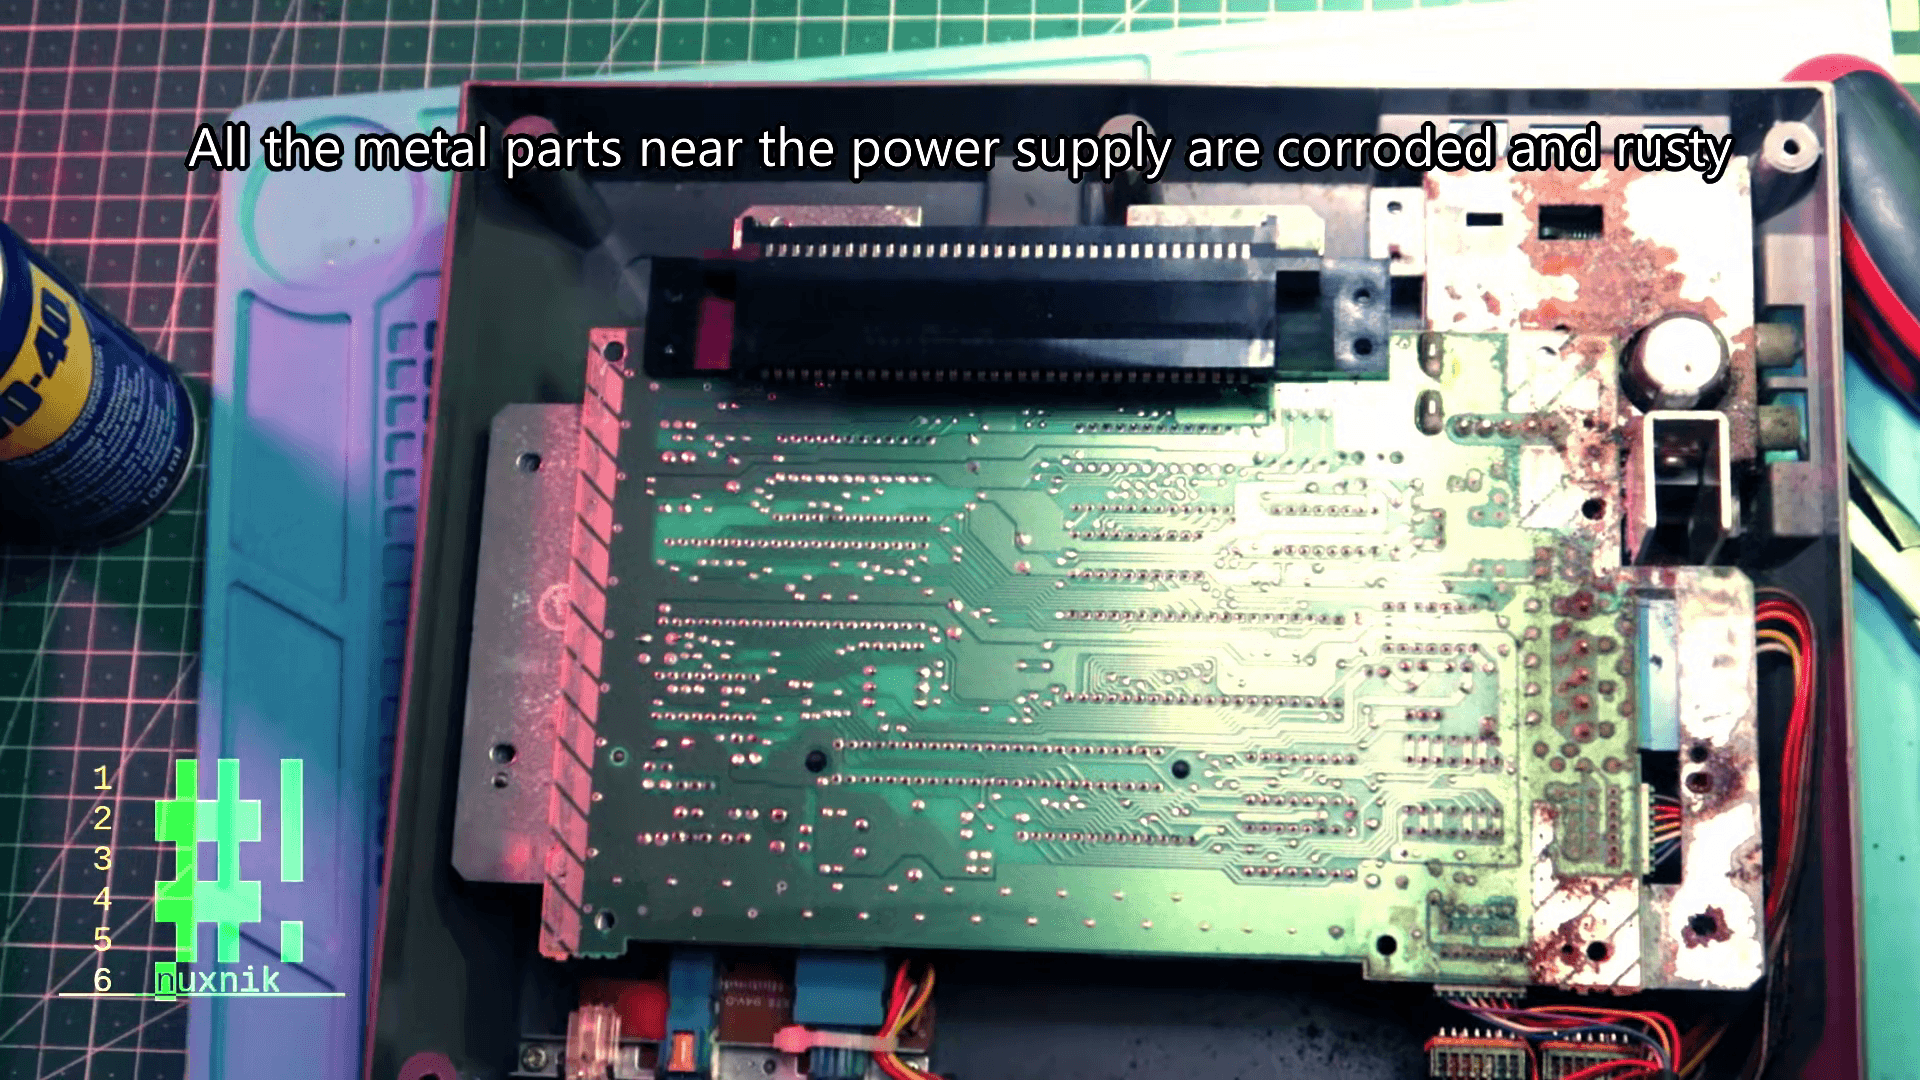
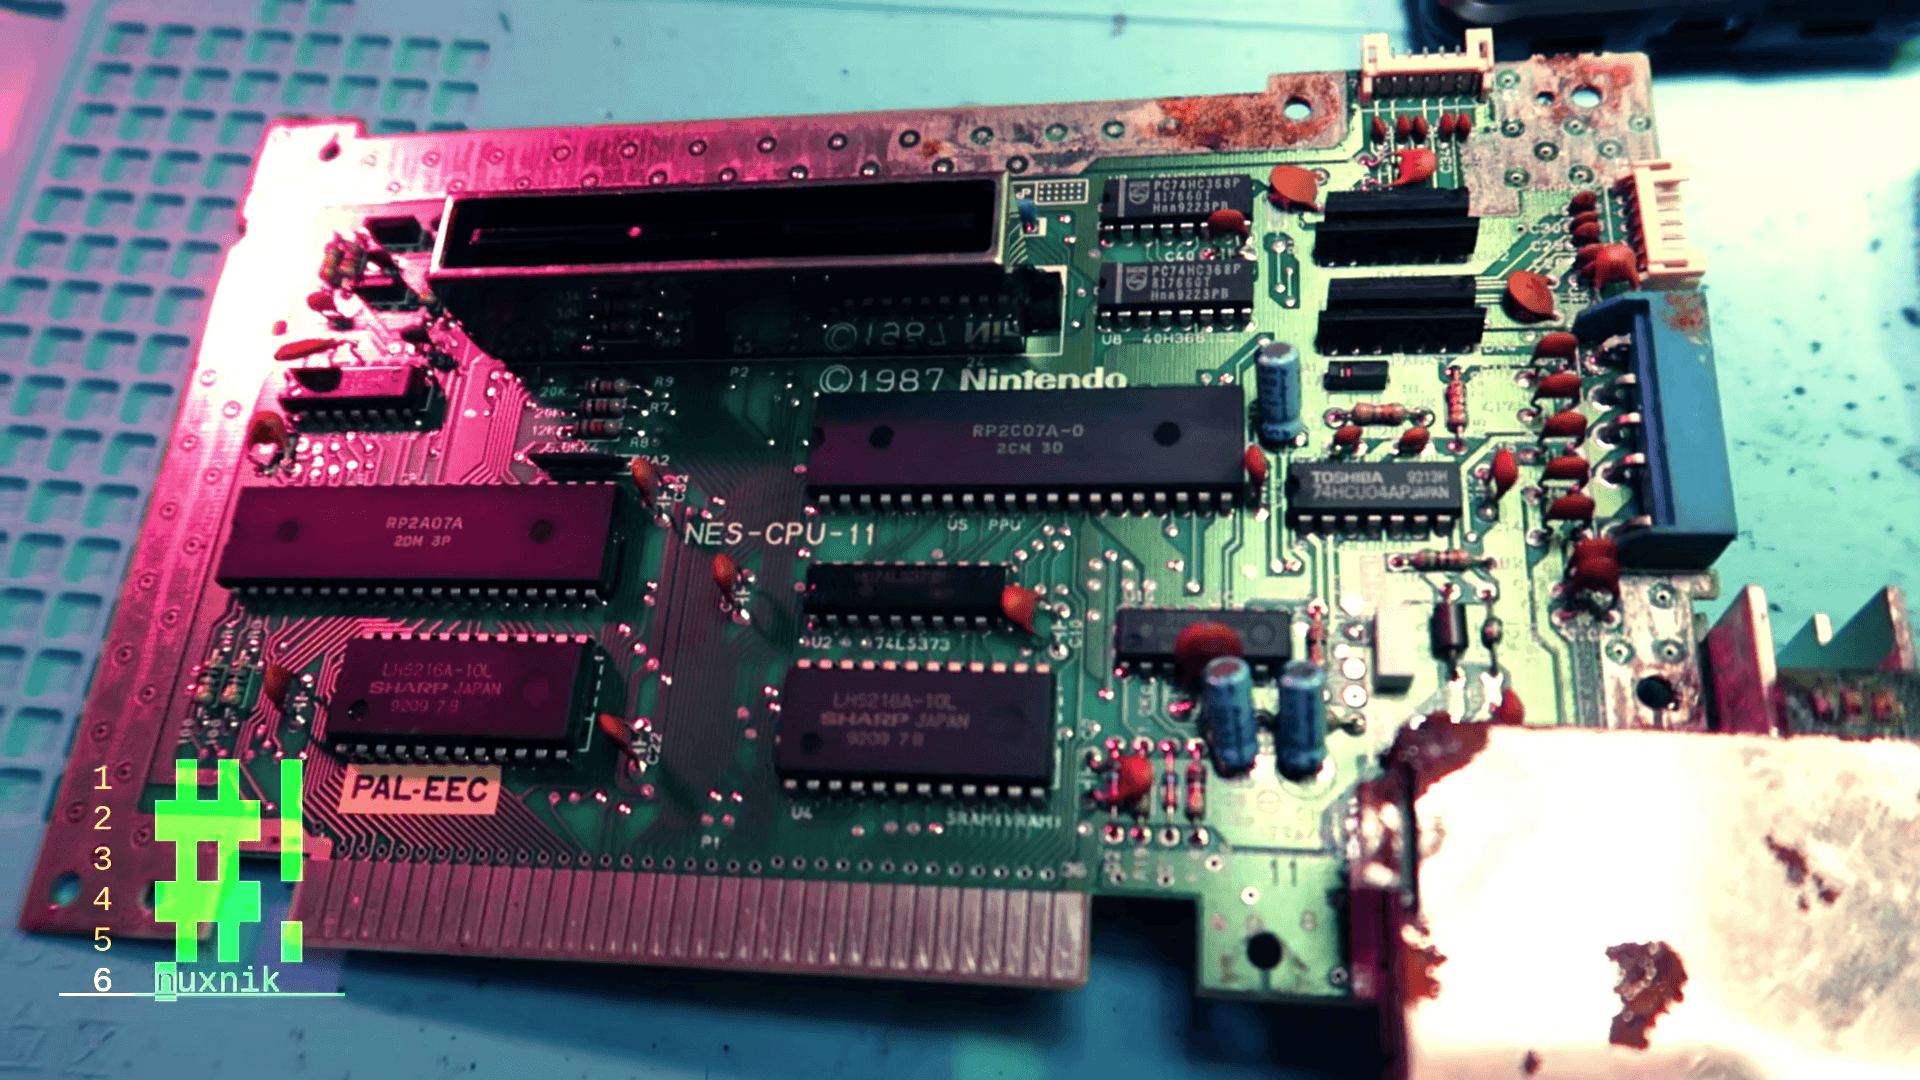
The power converter is a rusty mess
I used a flat-head screwdriver to remove the screws holding the top half of the housing together.
The screw retaining the pressure plate for the front flap was severely rusted and refused to budge. Unfortunately, I also managed to strip what little remained of the screw head while trying to remove it.
Given that my Dremel tool wasn't suitable for this small screw, I resorted to using a soldering iron instead. By heating the screw head to around 350°C, I was able to soften the plastic and finally dislodge the screw.
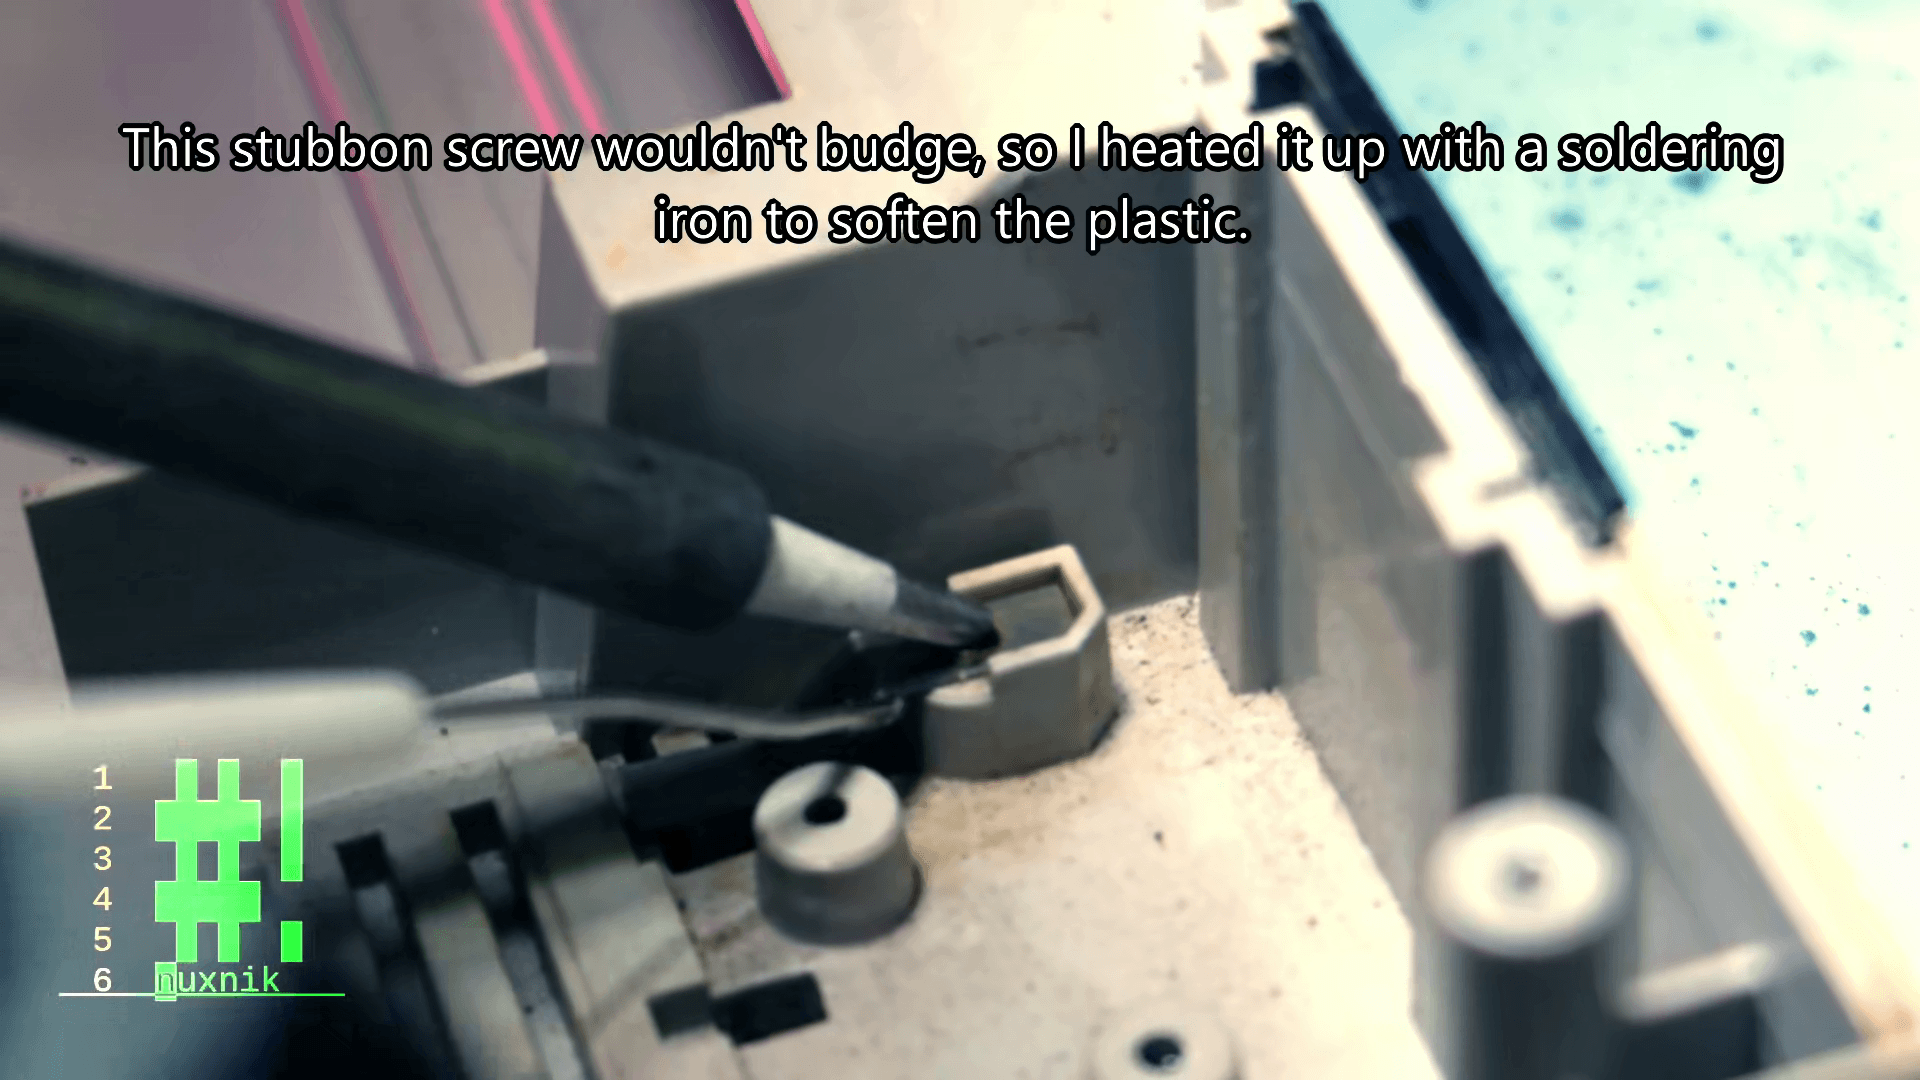
Once the plastic had softened to a suitable degree, I carefully used the remaining nub of the screw head to lever it out.
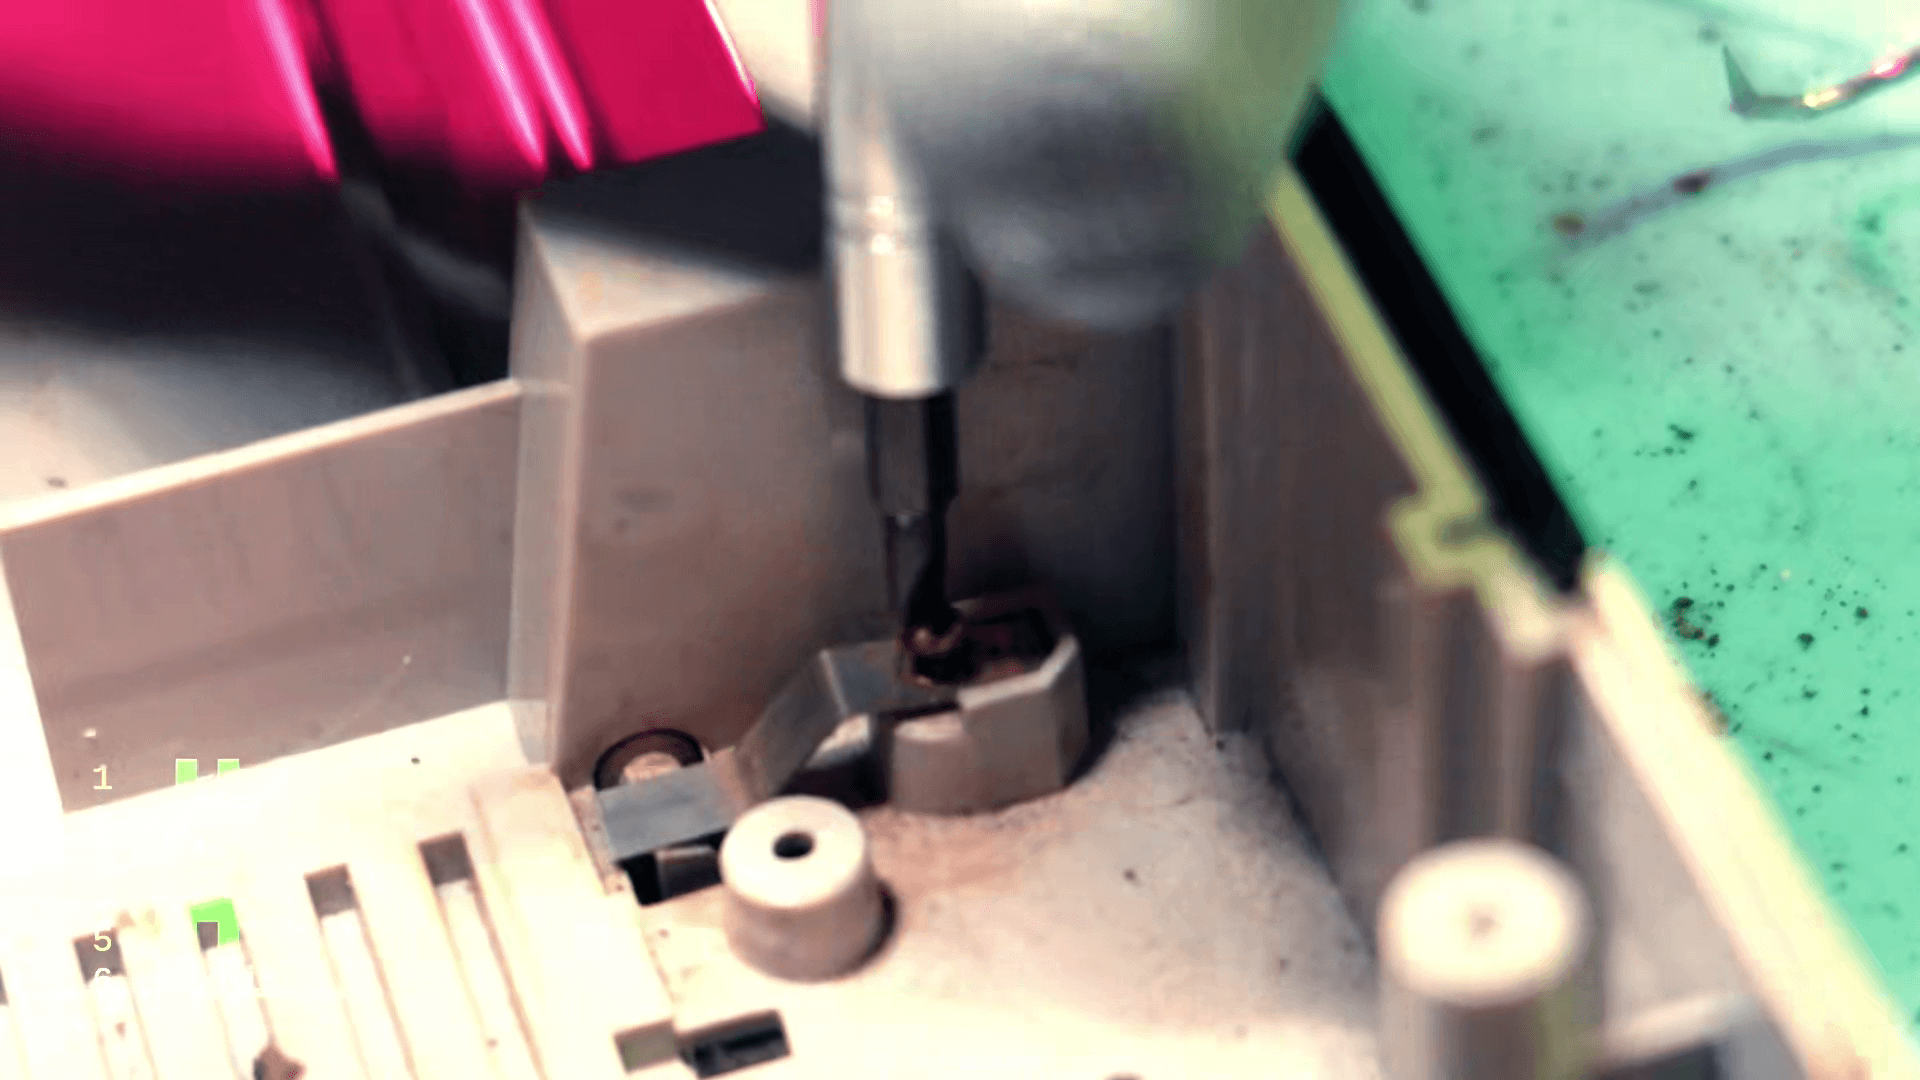
Controller Disassembly
Disassembling the controllers proved to be a straightforward process. I removed the six screws from the back of each controller, then separated the two housing halves and carefully extracted the internal components, including the buttons.
Plastic Pieces
With all electronic components removed, I focused on restoring the plastic housing. I began by washing each part thoroughly in warm soapy water to remove any surface grime.
I also used a scrubbing brush to gently scrub away any stubborn dirt or debris, followed by a toothbrush to clean hard-to-reach areas and crevices. The console's condition was so dirty that it required multiple wash-and-dry cycles before I was satisfied that all parts were sufficiently clean.
Retrobrighting
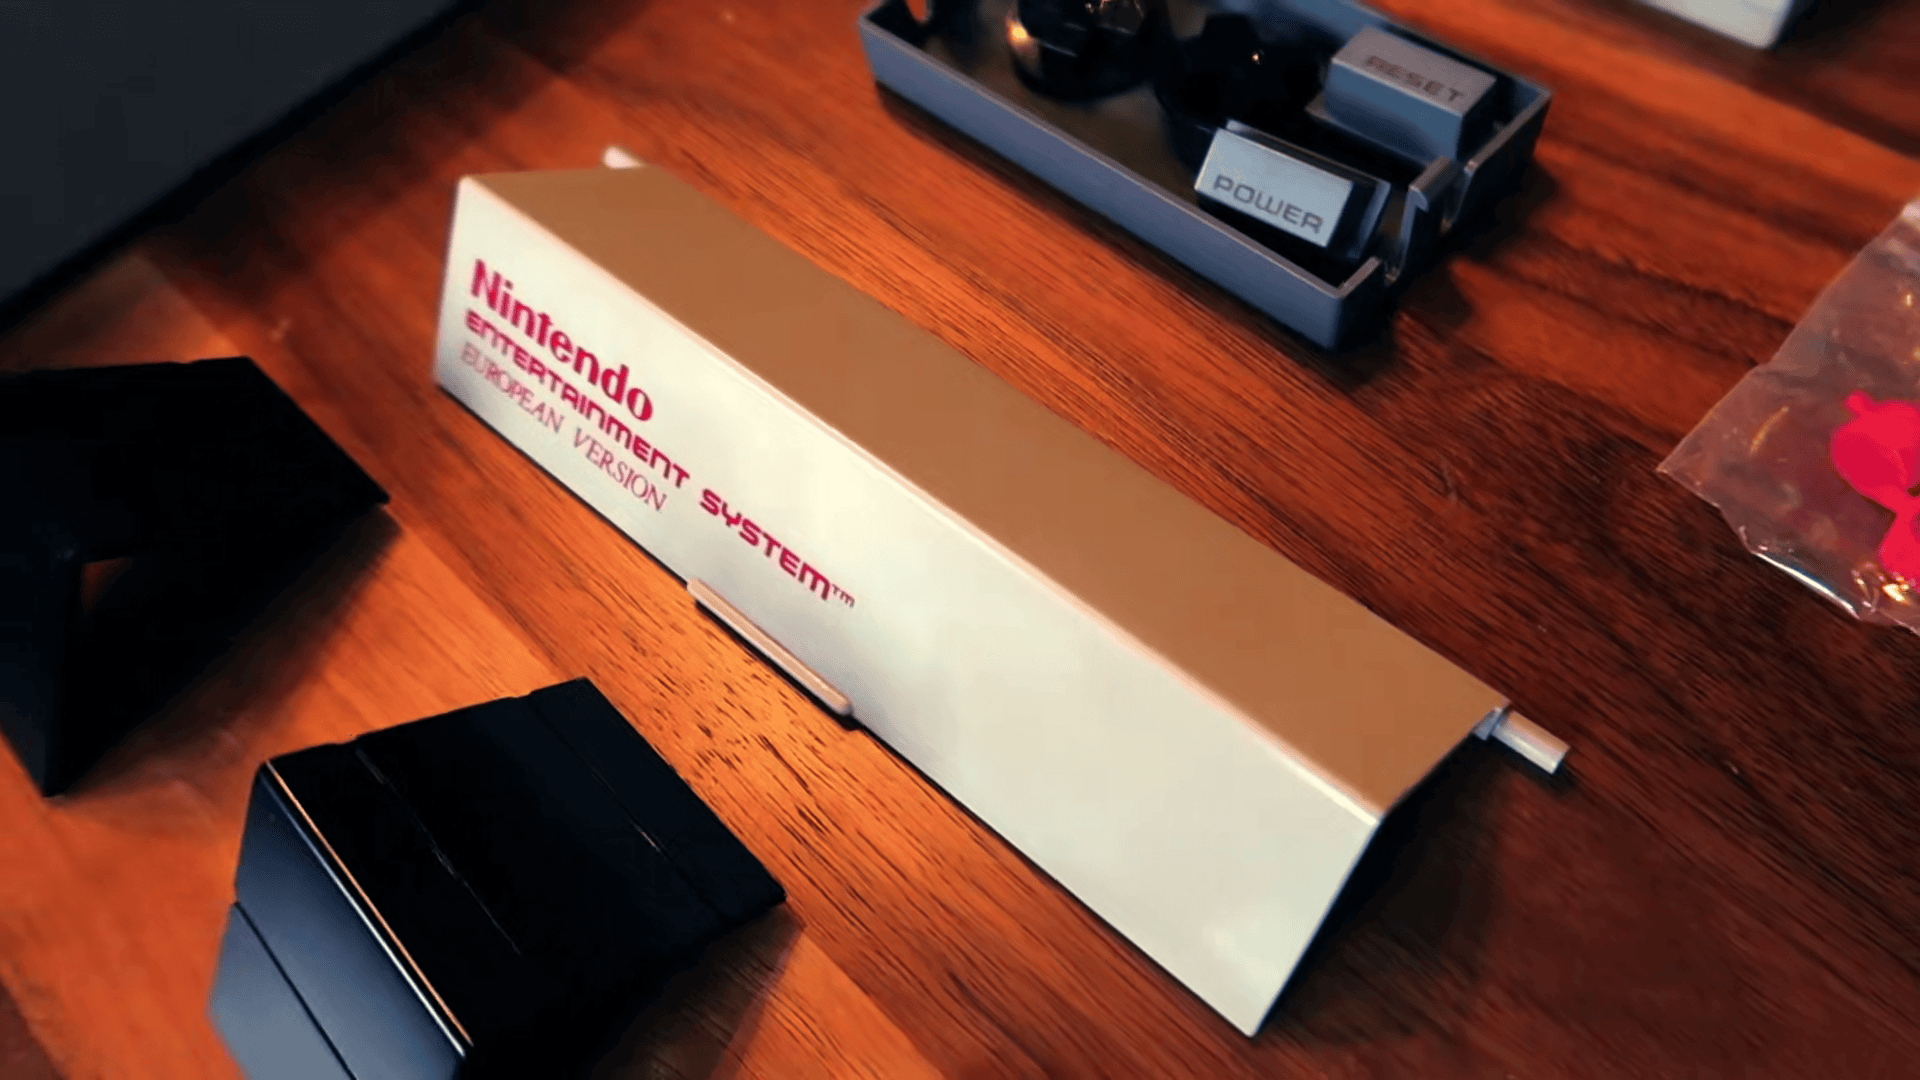
I employed the Retrobright process to de-yellow the old ABS plastic components. It effectively brought back to life the original color from the old yellowed plastic look.
For the purpose of retrobrighting a single console, I recommend starting with a small quantity of hydrogen peroxide cream, such as 500mL or less. For this project, I bought an entire liter and only used a fraction of it. The process involves applying a liberal coat of hydrogen peroxide cream (12%) to the plastic parts and wrapping them in cellophane wrap.
I initiated the de-yellowing process by placing the wrapped components in direct sunlight. Unfortunately, my first attempt was cut short, as I began too late and only had 3 hours of sunlight before it got dark. The next day's results were disappointing due to overcast skies, which limited the exposure time to just 4 hours.
However, on the third day, I achieved the best results yet. With consistent sunlight for more than 7 hours, the plastic housing showed significant improvement in its original coloration.
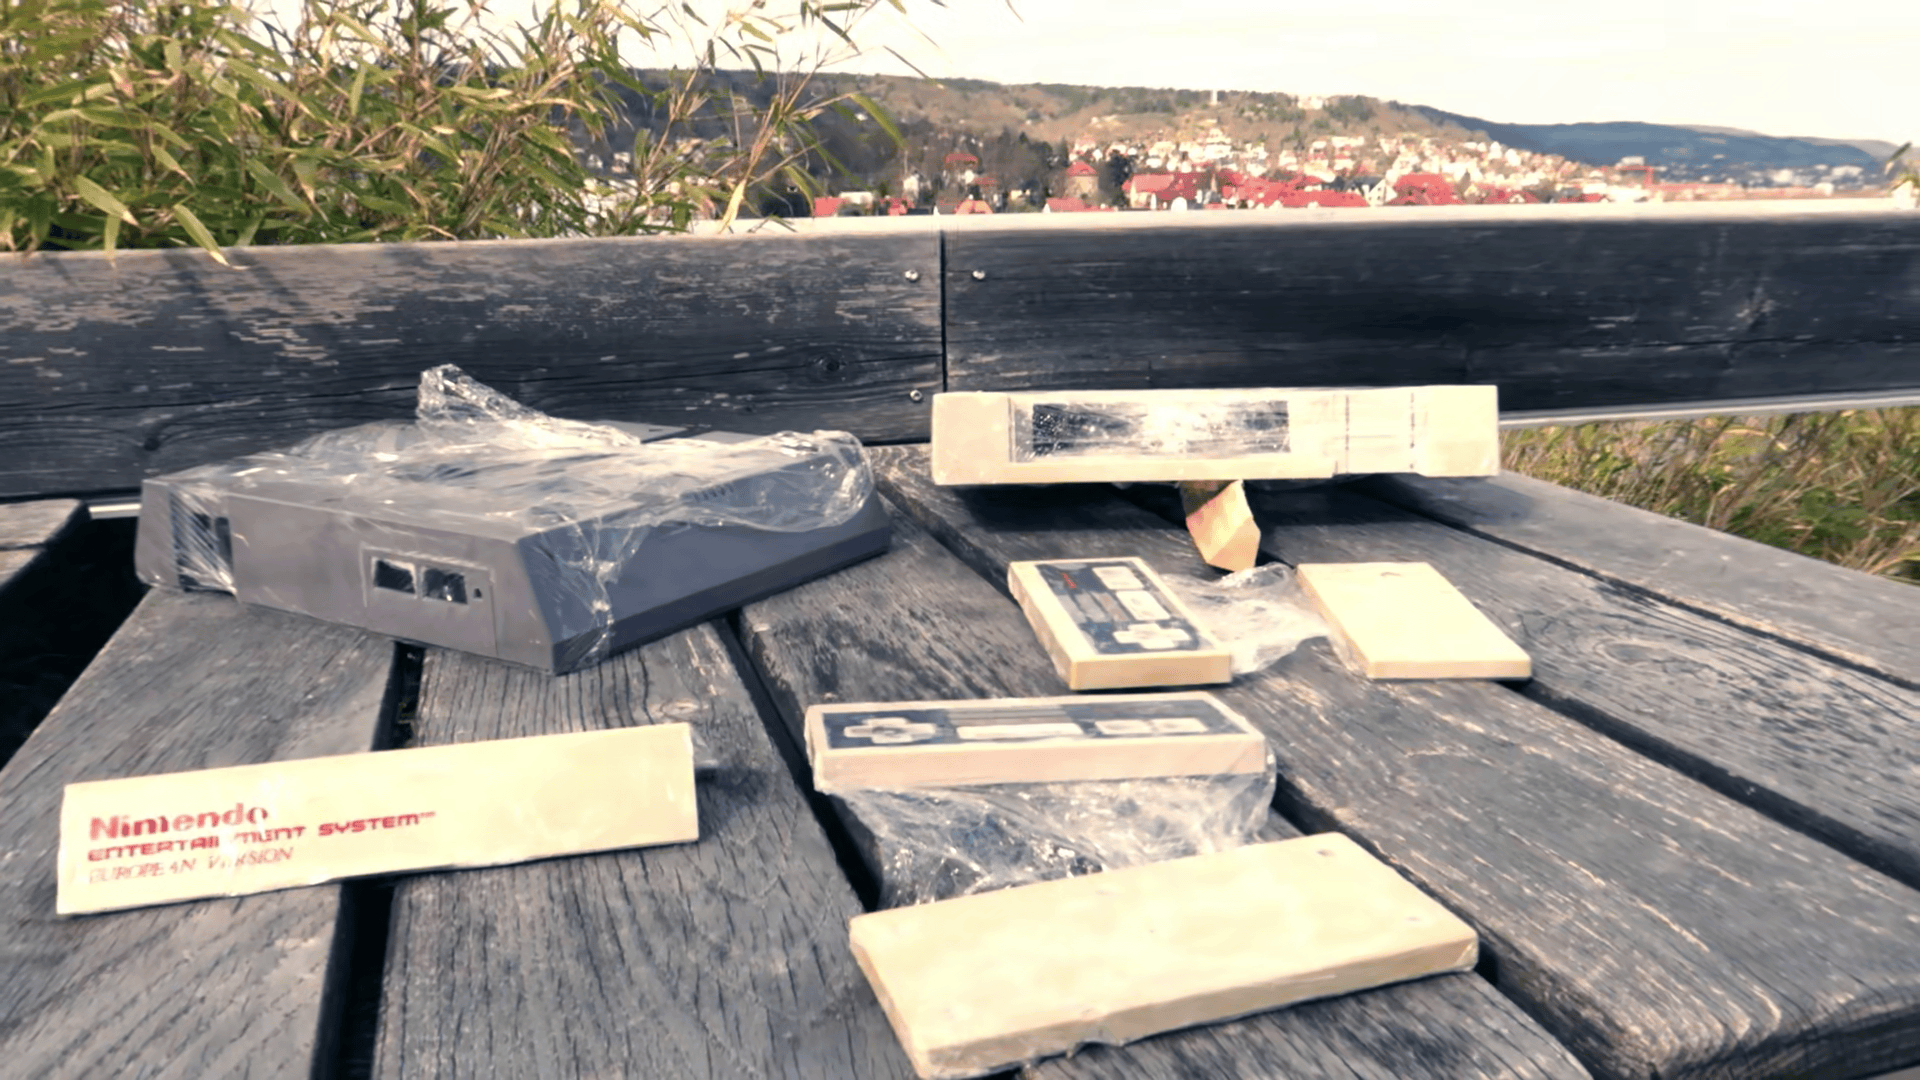
I didn't get perfect results. It seems there wasn't enough hydrogen peroxide cream applied to some areas and the end result looked a little patchy. Howeever, for the most part, this was a great improvement over the original yellowing.
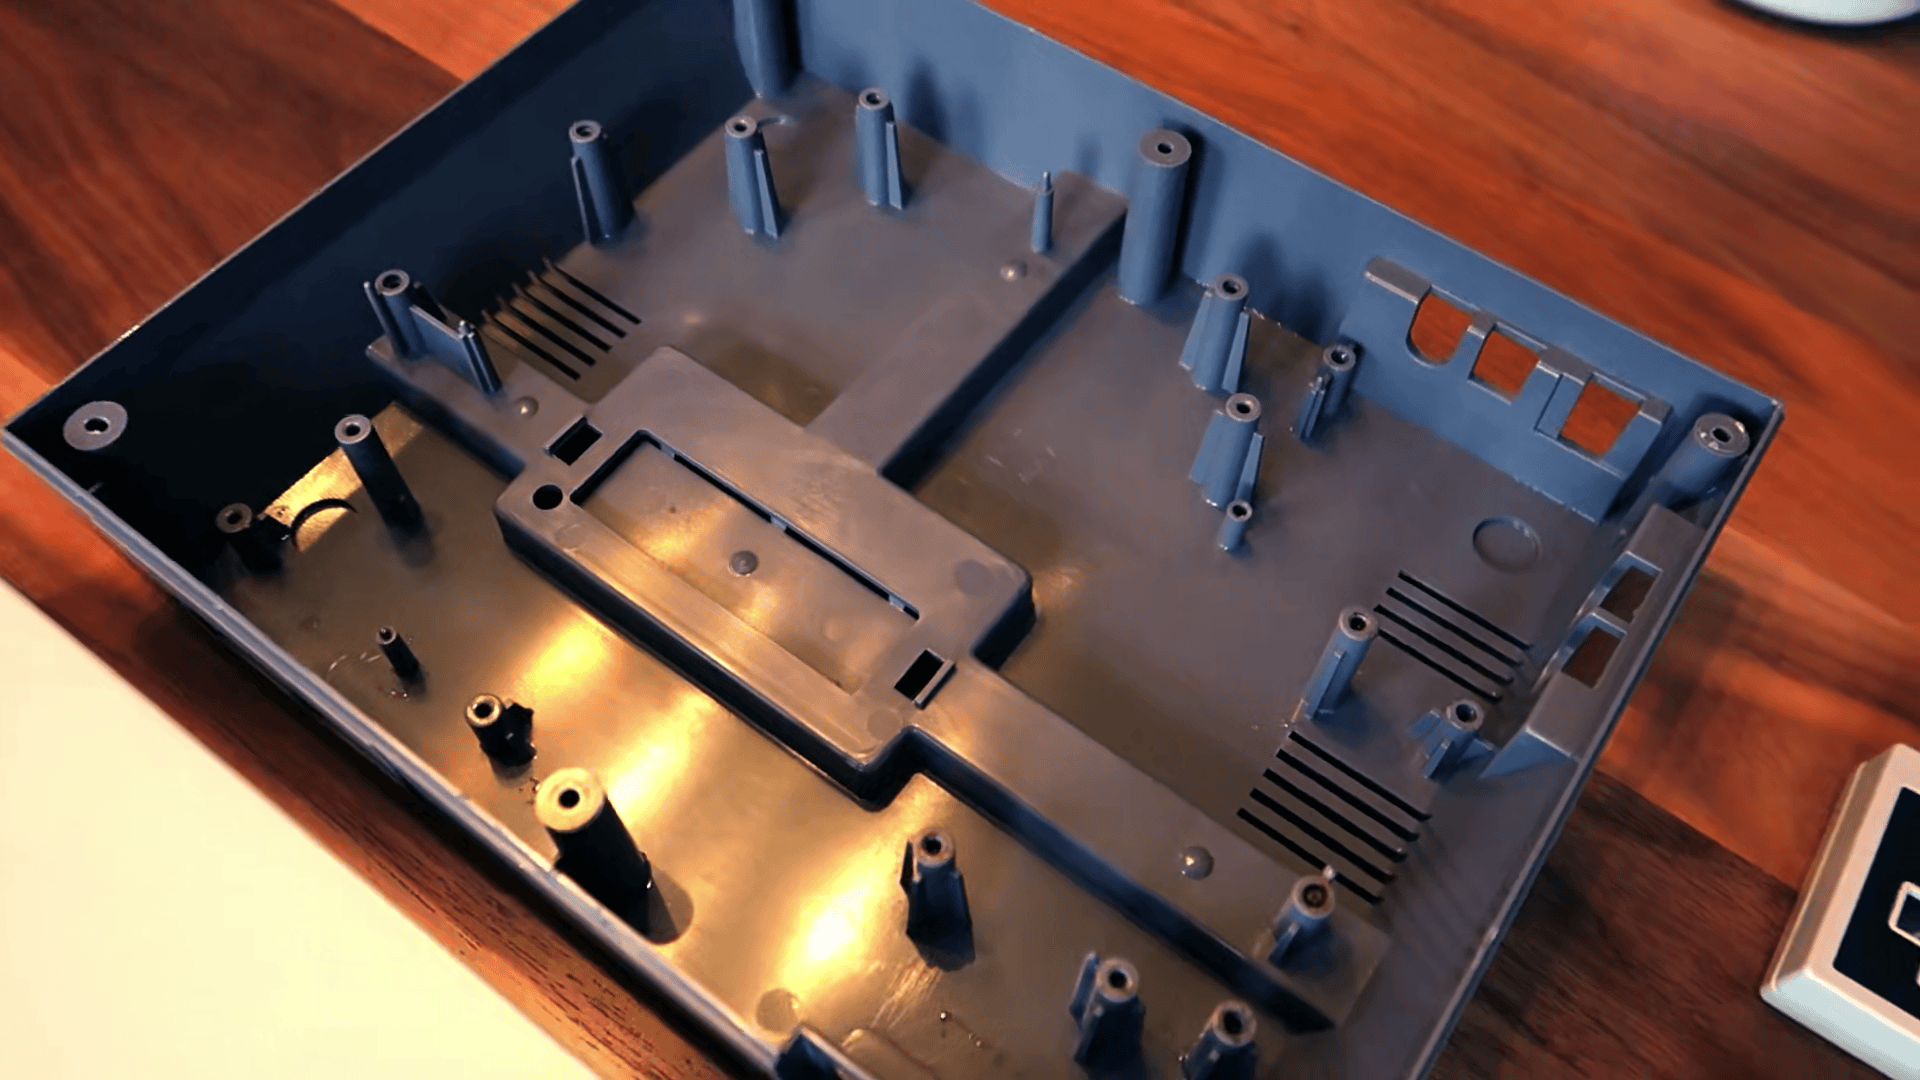
After removing the wrap I rinsed off the hydrogen peroxide cream in water and set the plastic pieces out to dry.
Cosmetic Fixes
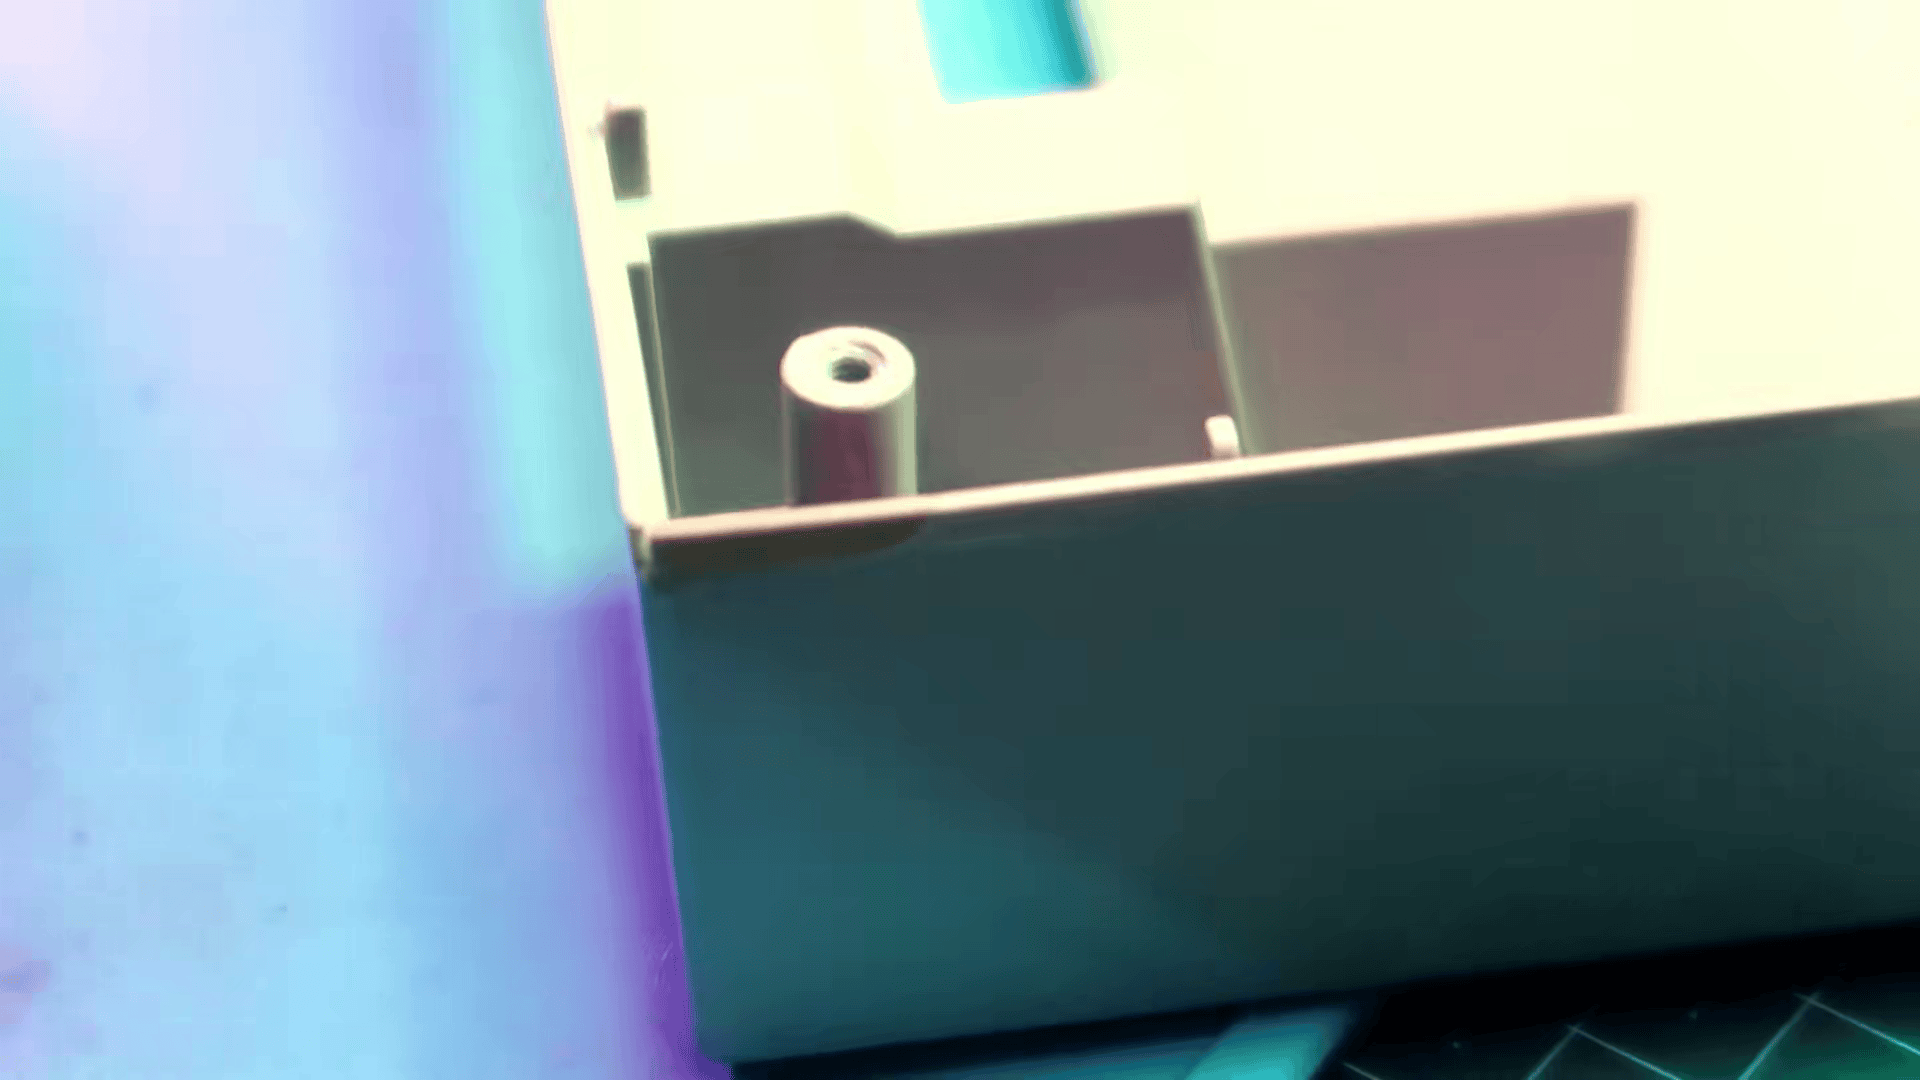
The case had a slightly cracked corner along with a broken off internal screw post. Luckily for me, the broken pieces were delivered along with the console. These pieces were easily reattached using super glue. If you find yourself in a similar situation and are going to retrobright the plastic, don't forget to add the broken pieces to the retrobrighting process. I forgot to do this for one of the broken corner pieces. It didn't bother me in the end because it stands as a testament to how yellowed the plastic was before the retrobrighting process.
Electronics
Since the power converter housing was so rusted, I decided to completely disassemble it. Firstly, I removed it from the main board using a solder sucker. I removed the bulk of the solder with this method and sopped up the hard to reach areas with flux and solder wick. A chisel soldering tip turned up to 400° worked just fine for this job.
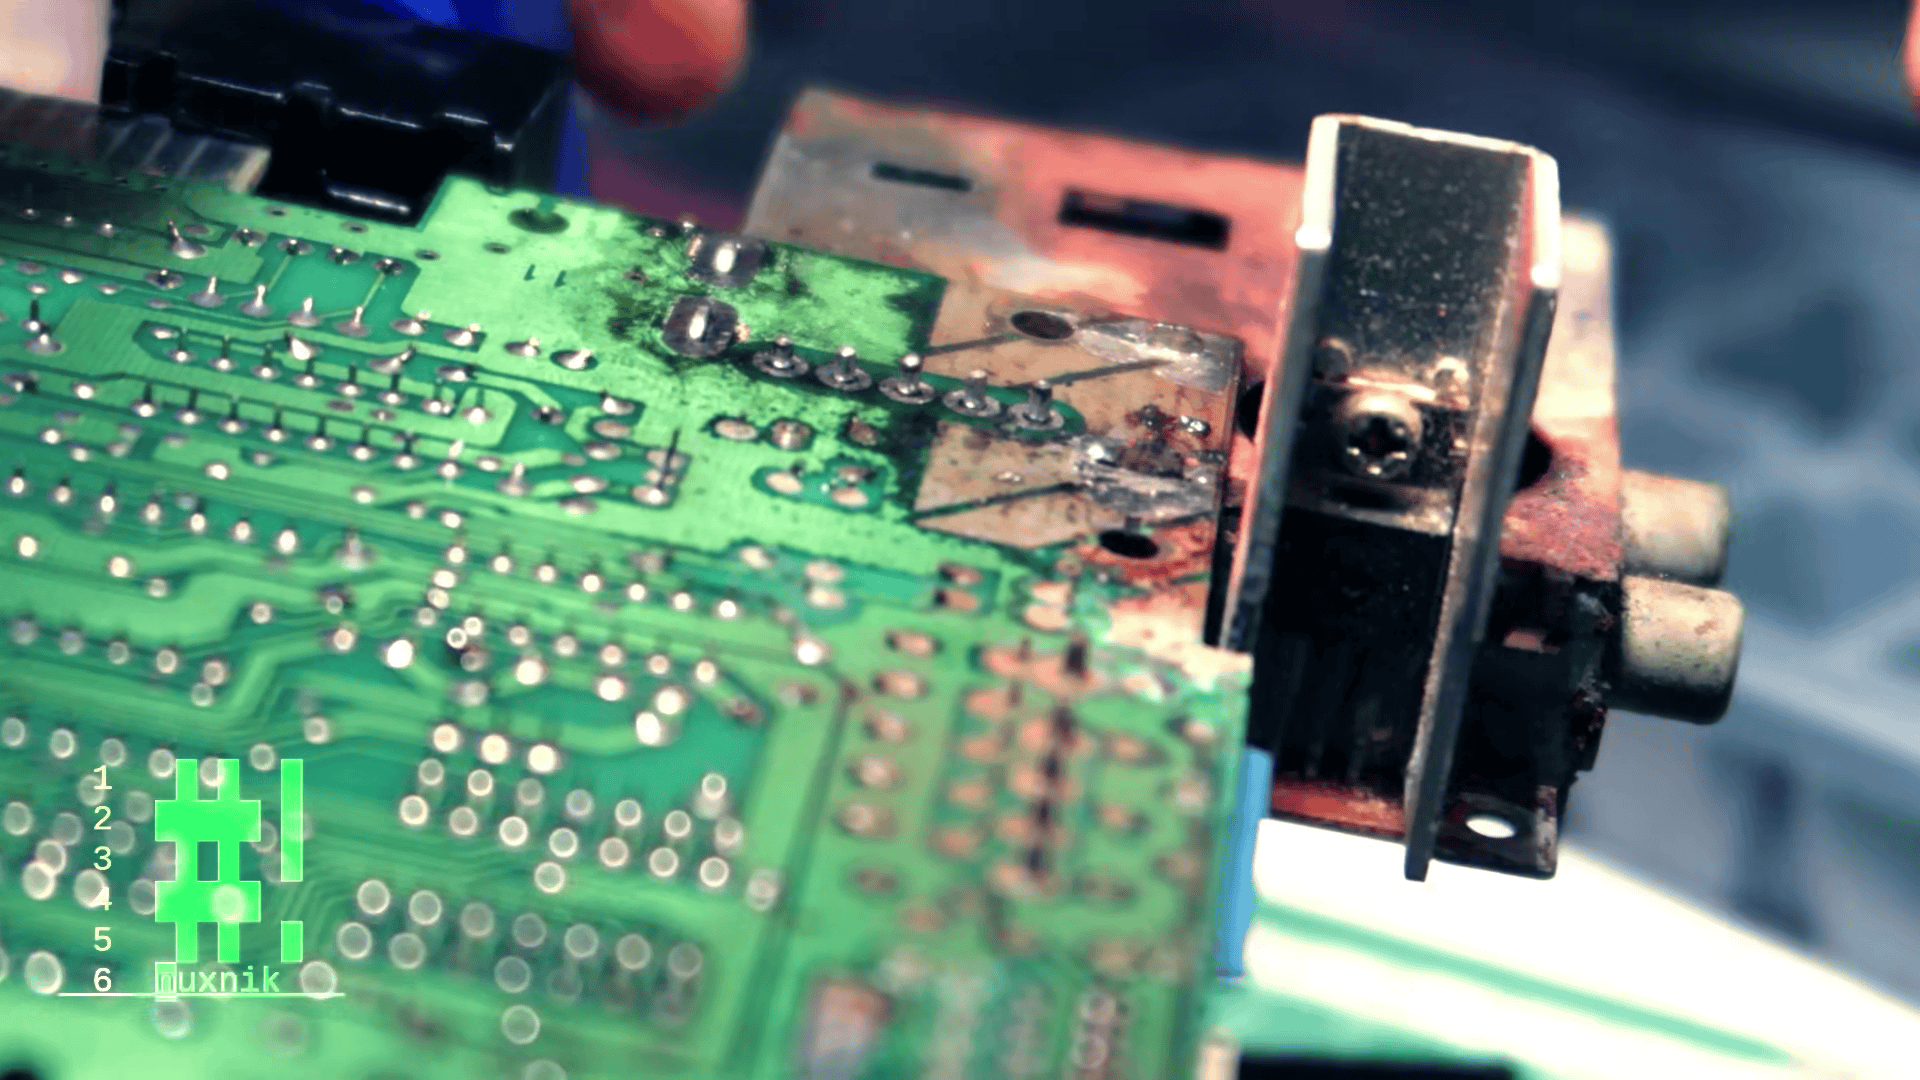
After removing the main board from the power converter, I disassembled the housing. Using the same method, I removed the solder tacks from the PCB and was able to remove the board from the chassis.
Removing Rust
Removing the rust was the most tedious task in this project. First I brushed off the loose rust with a steel brush. Afterward, I removed the rest with my dremel tool. I alternated between a steel and brass brush until the rust was completely gone. There was so much rust, that the metal has some rust scarring and pock marks.
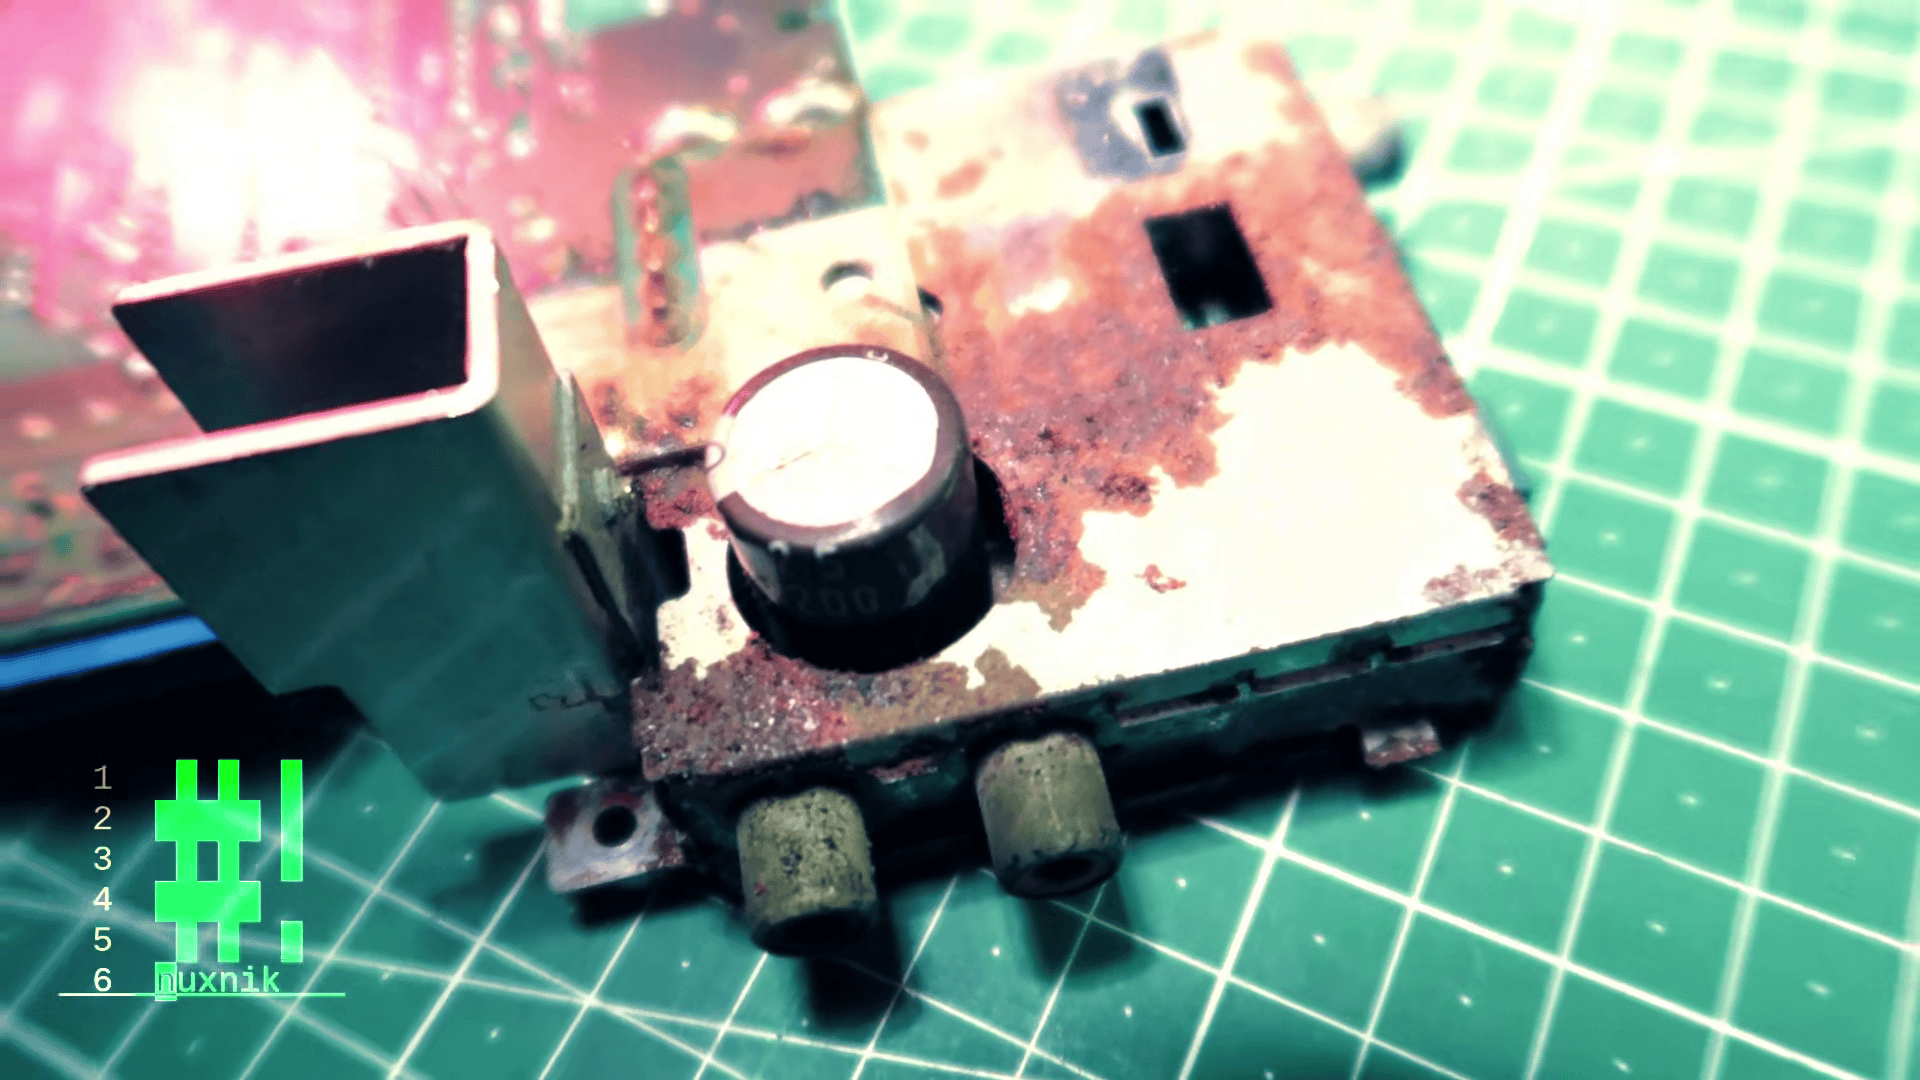
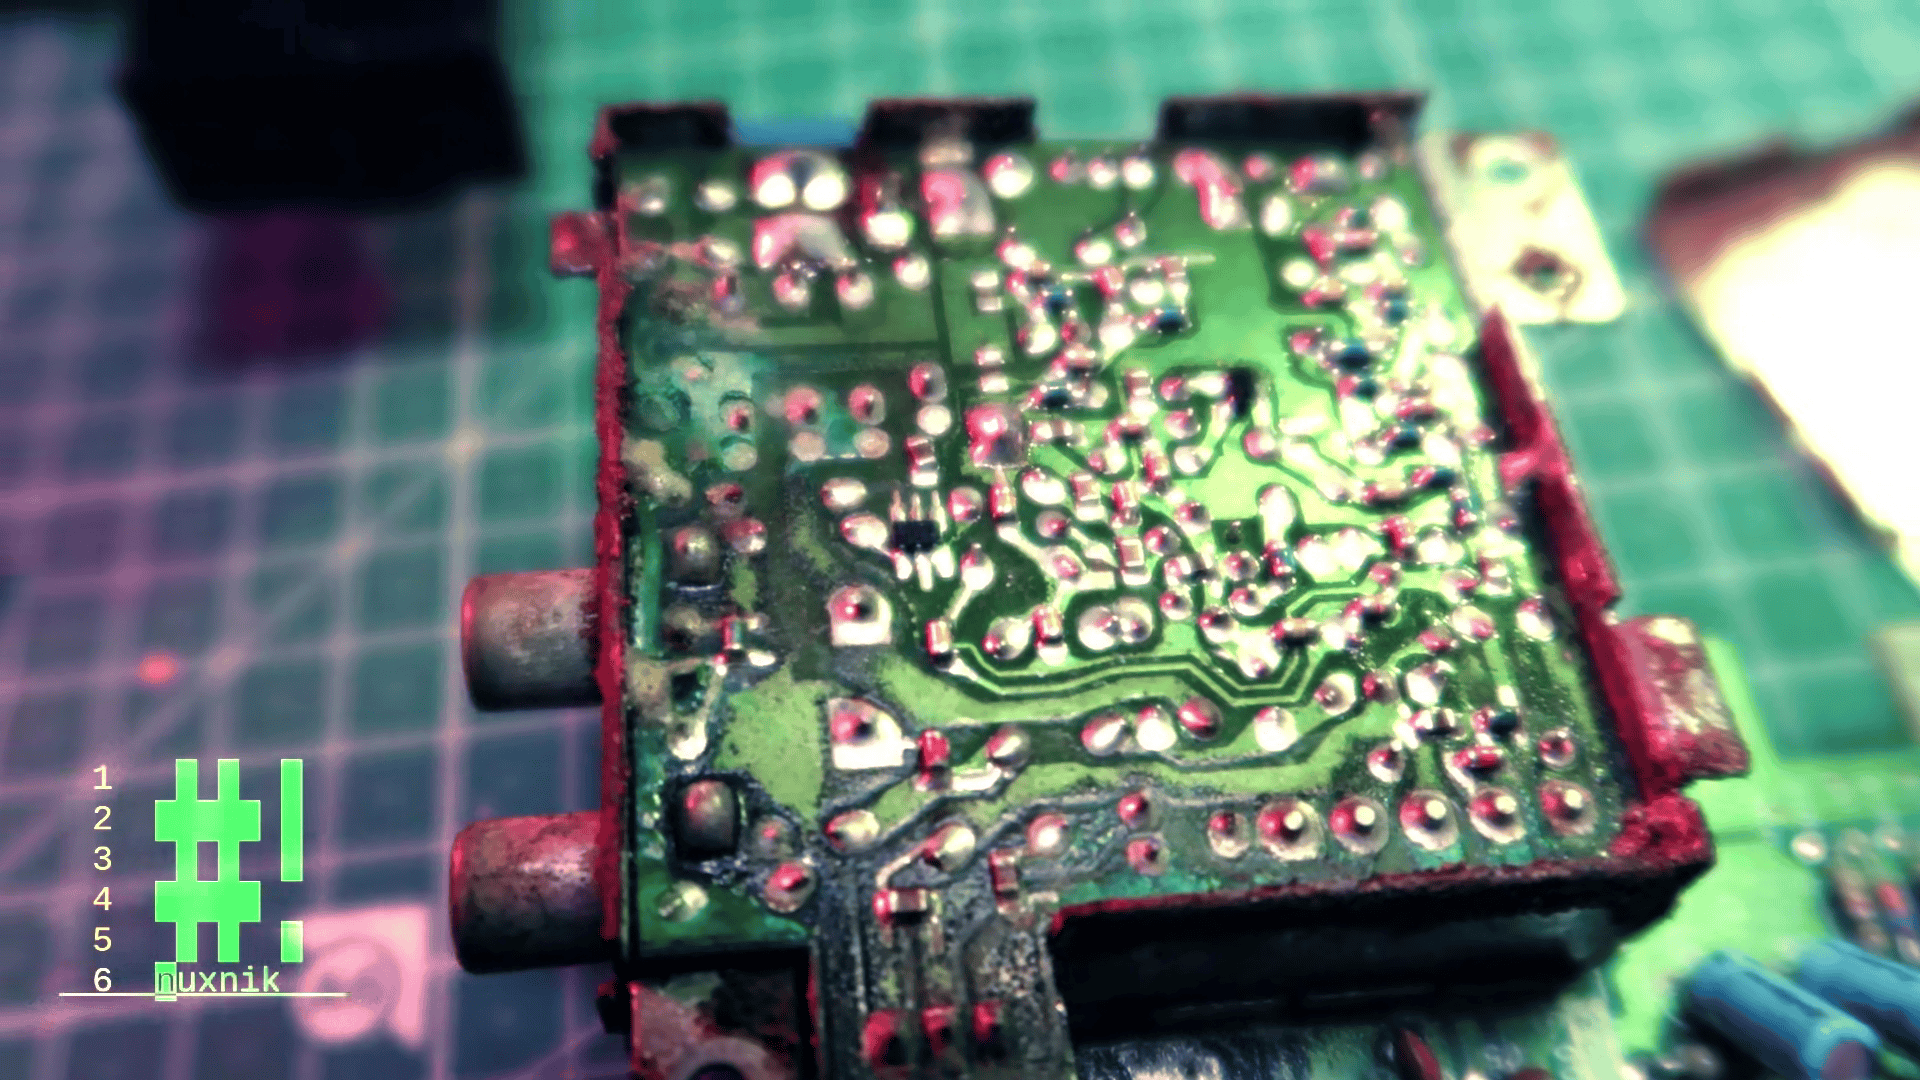
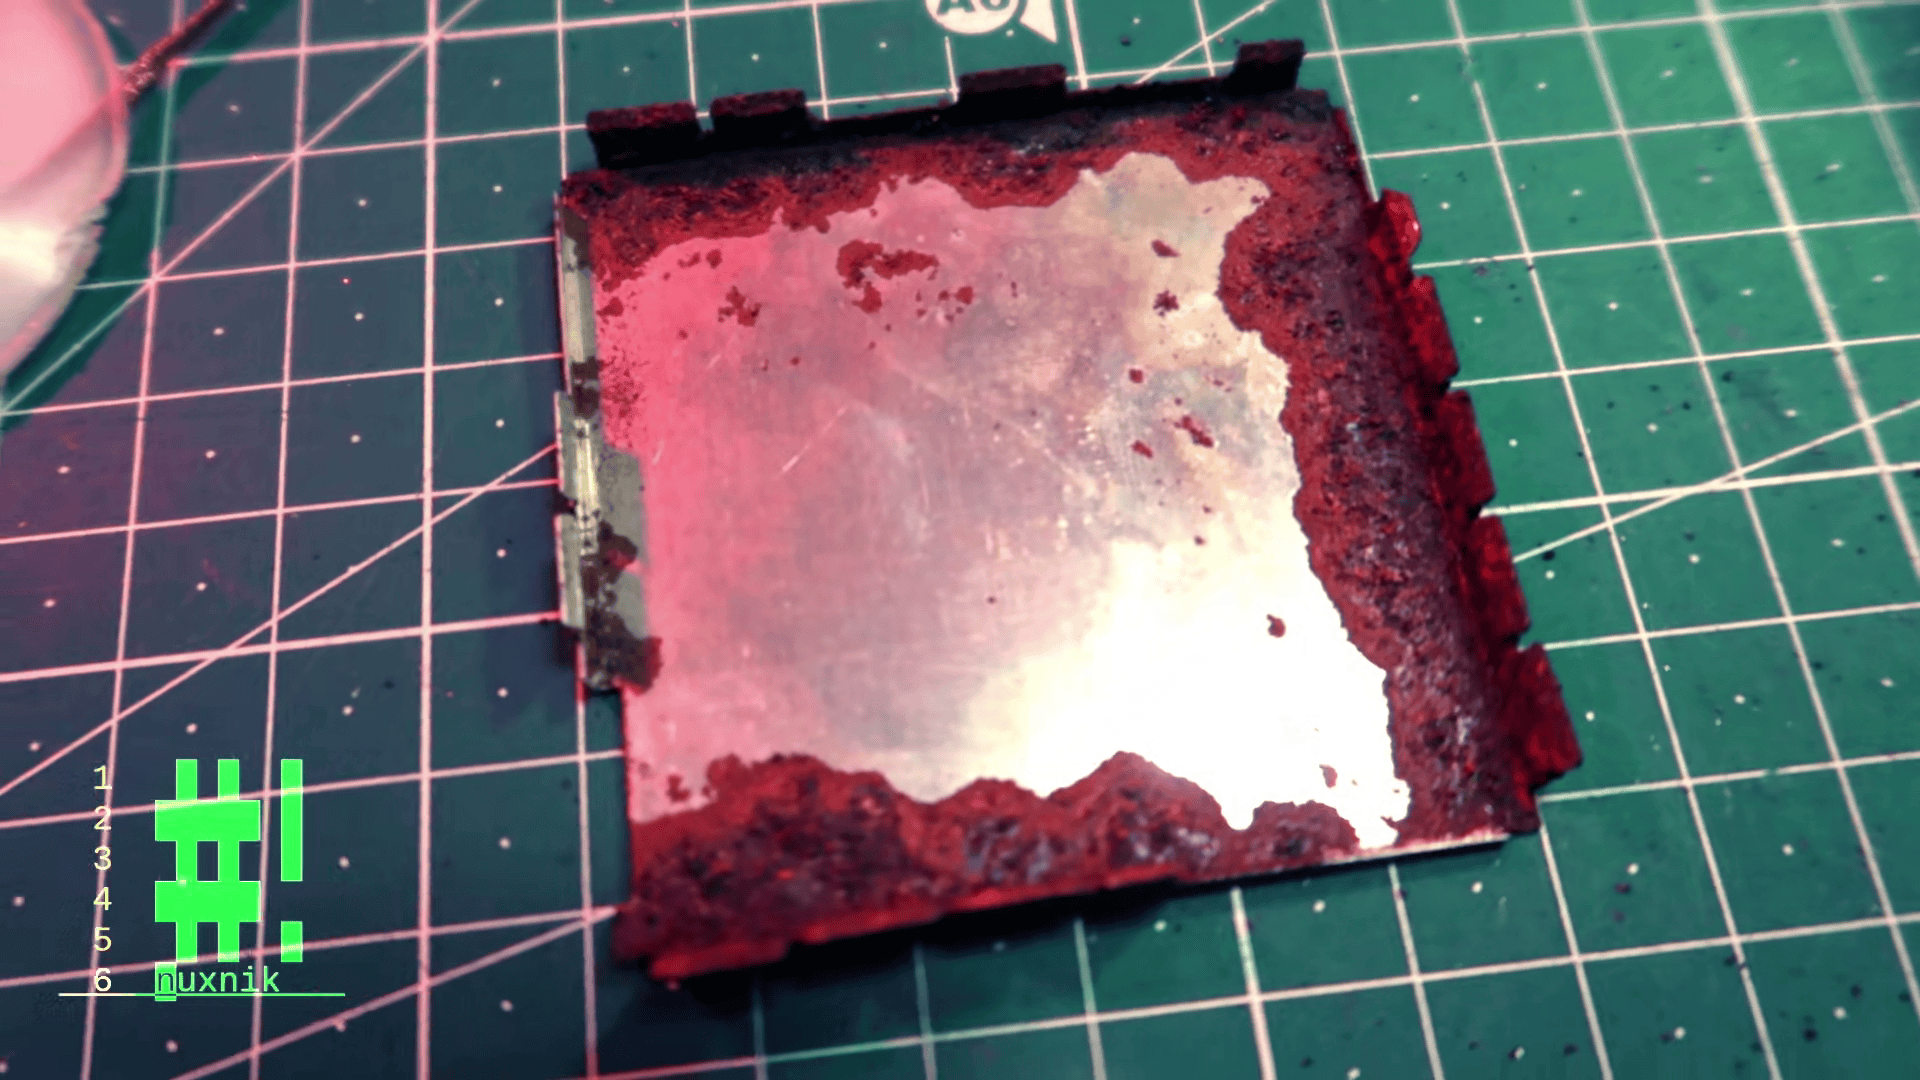
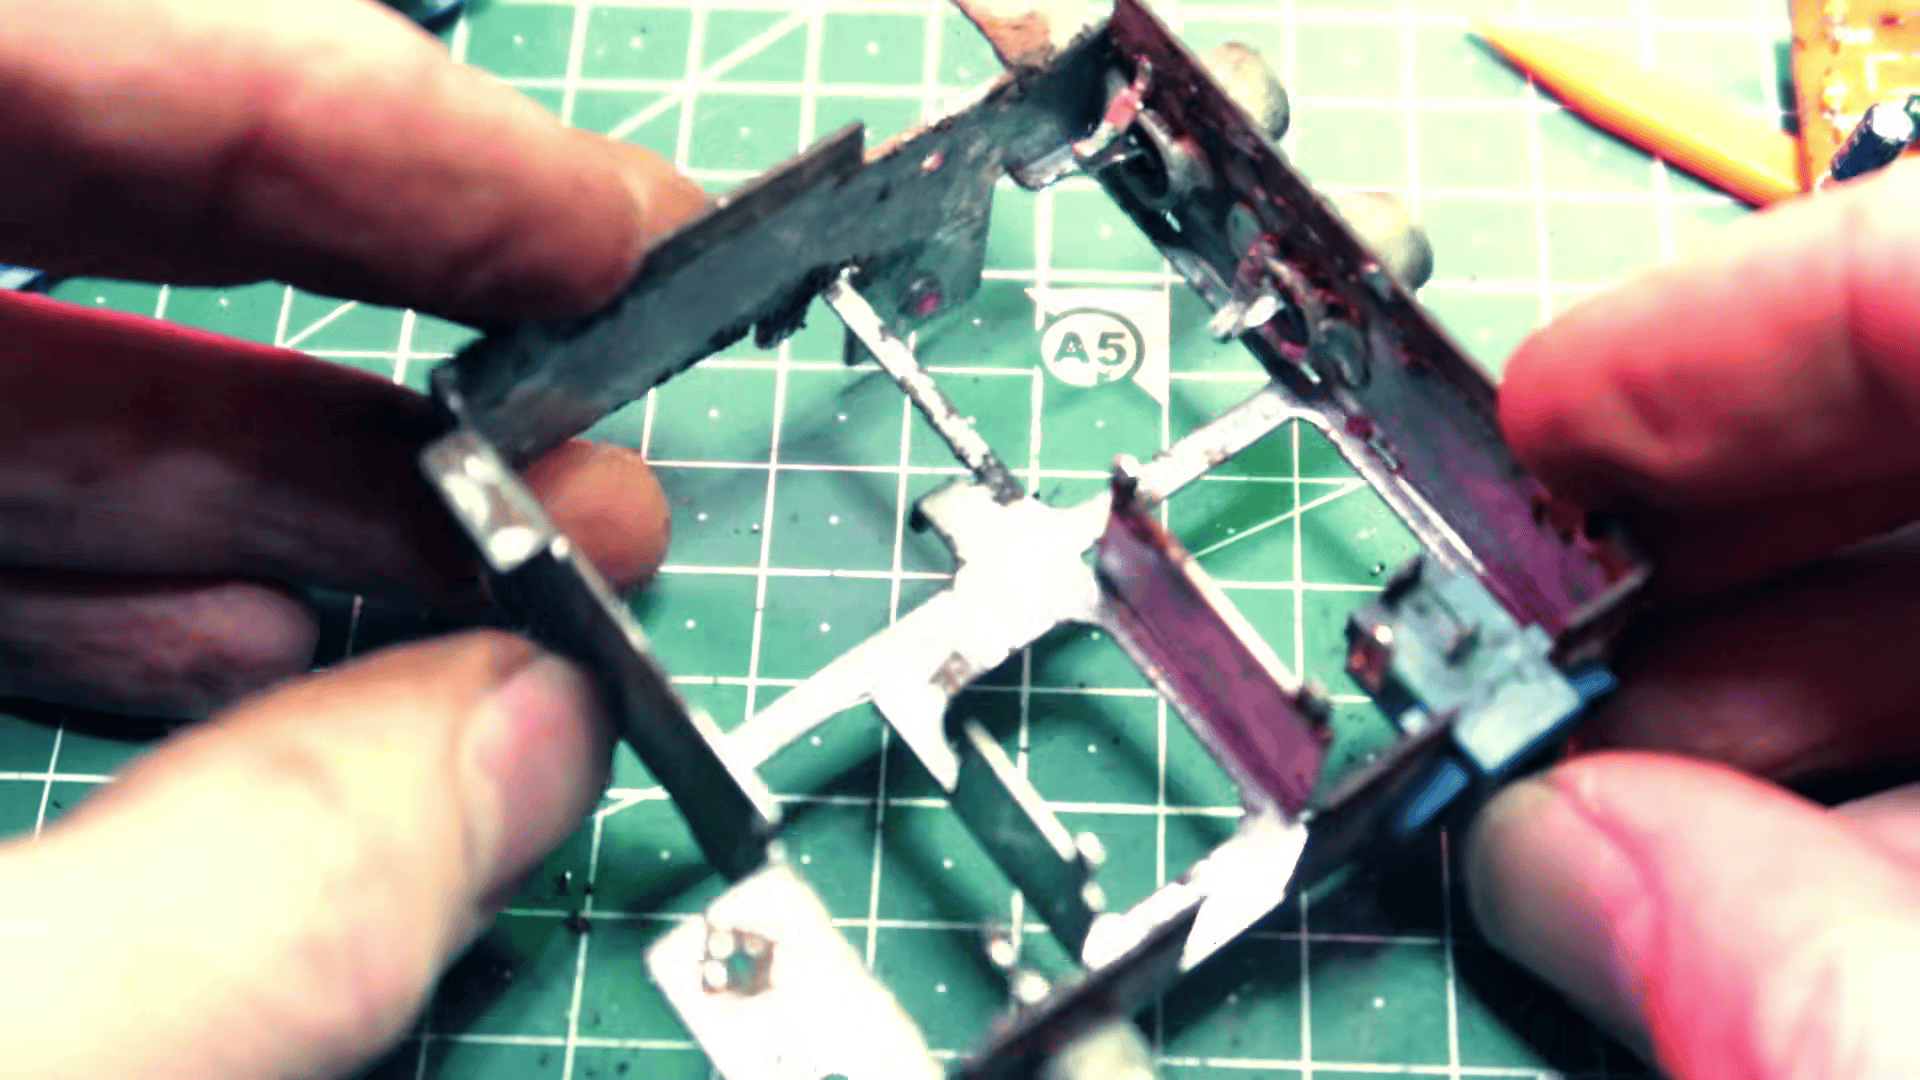
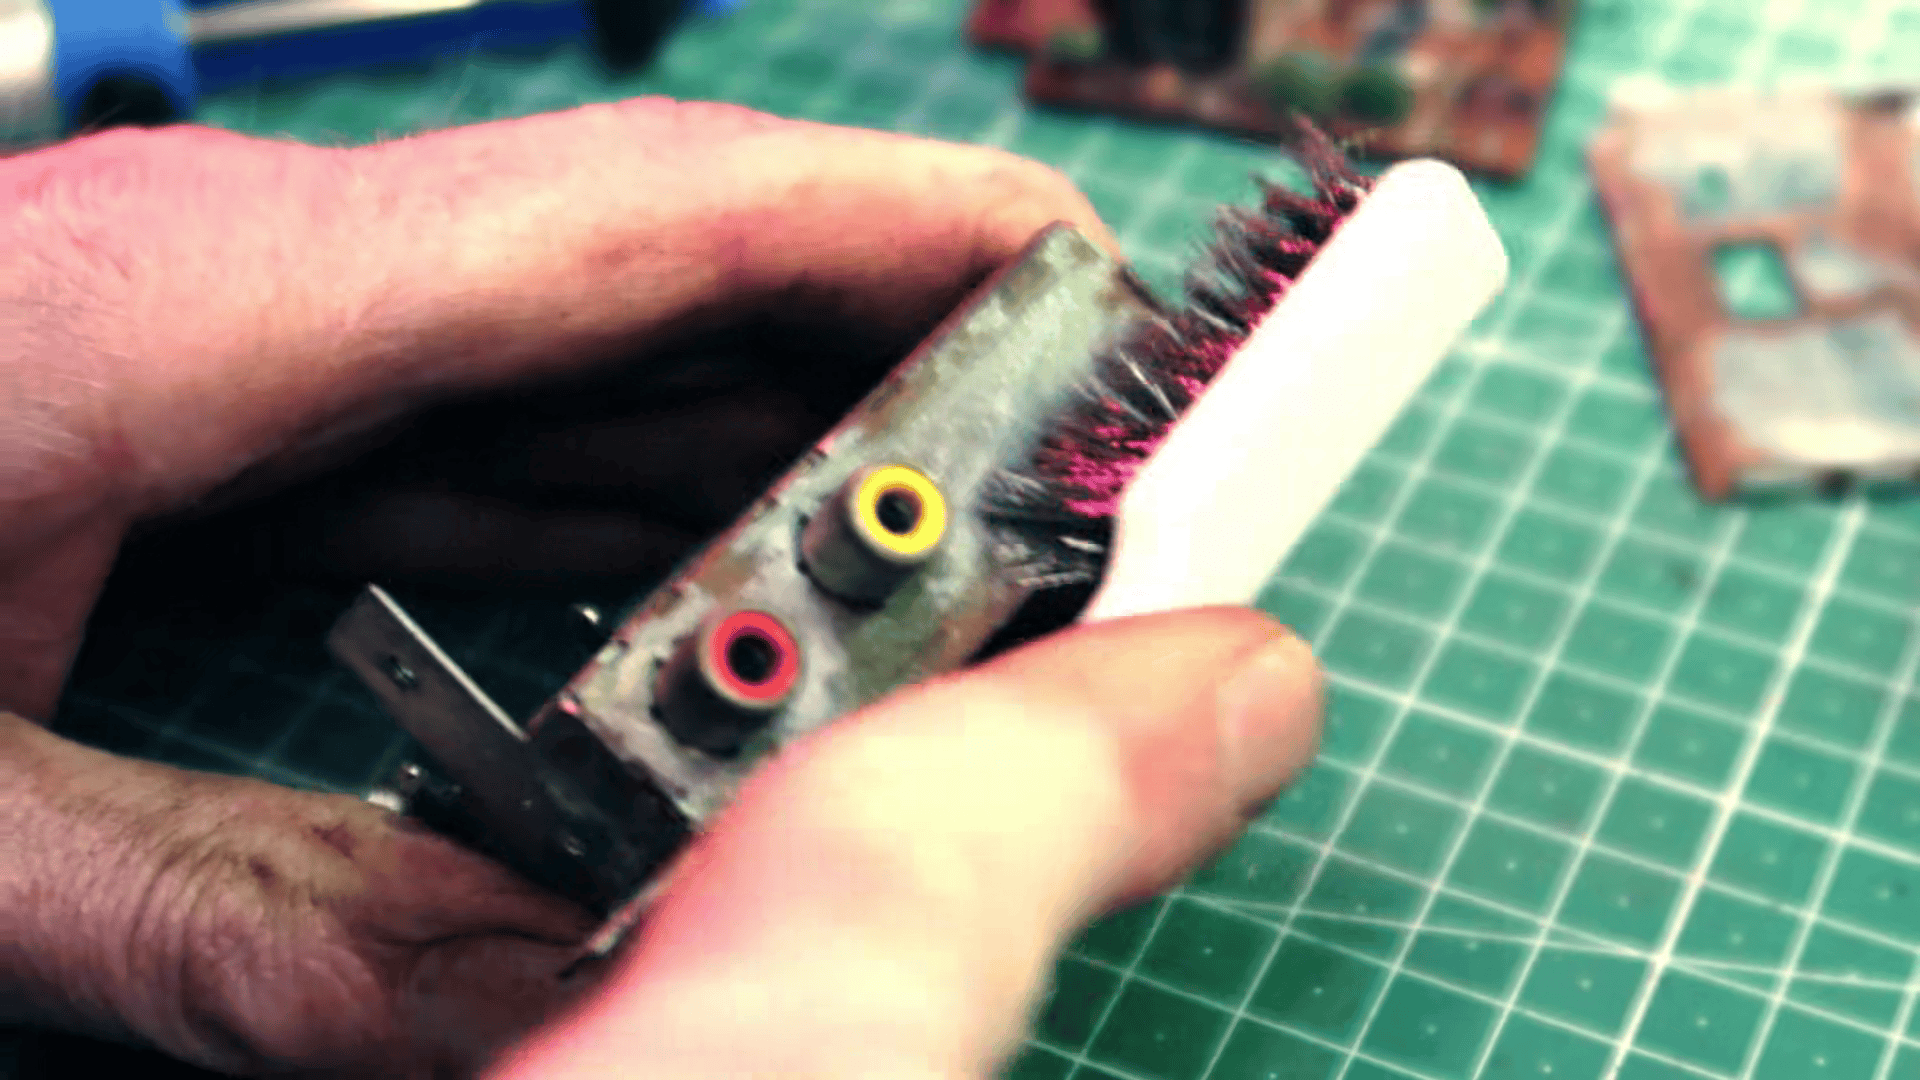
I bathed both pcbs in a bath of IPA and scrubbed them with a toothbrush. This cleaned most of the excess gunk and rust off.
Solder Mask
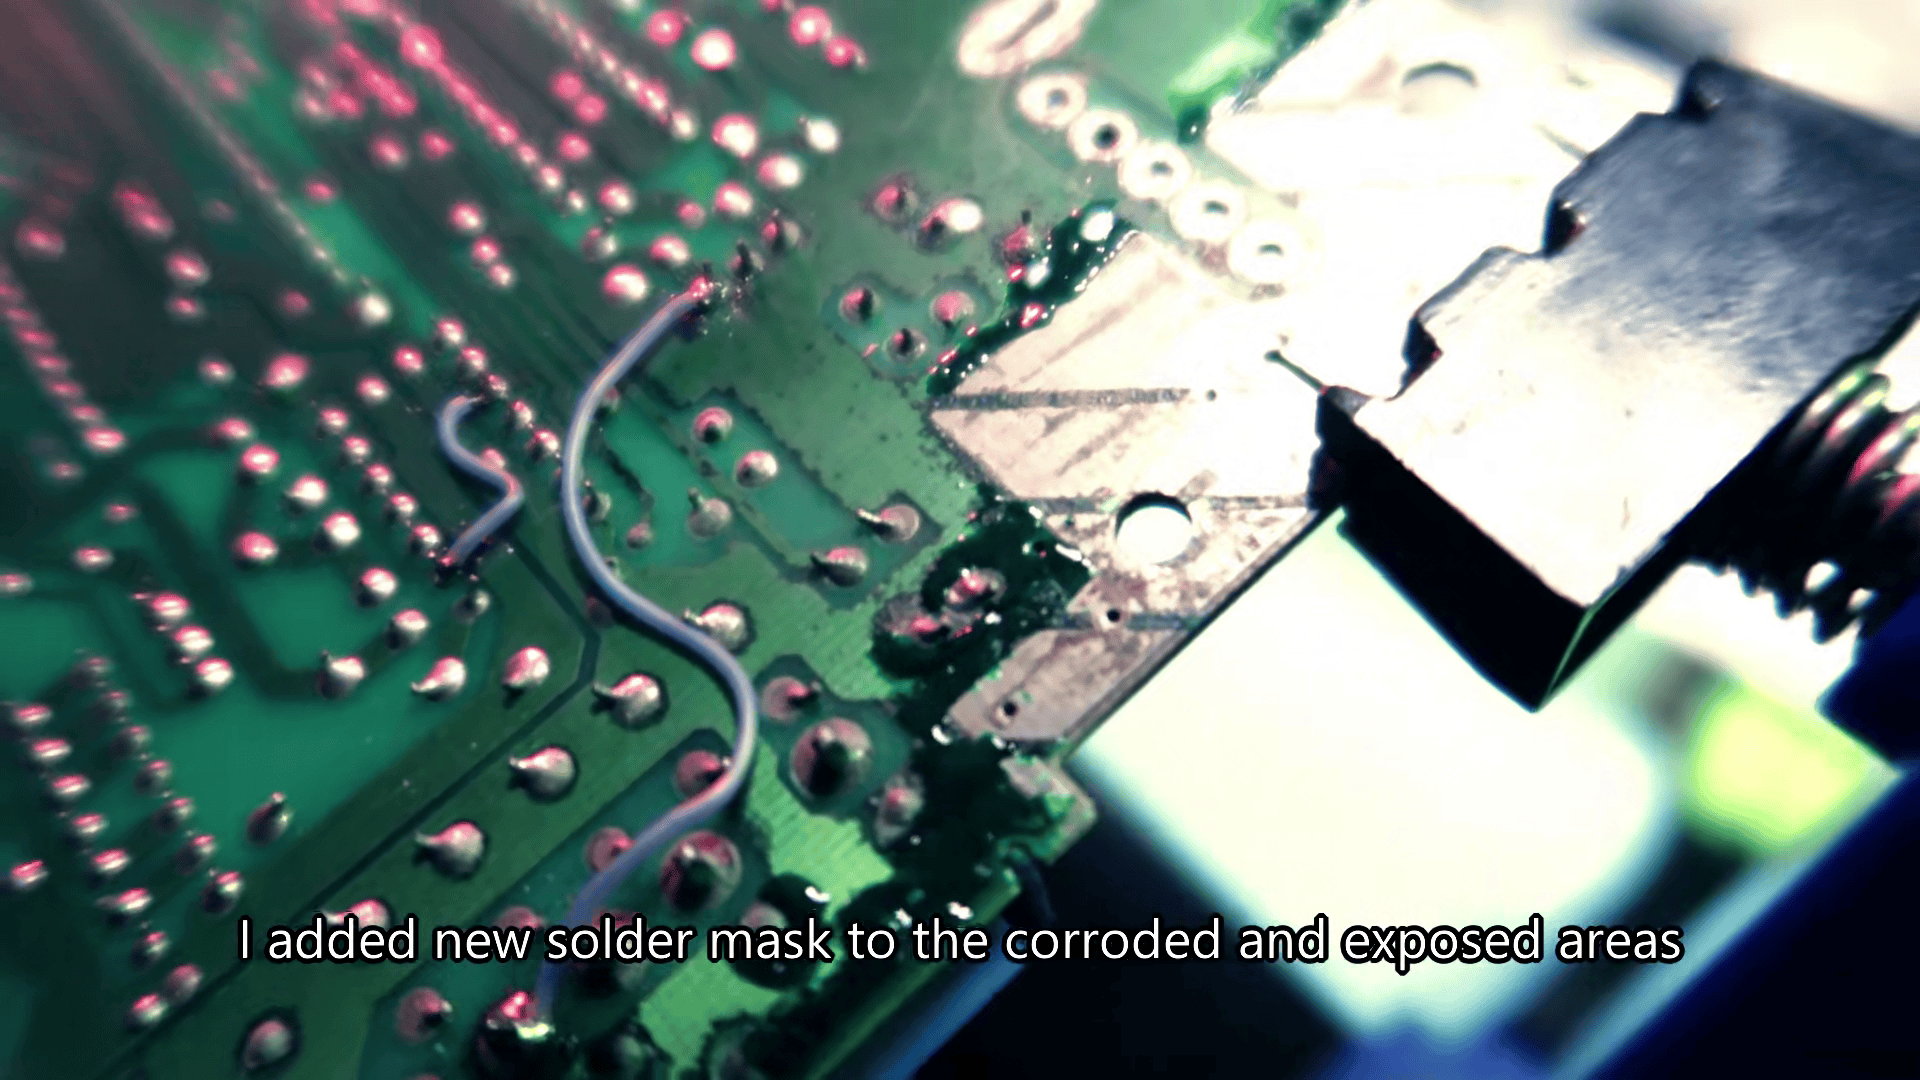
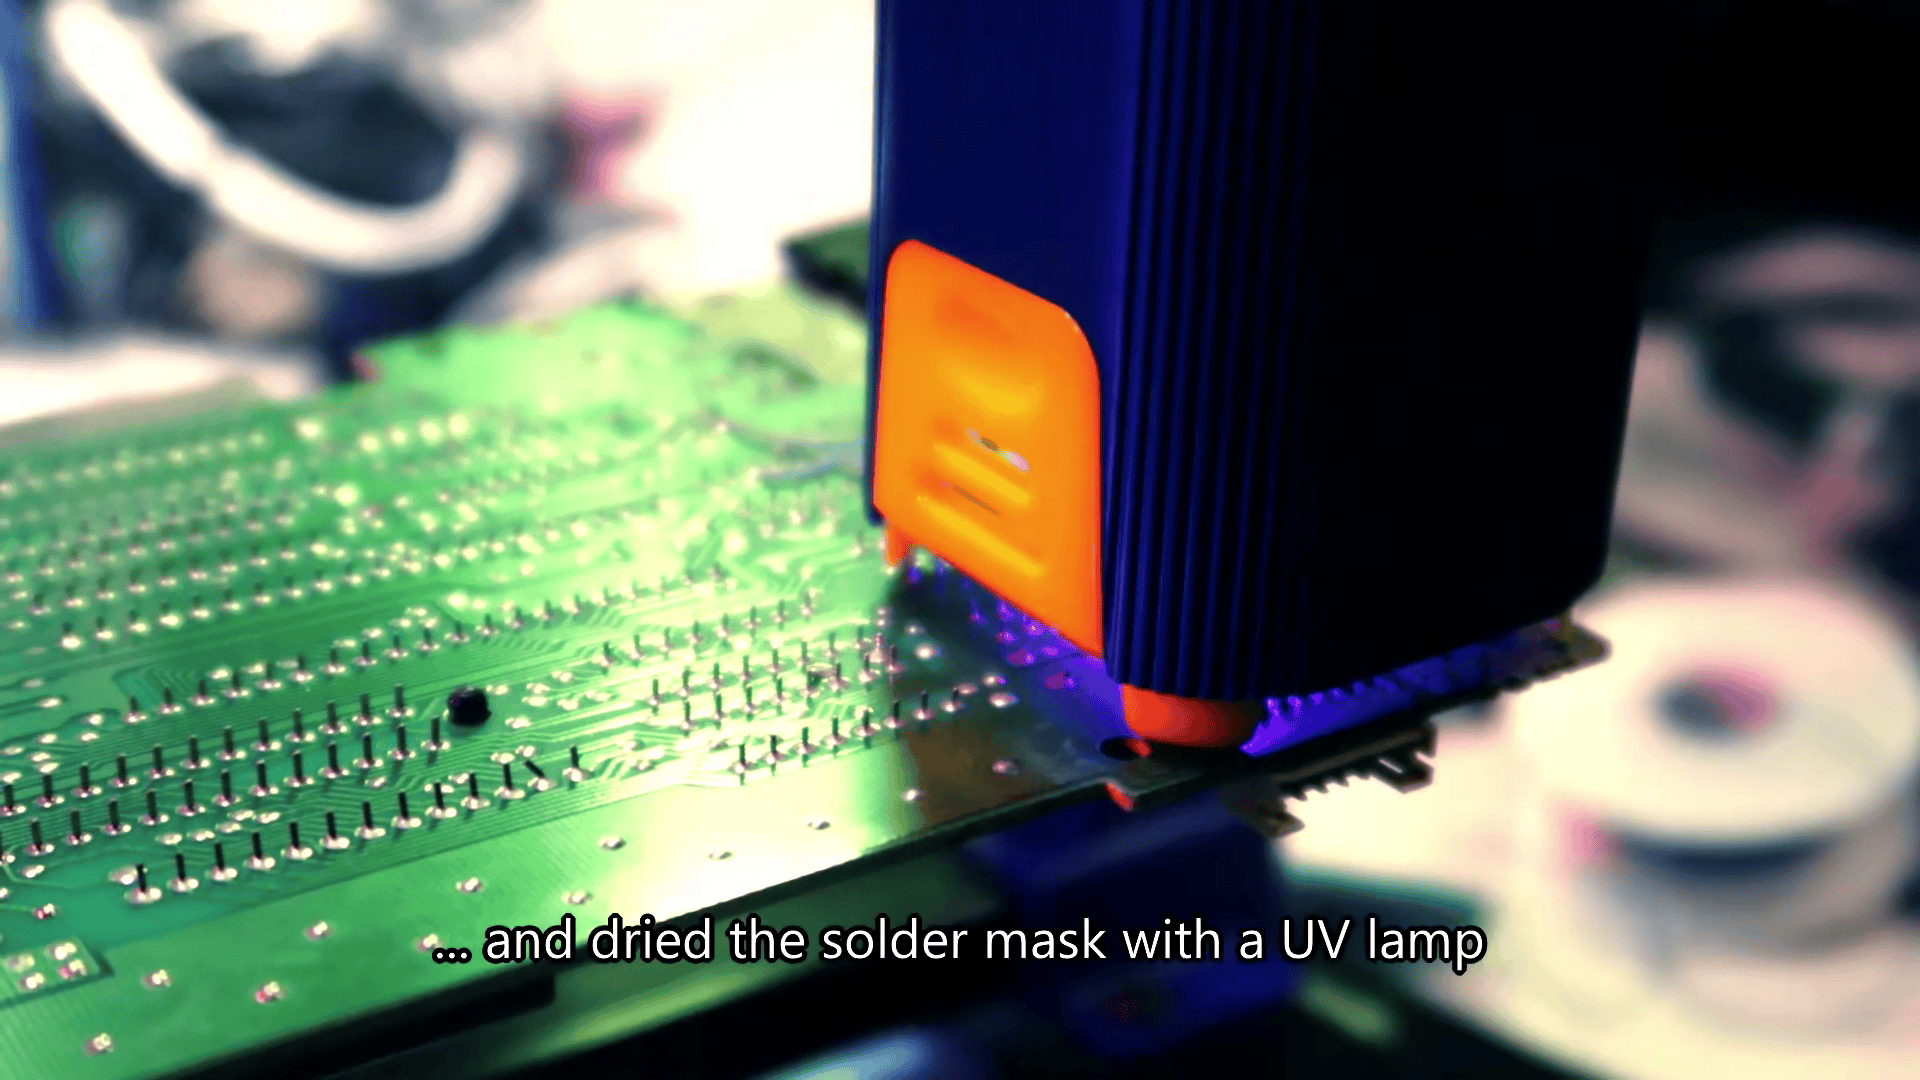
The rust had corroded some of the solder mask and there were small areas where the copper was exposed. Luckily it had not started to corrode. I applied green solder mask to both PCBs and dried the solder mask with my solder mask drying UV light.
Power Jack
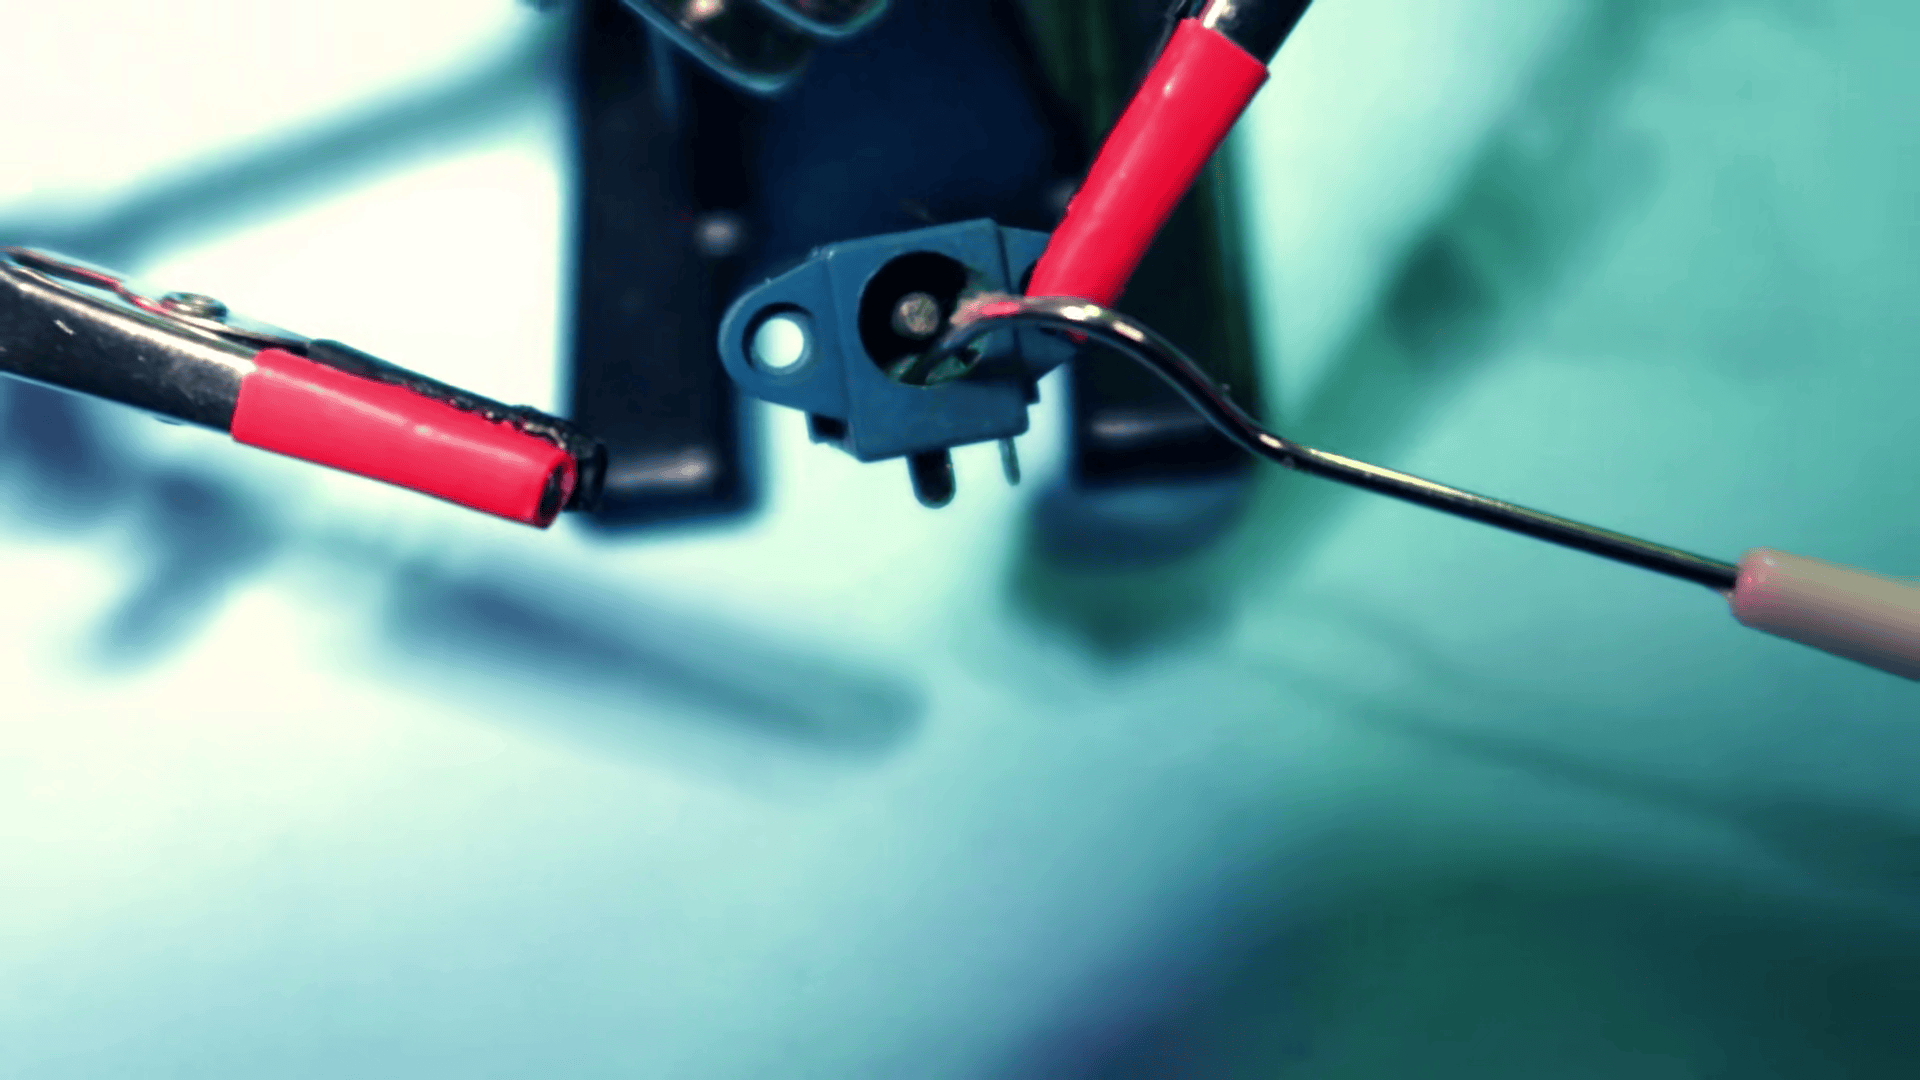
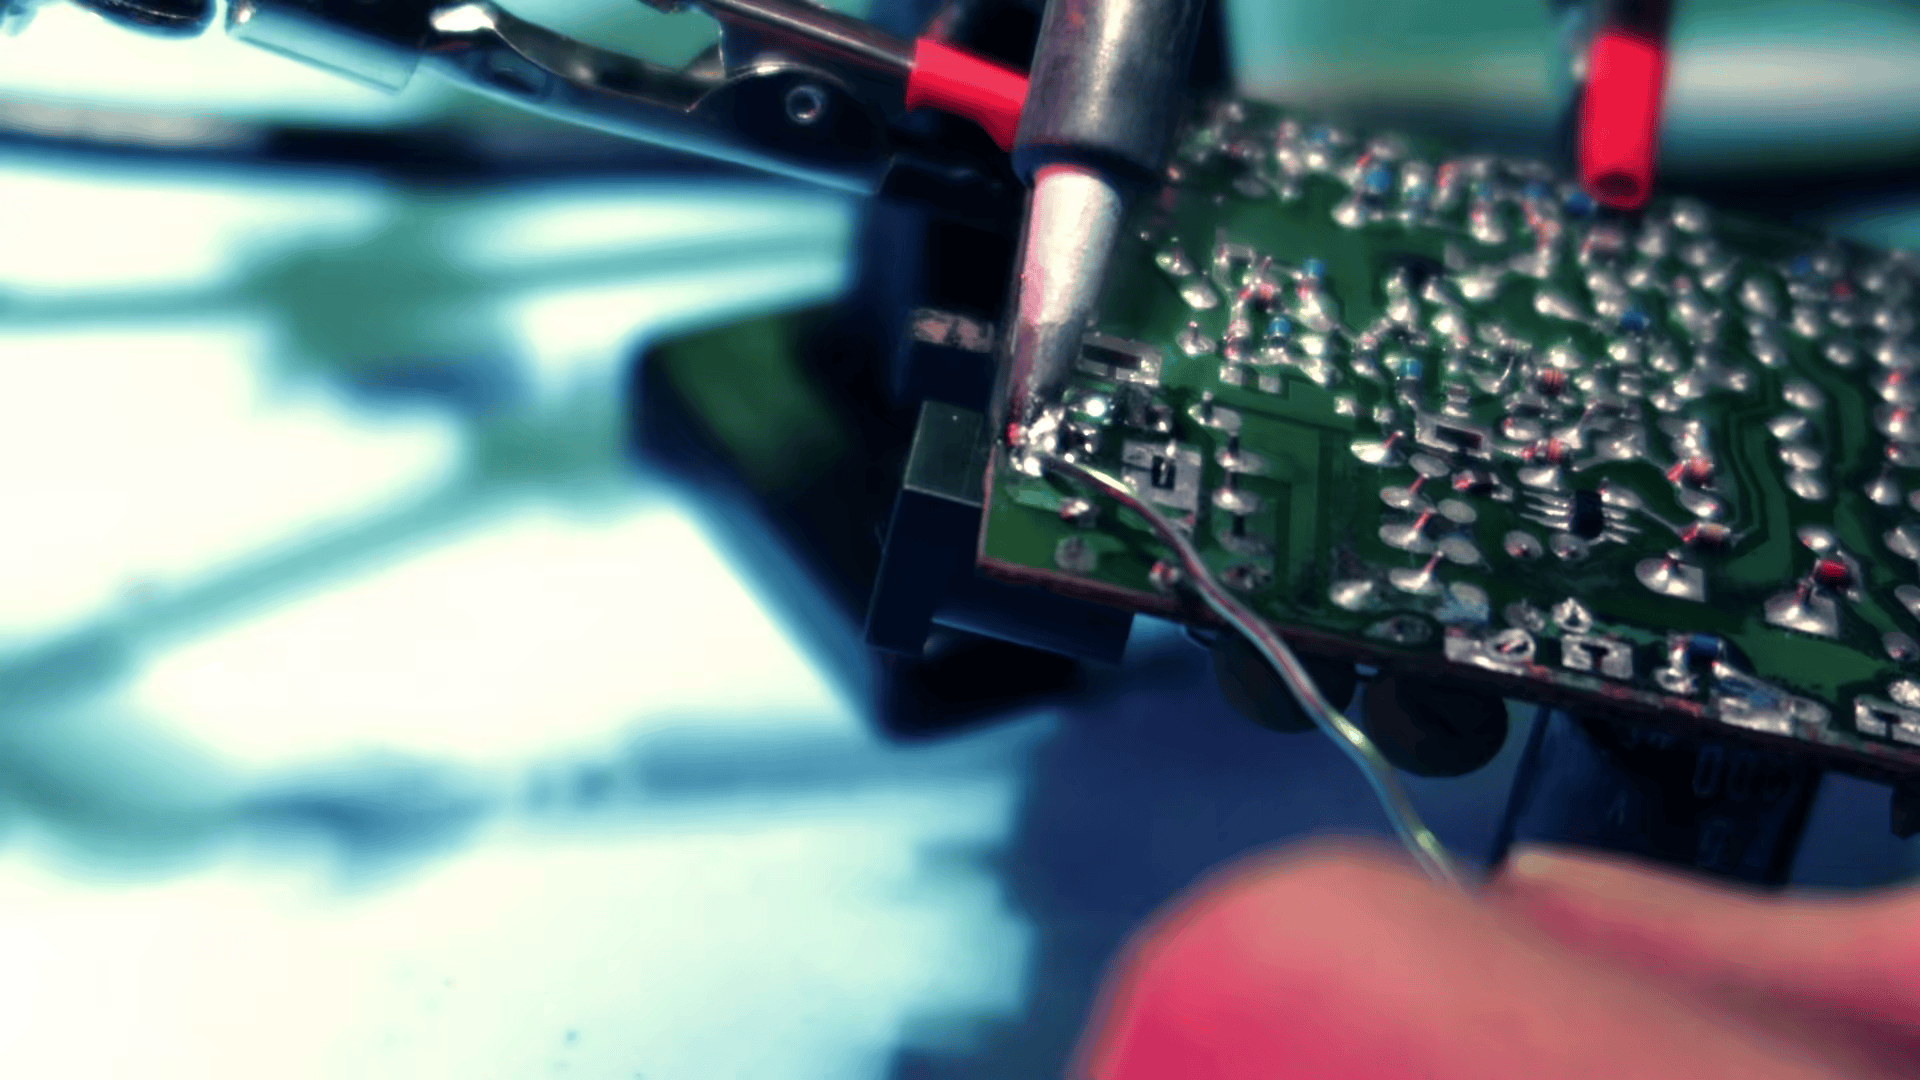
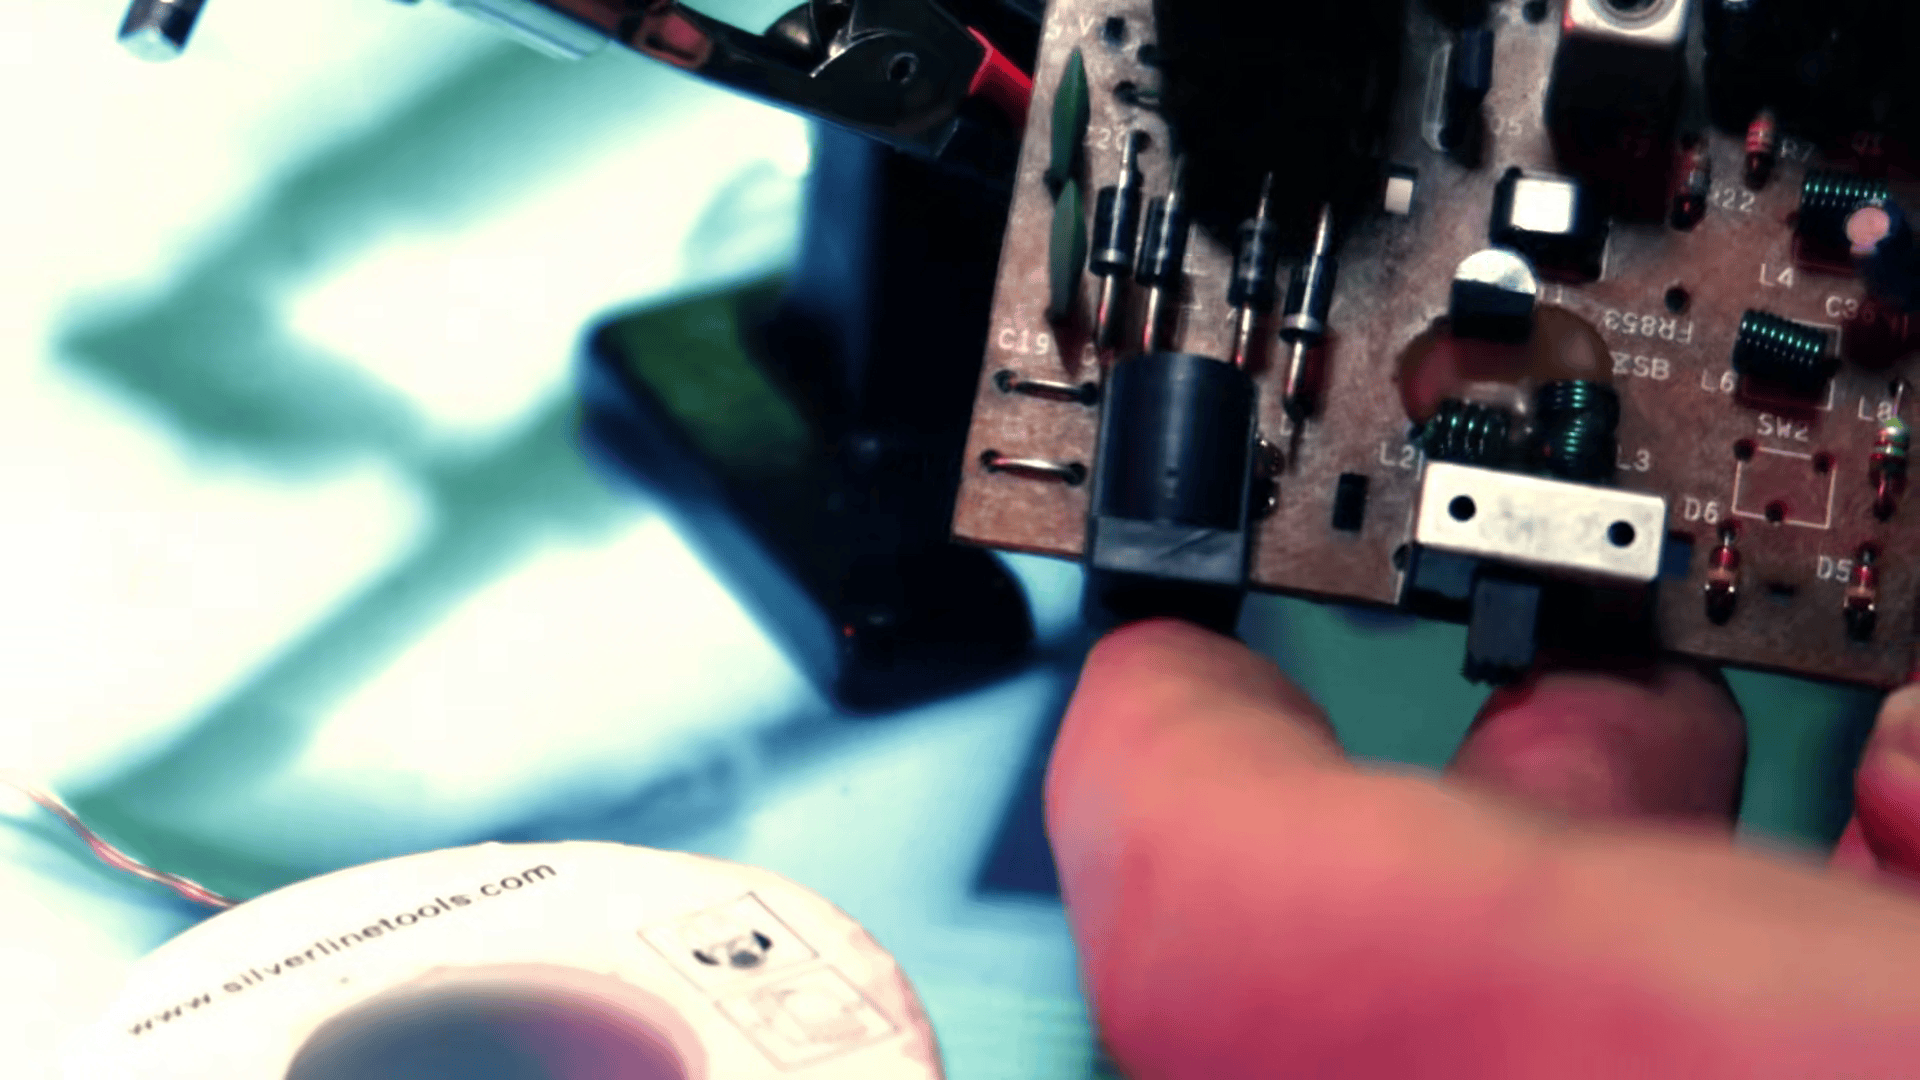
After inspecting both boards, I found that the power jack was eaten away by corrosion, so I desoldered it from the power converter PBC. Luckily, I already had a replacement power jack in my parts bin from a Fatshark Goggle upgrade project I had done a few years ago. This fit prefectly, so I soldered it onto the board.
Region Free Hack
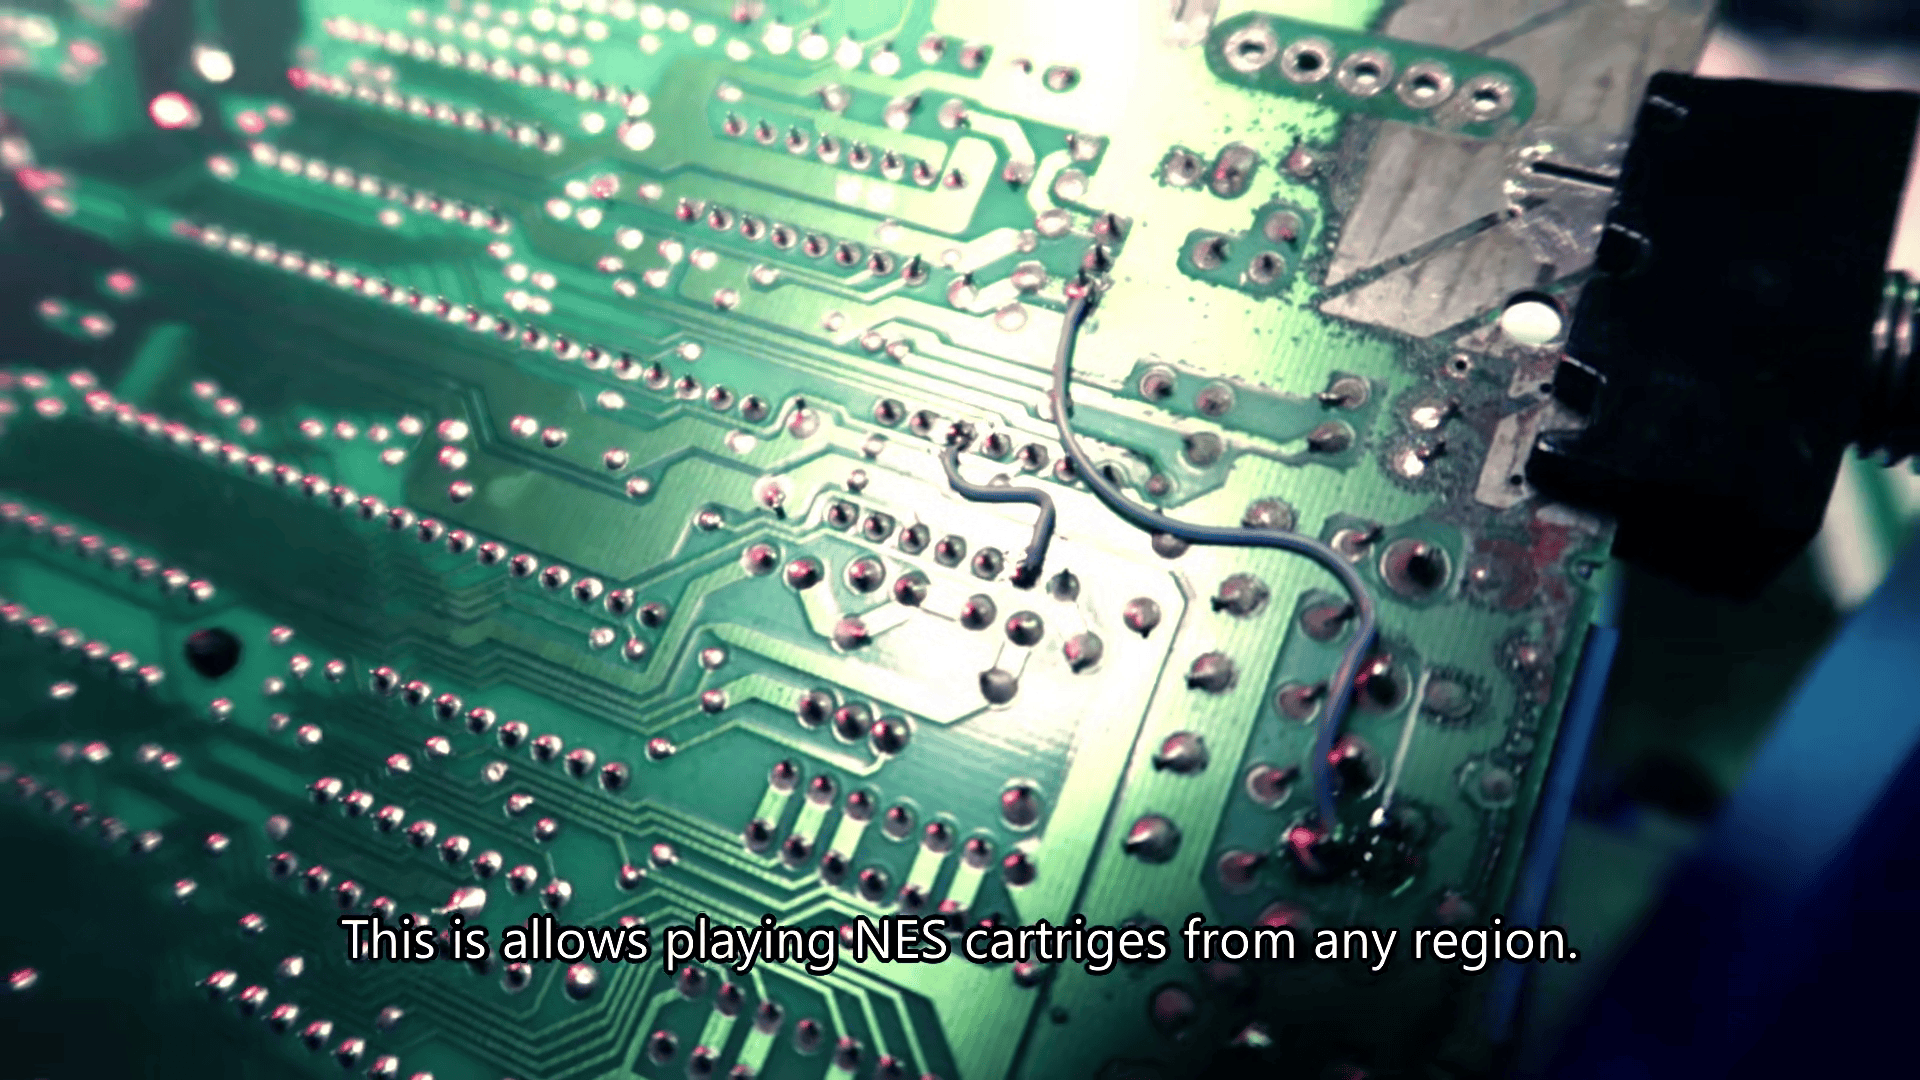
Nintendo had a licenseing system for their games and installed a lock out chip in both the NES and the cartridges. This was an eary example of manufacturing products that are defective by design. These lock out chips locked the console into a specific region and made it impossible to play cartridges from other regions, or as Nintendo's reasoning at the time was, to keep unlicensed games from being played.
Removing this from my NES was simple. You can read about this process HERE. I chose to follow the non-destructive method and soldered two wires to the top side of the main board. I marked each solder post with a black marker and soldered the wires onto the board.
Reassembly and Test
With everything looking all shiney and new, I reassembled the complete console.
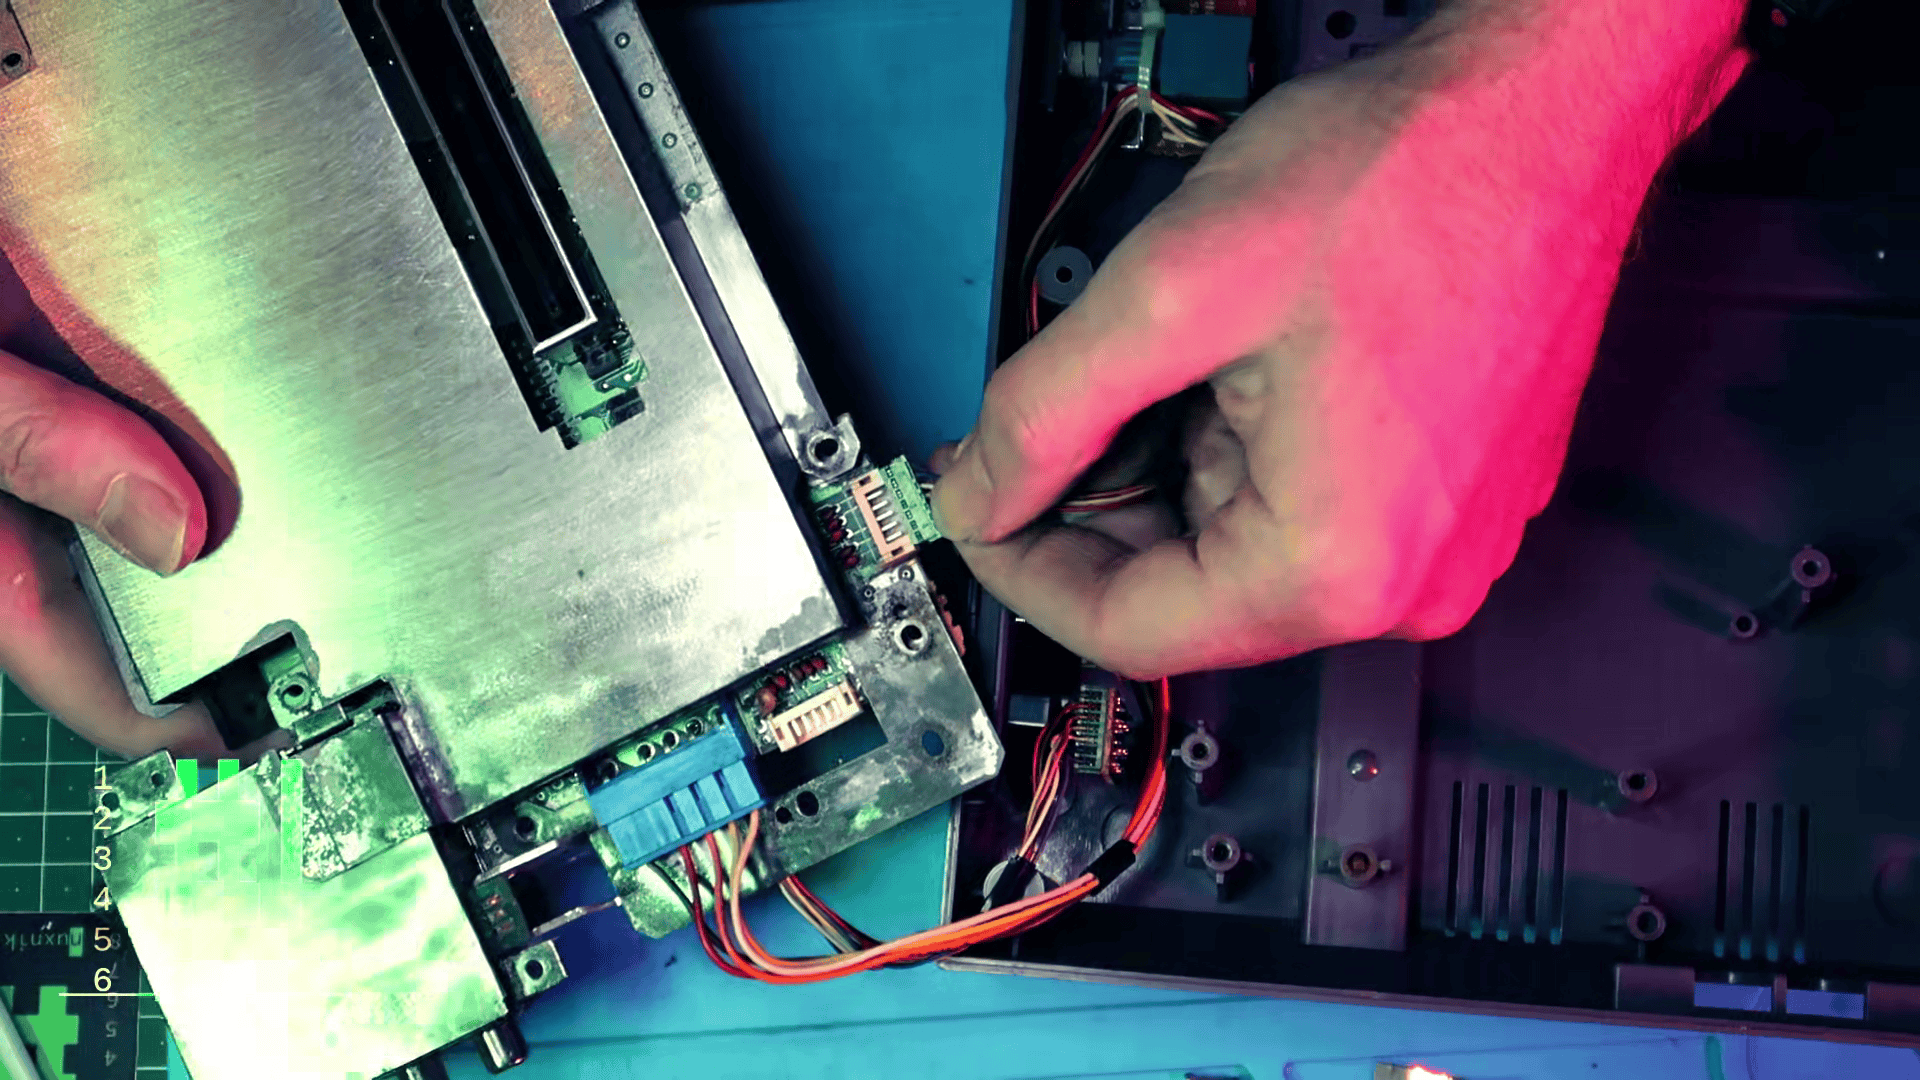
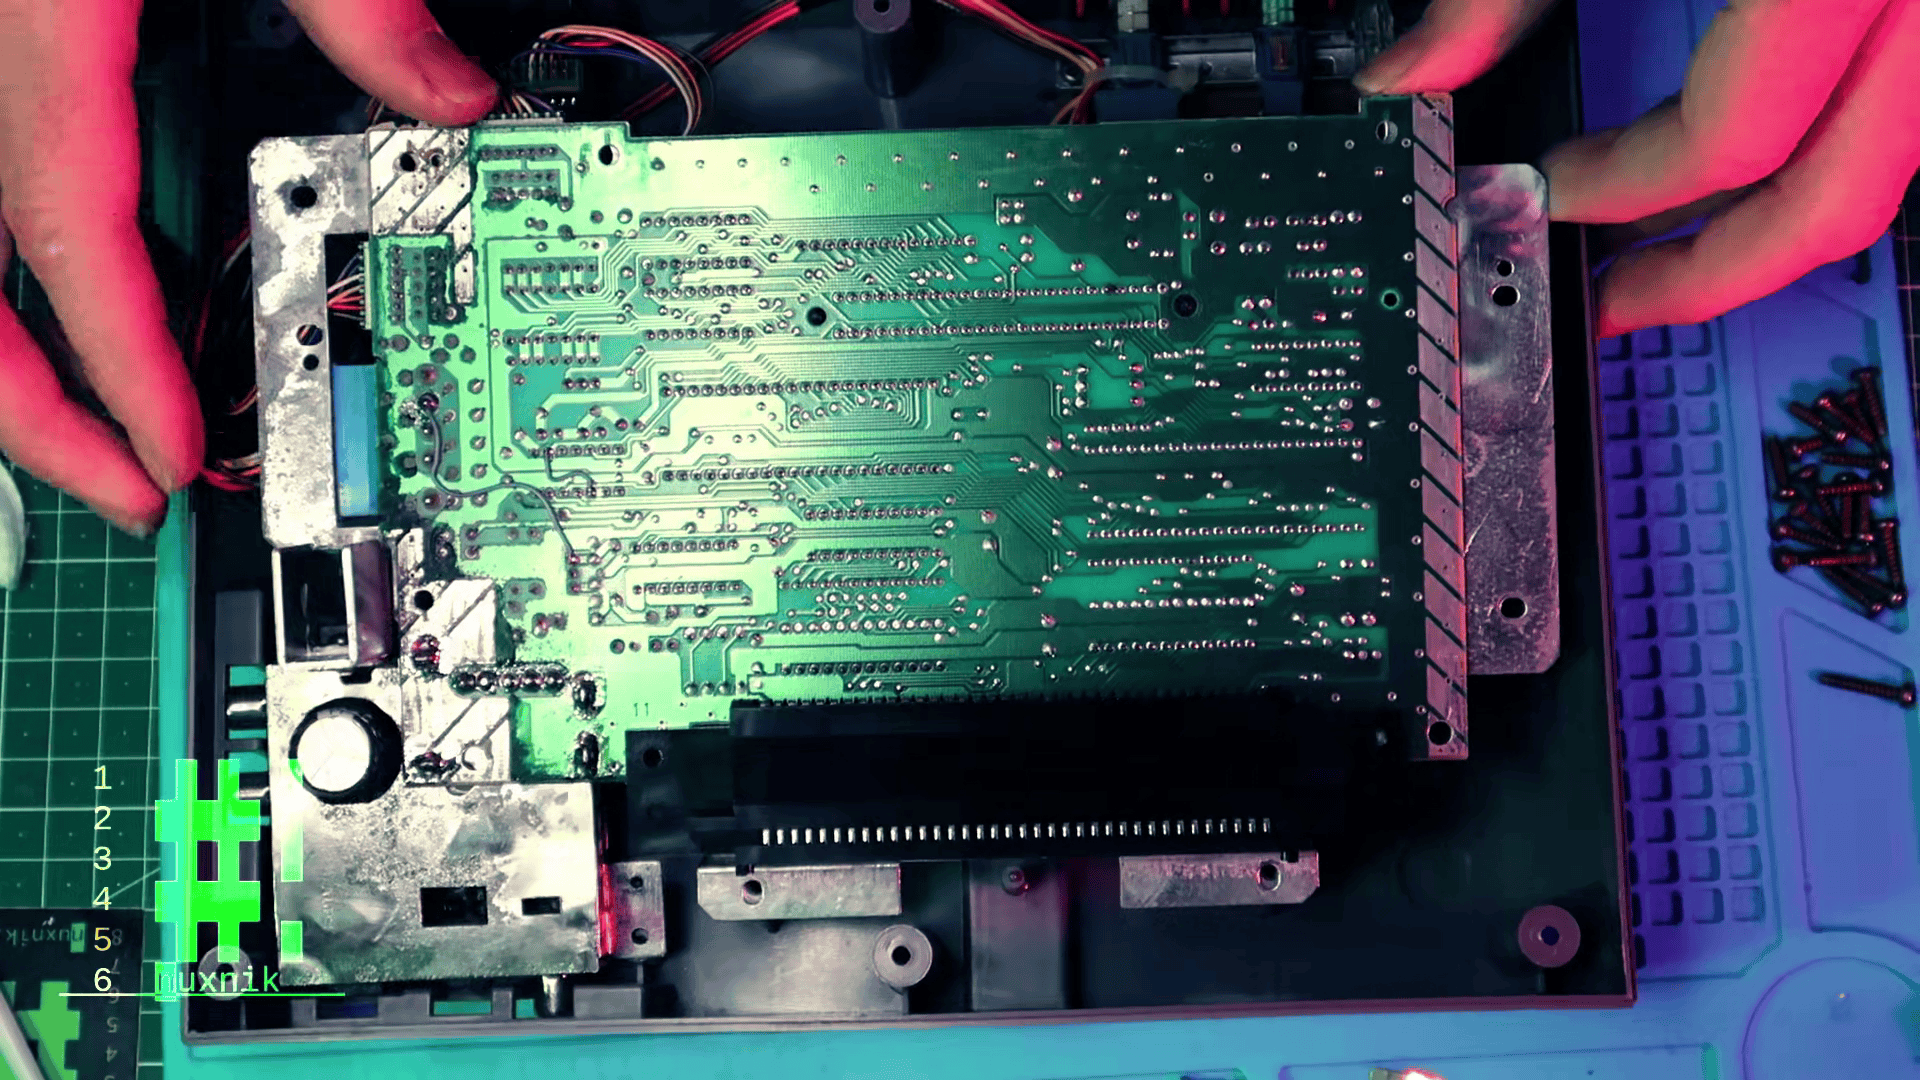
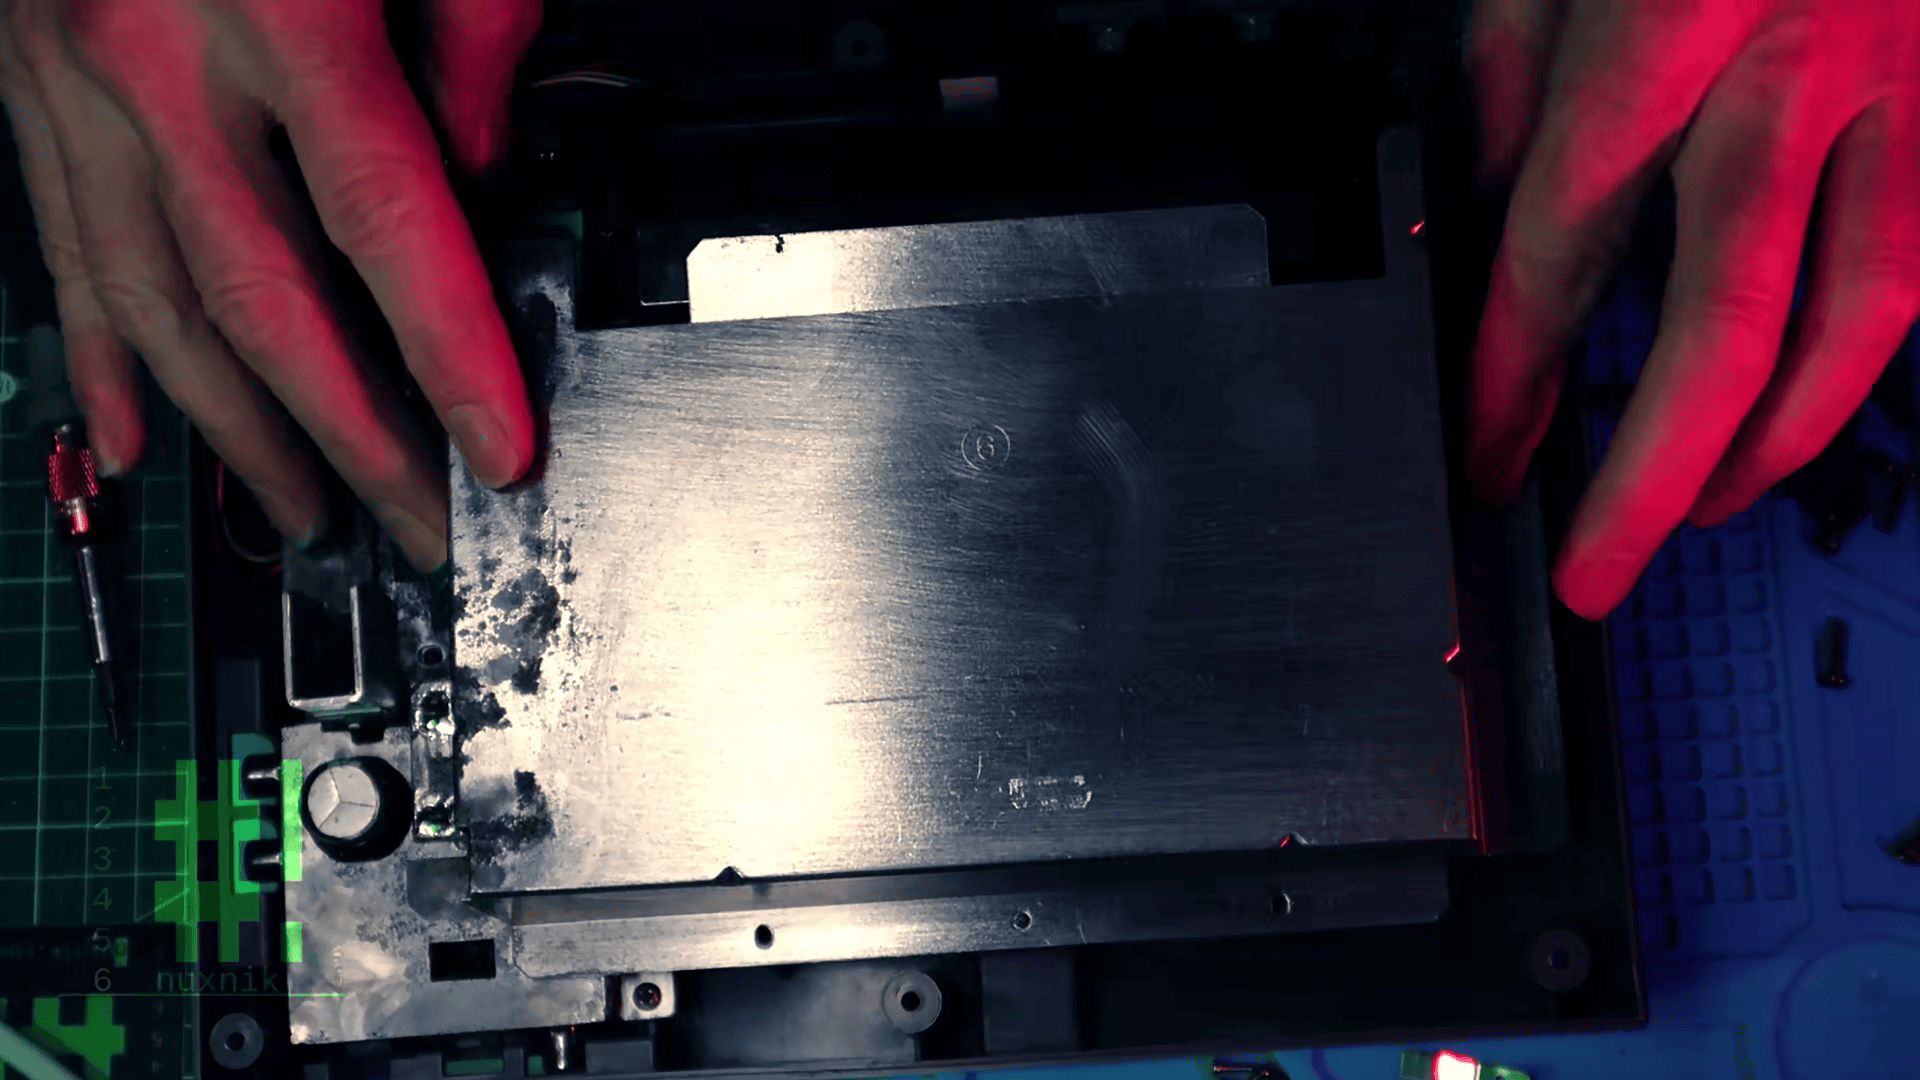
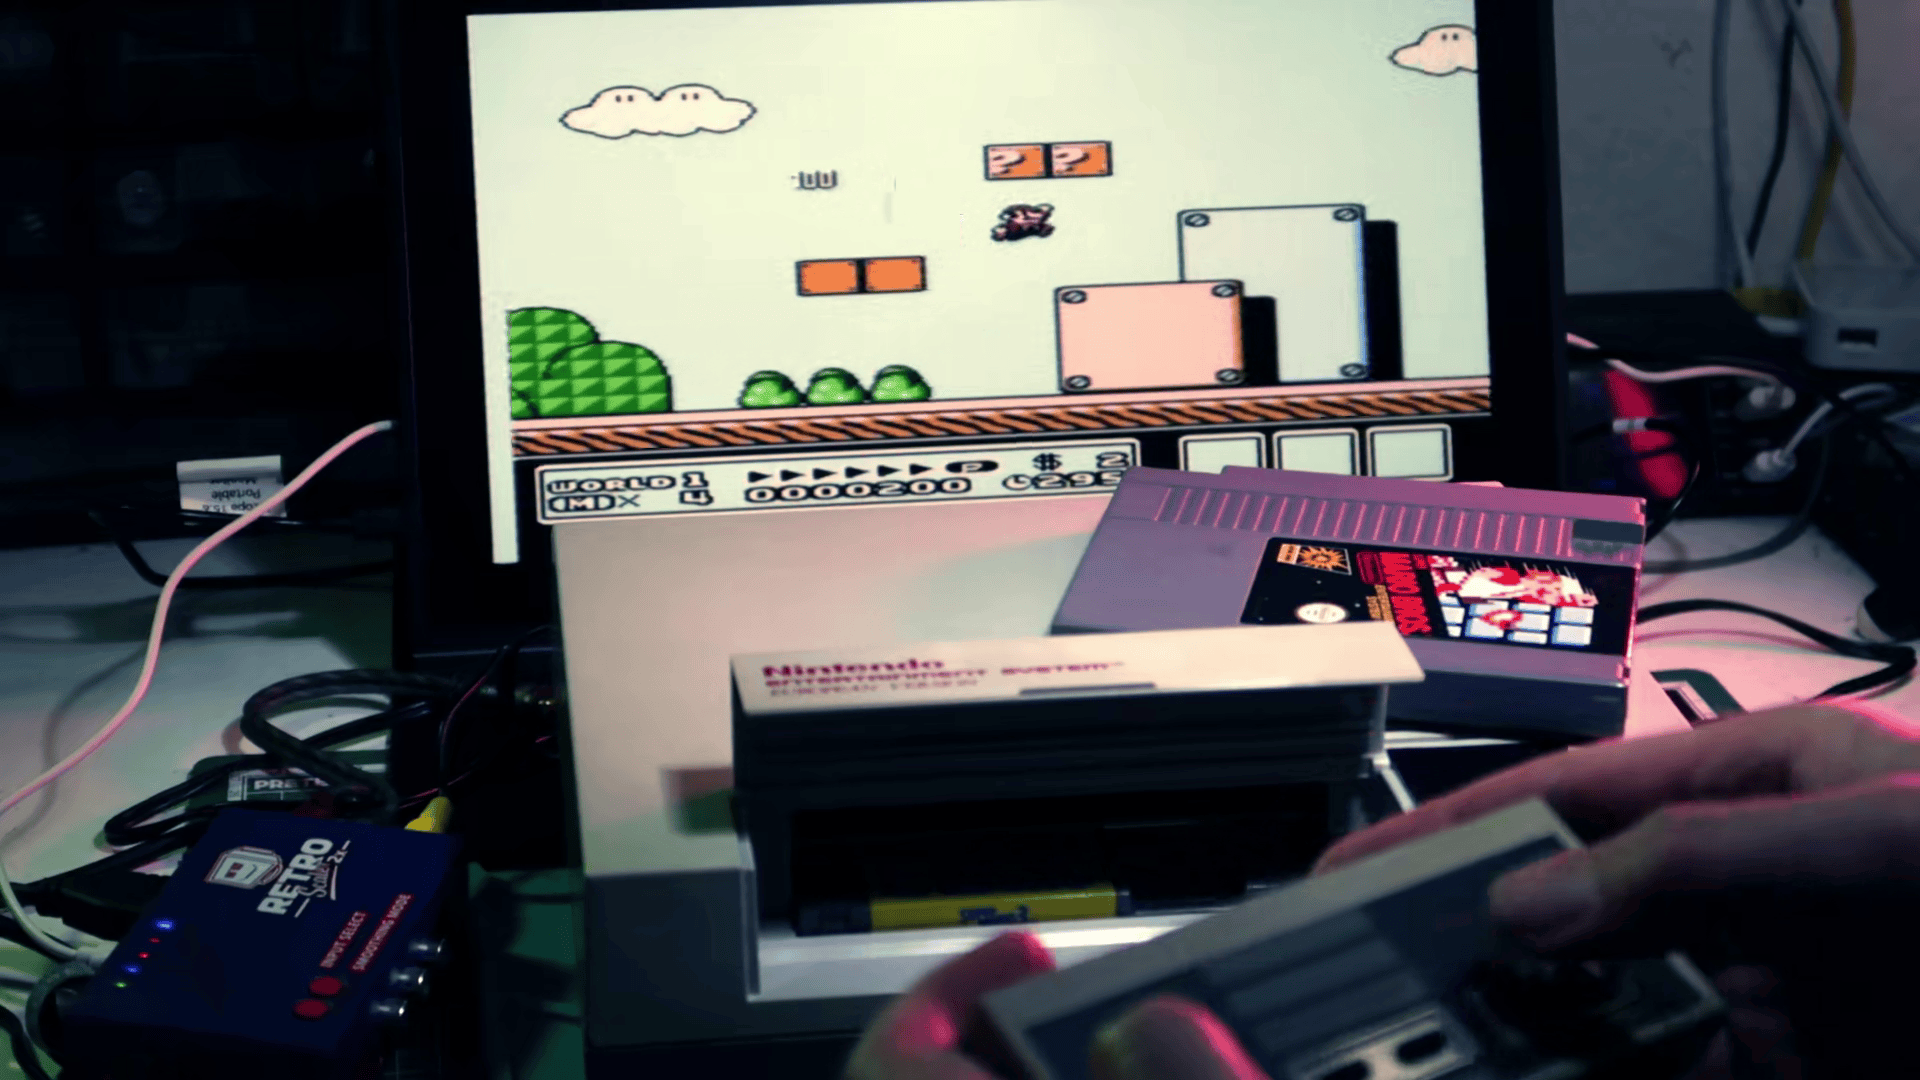
The time of truth had come. Was it going to work? I plugged it in, crossed my fingers and pressed the power button.
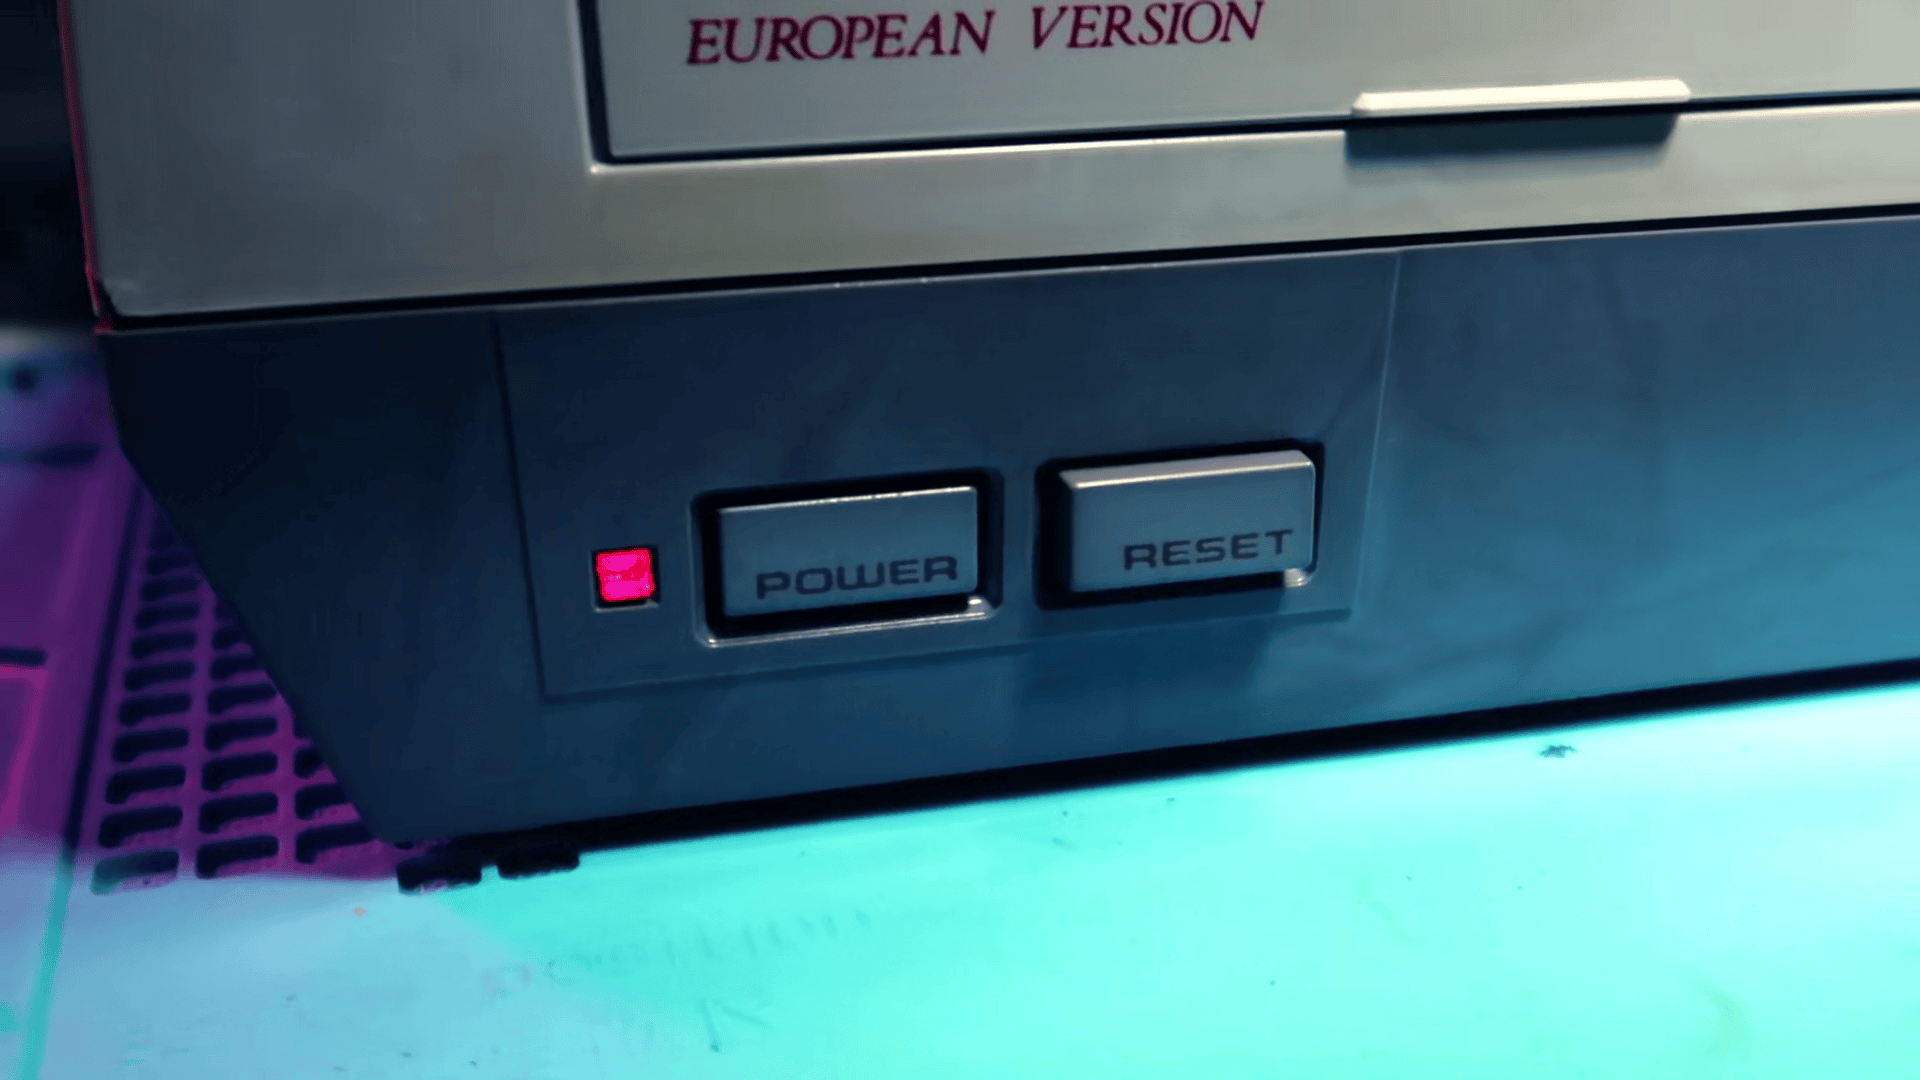
Success!
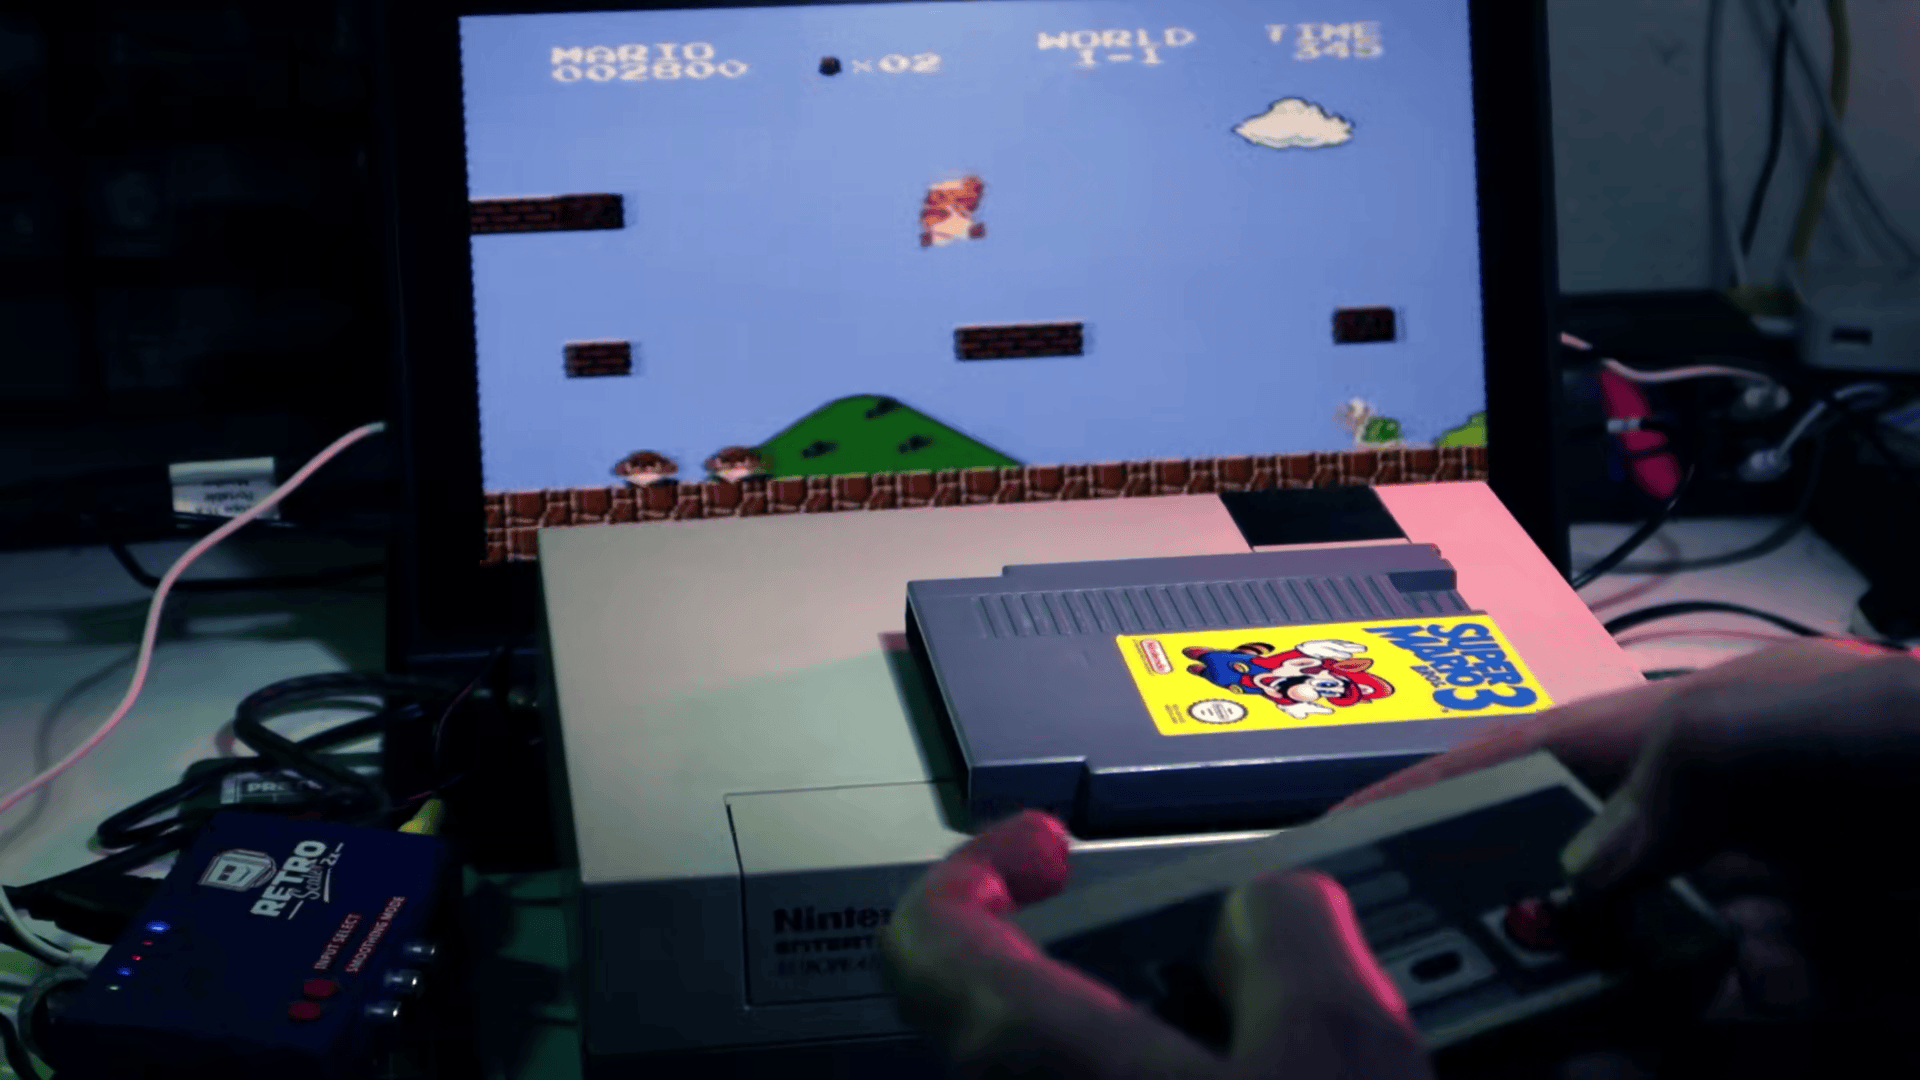
Video
As with most of my blog entries, I have created a video along with this article. If you enjoyed this article , consider subscribing to my YouTube channel or using my affiliate links.
Final Thoughts
If all you want is a working NES and are not keen on disassebly, cleaning, retrobrighting, desoldering etc, I would recommend spending extra money and getting a console that is already in good shape. Due to the rough shape of the console and the lack of sunshine in Germany, this project took me a weekend to complete. However, the entire restoration was very rewarding and I am more than happy with the end result.