Baby Tooth Build Part 2
Synopsis
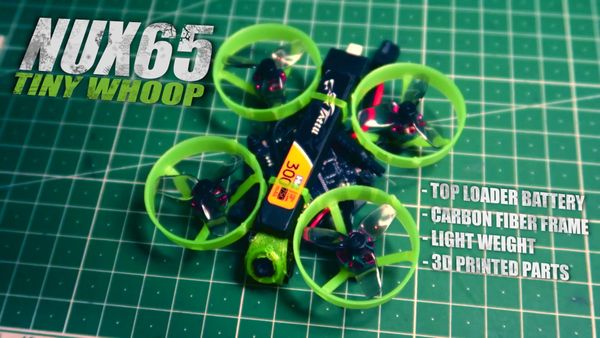
In part 1 of our build, we assembled all the components of our FPV drone. For this part of this project, we will make a small modification, configure the drone firmware, tune the quad and take it for a test flight.
Battery Connector Modification
After releasing my build video, there were some comments that the PH2.0 connector is not the optimal choice. I agree. However, the reason I used it, is because most of the batteries I use with this drone have ph2.0 connectors. PH2.0 pins are thin and easily wear down over time. With that said, a connection with more copper is preferable. This will allow higher performance and more "draw" from the battery. In order to address this issue, I will be adding a modification to the battery connector, so that batteries with both XT30 PH2.0 connectors can be used.
Required Tools and Materials
This modification is going to be simple and the tools we will need are minimal. In order to complete this build, you will need the following tools:
- Soldering iron and soldering accesories
- Tweezers
- Super Glue
- Heat Shrink
- Female PH2.0 Connector
- Female XT30 Connector
- 18 AWG Wire
- Pliers
Creating the Connector
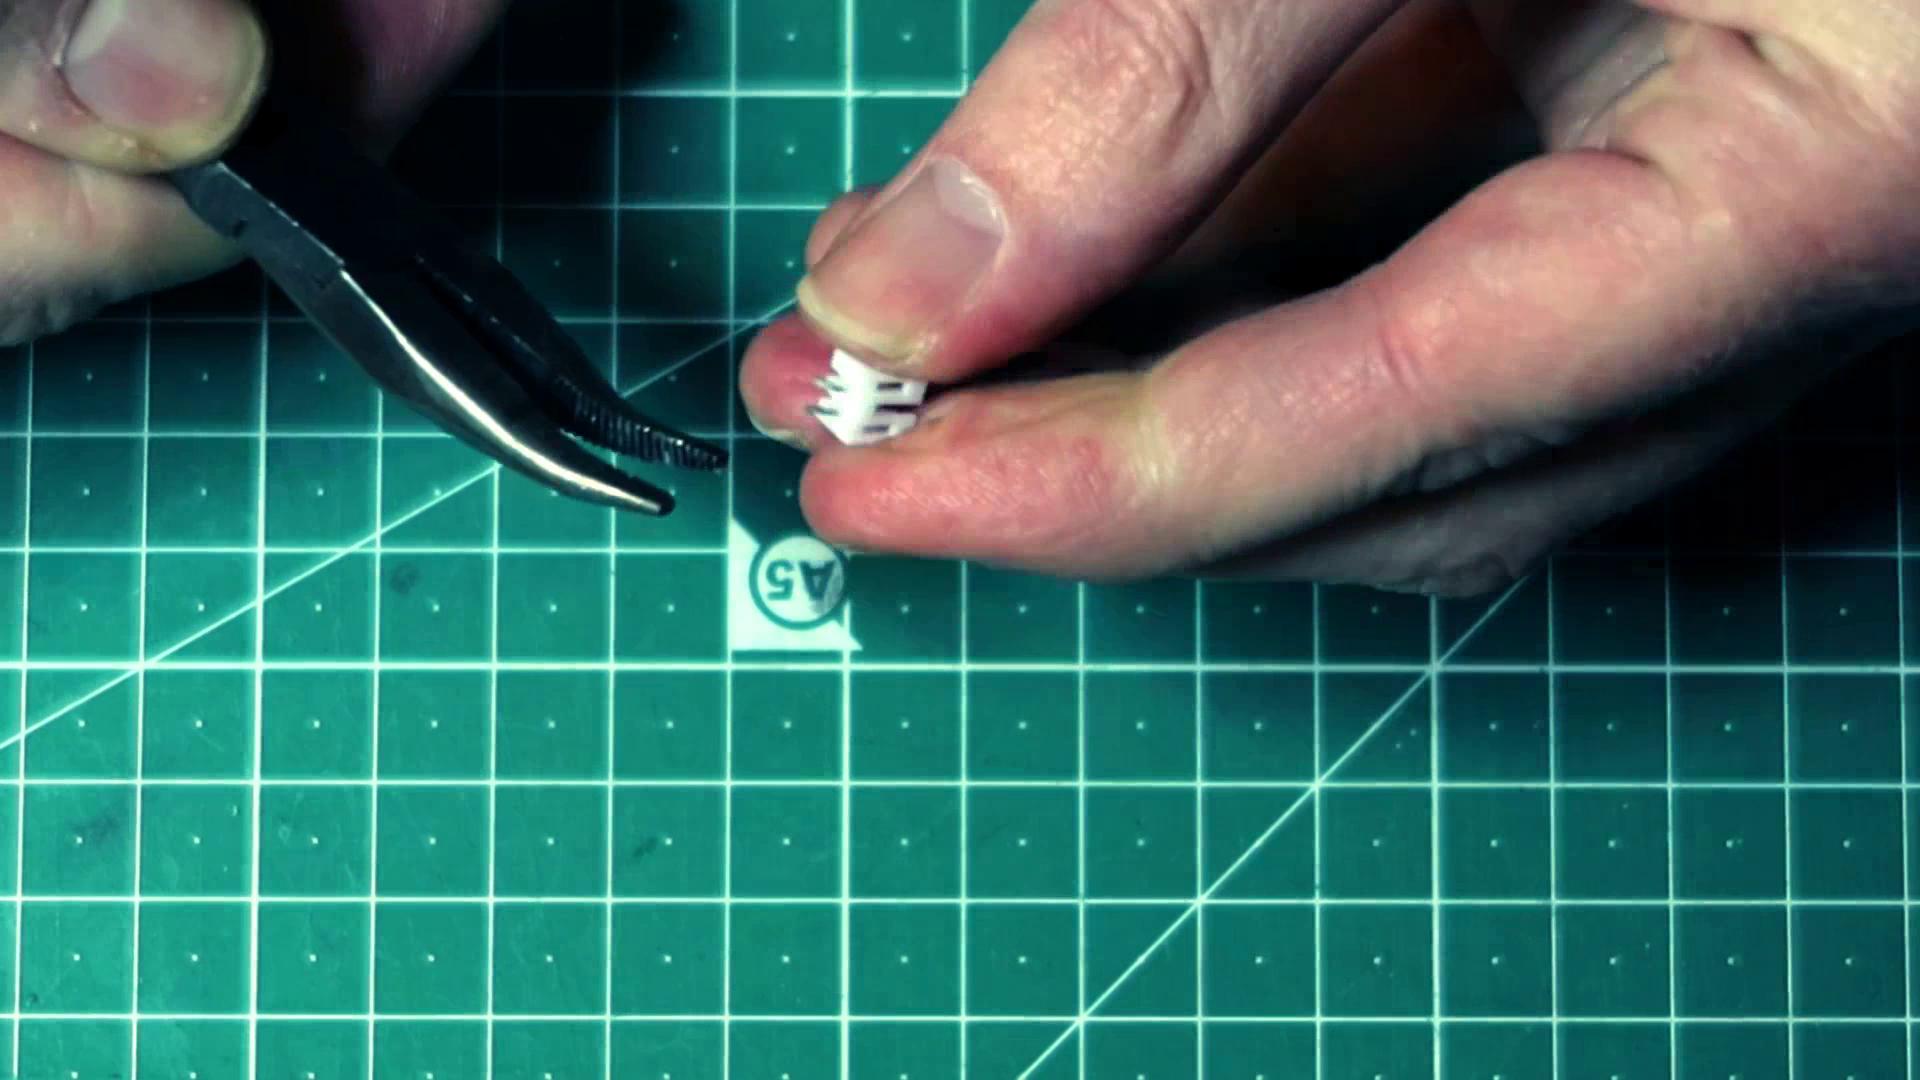
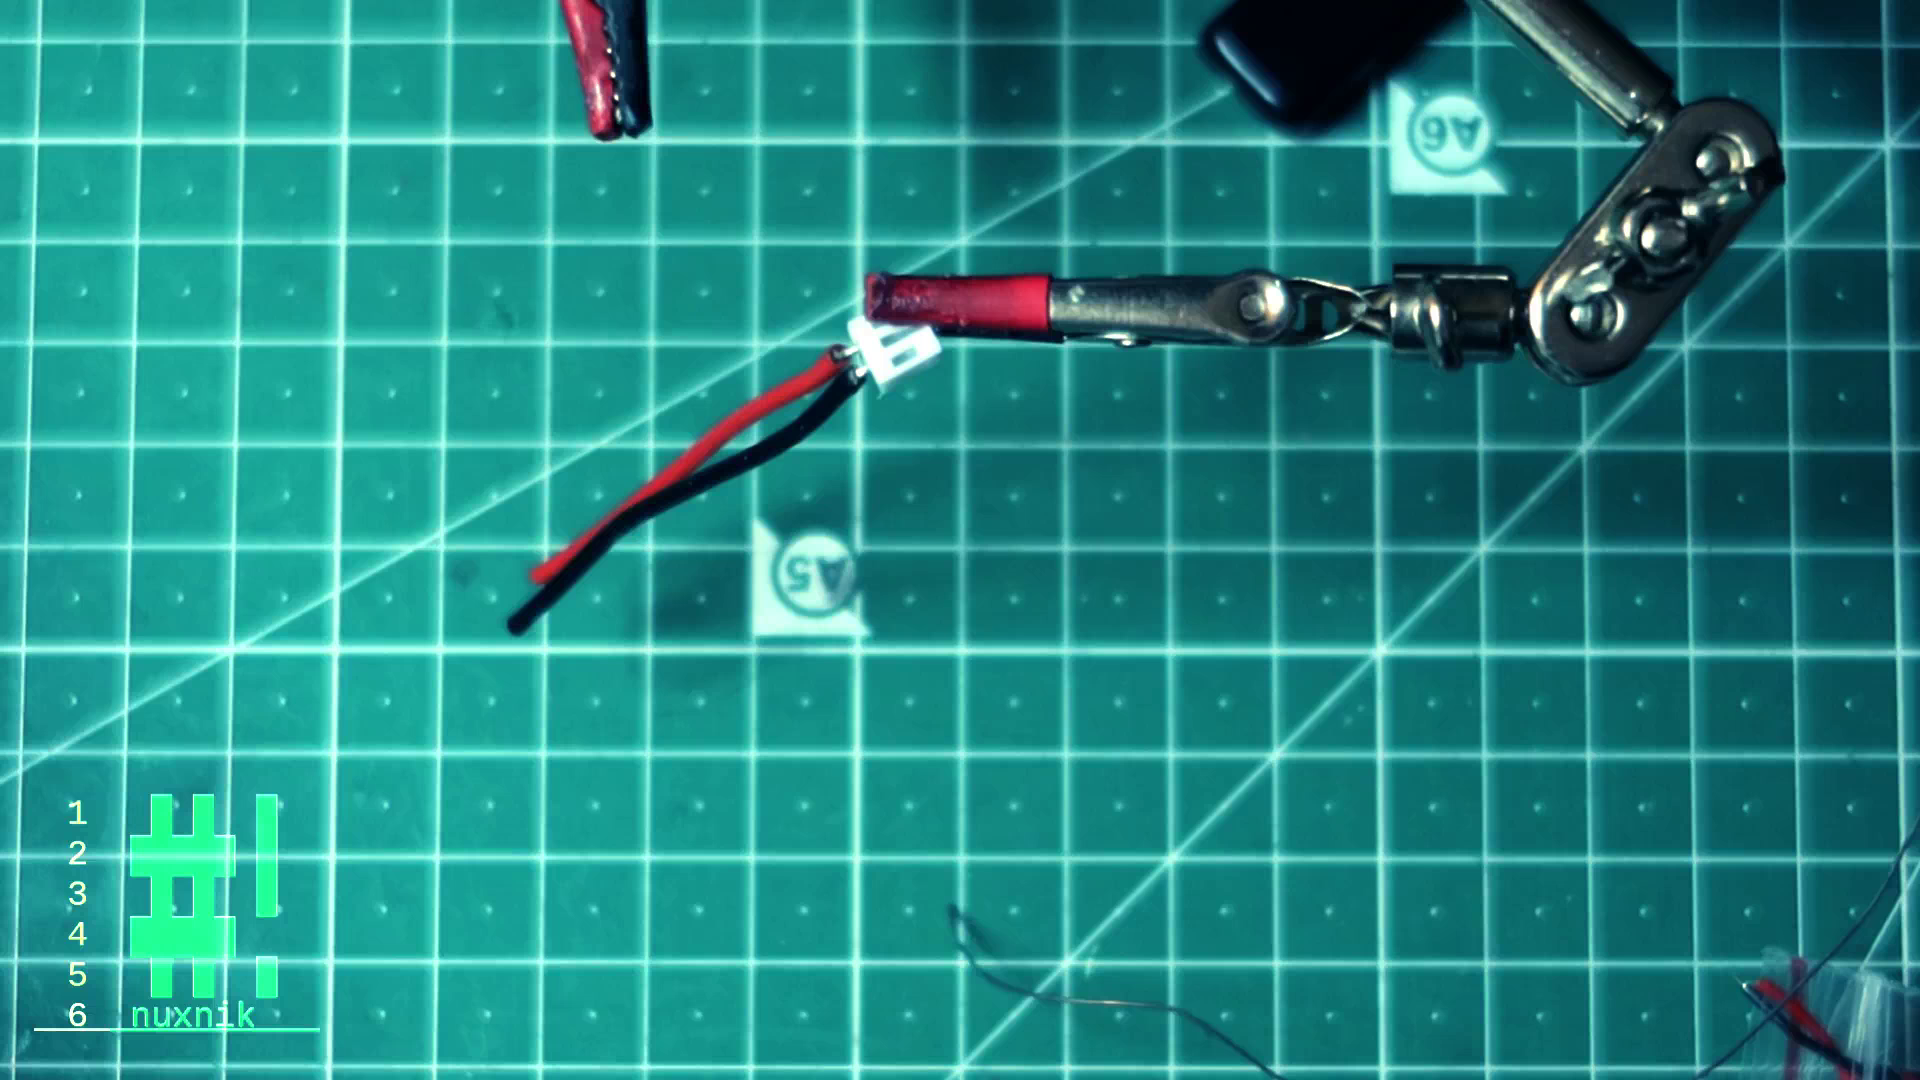
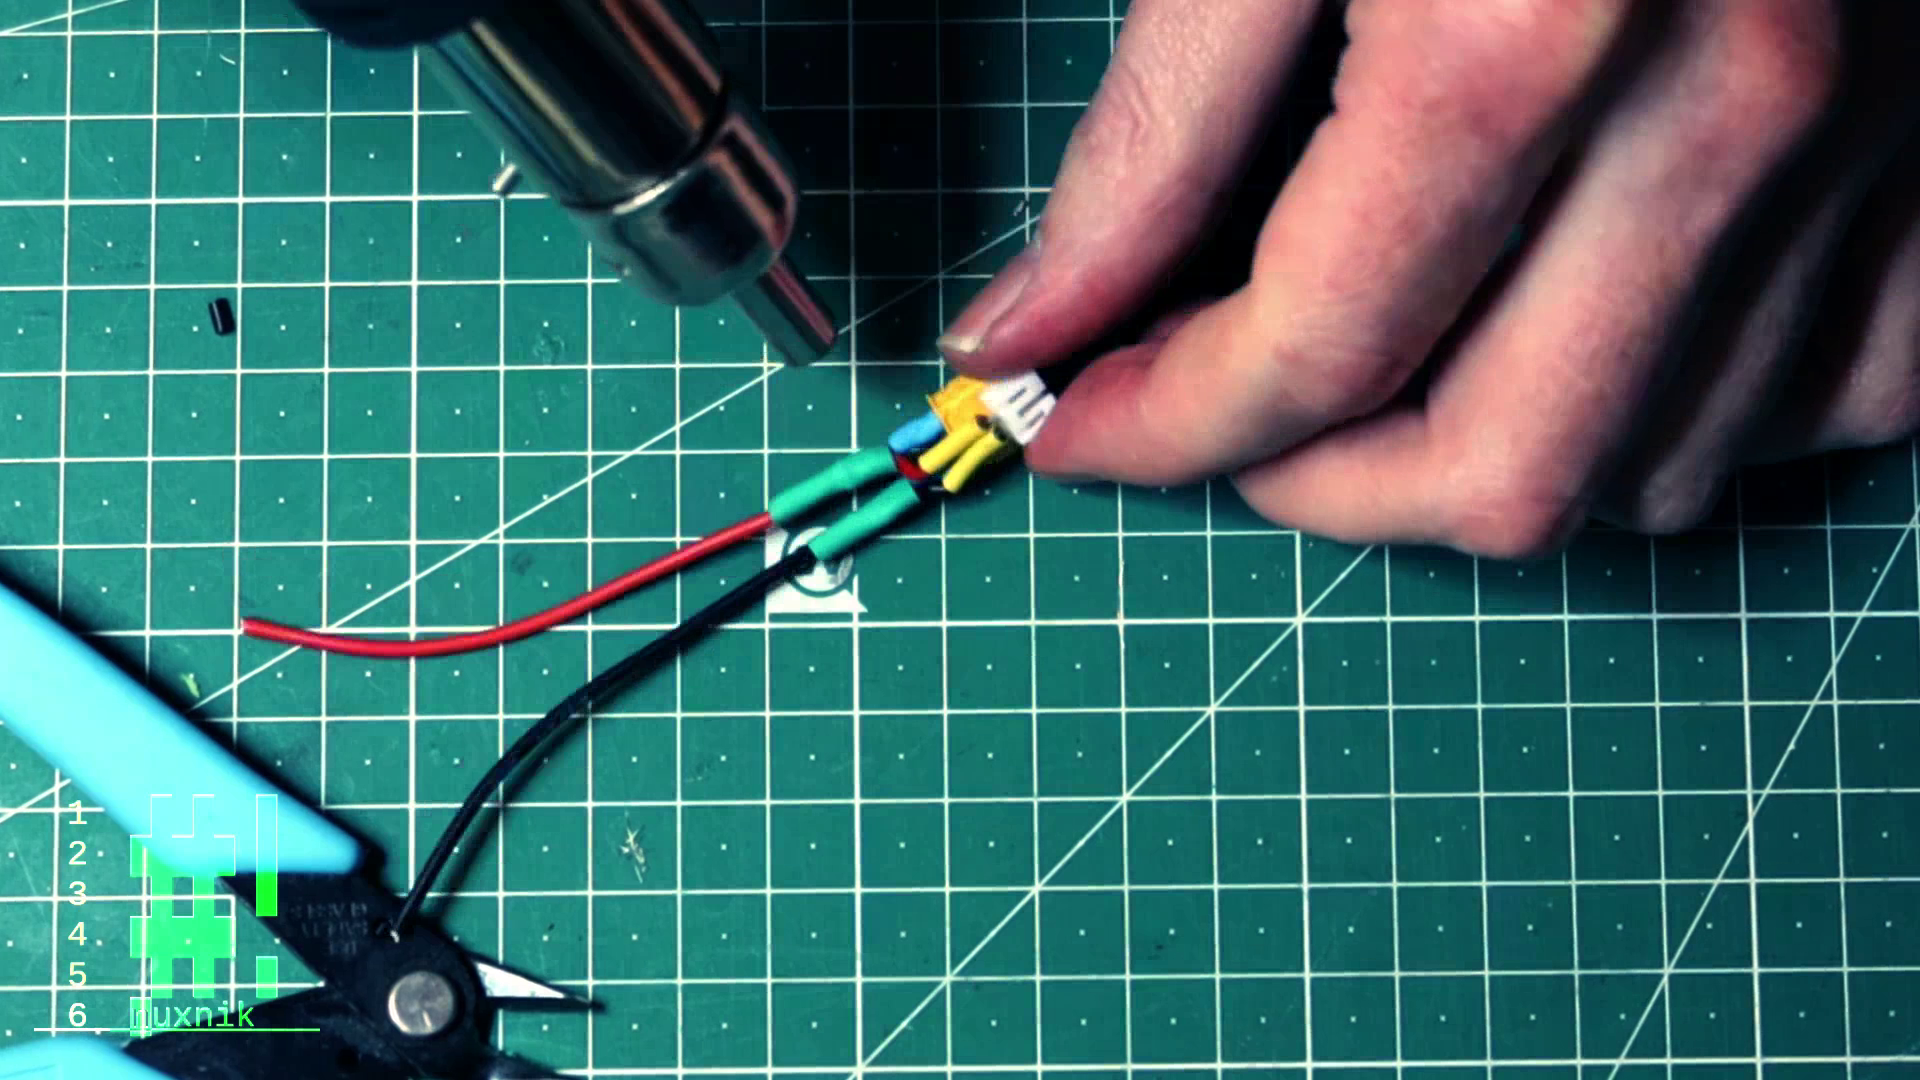
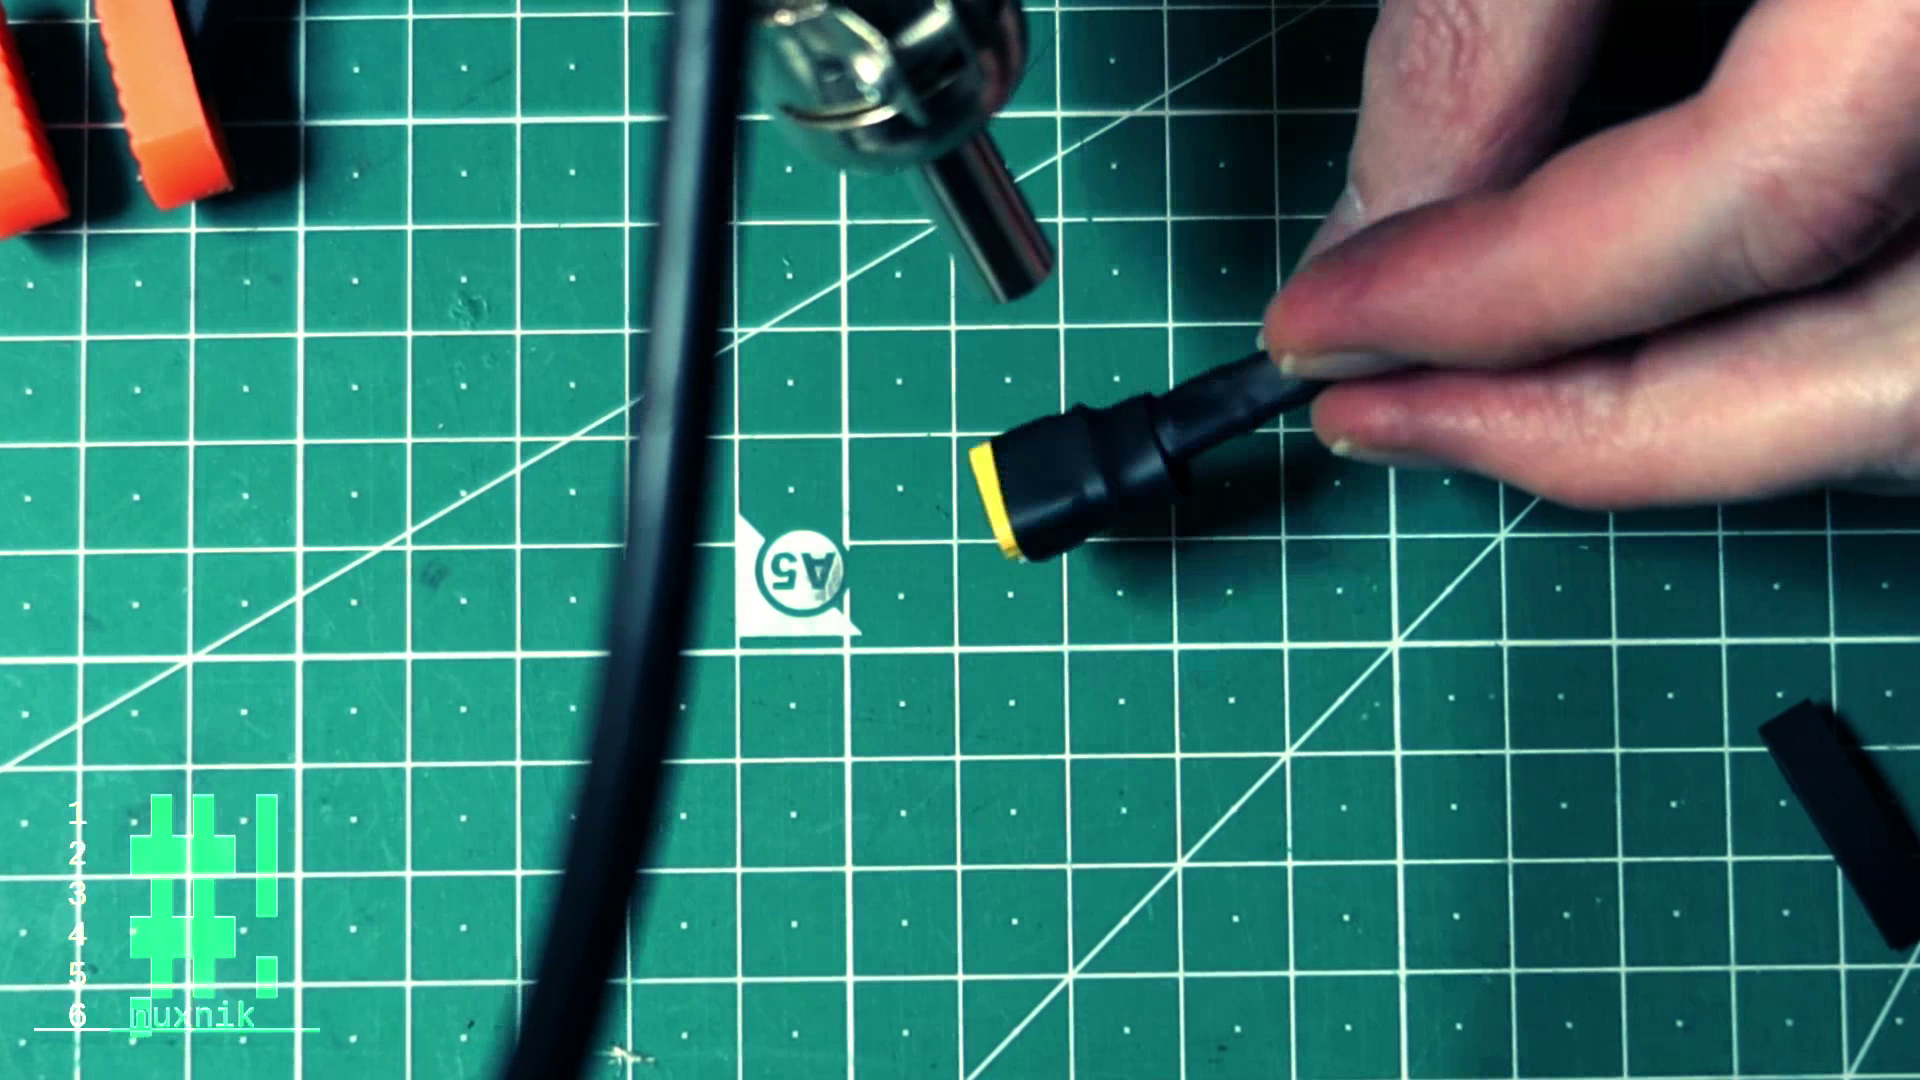
We will start by bending the pins of the PH2.0 connector down with some pliers and soldering the positive and negative leads to the pins. When the connection is secure, add some heat shrink tubing to reduce the chance of a short circut.
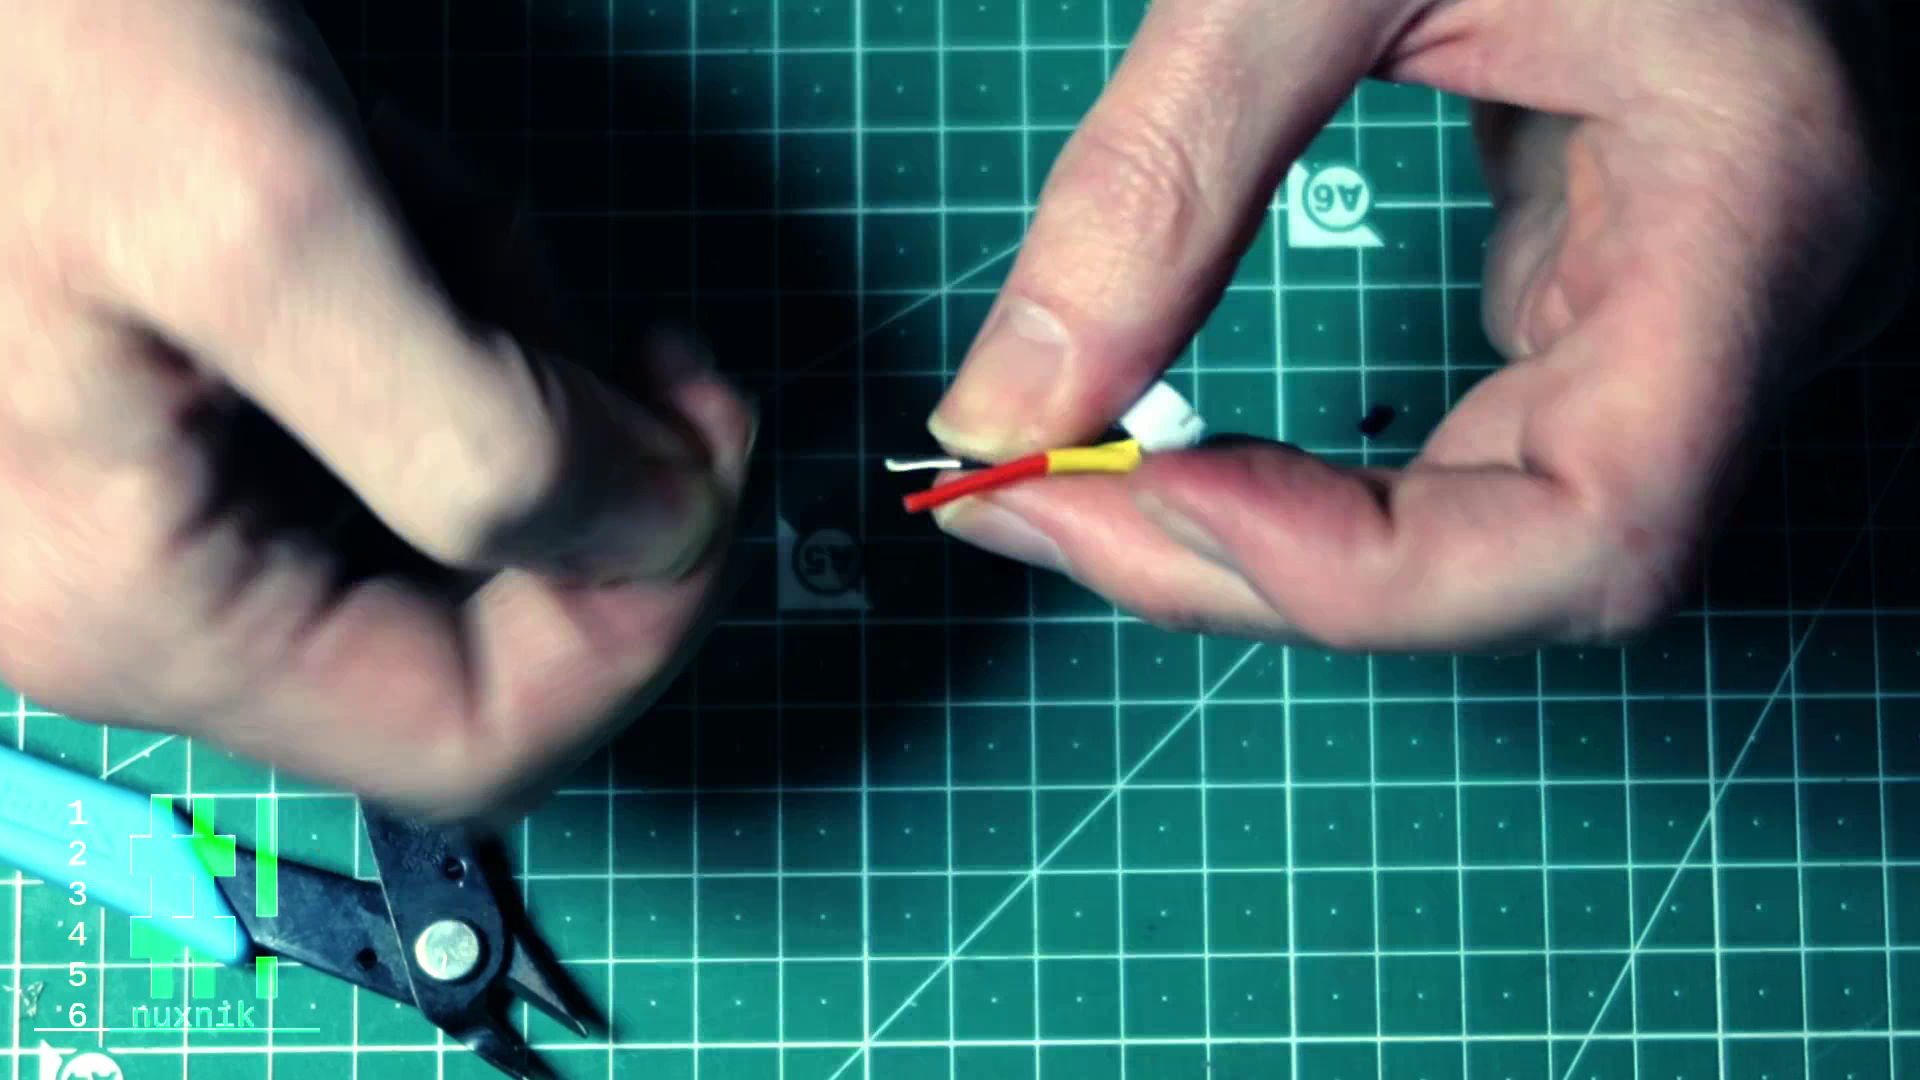
We will take two pieces of 18 AWG wire and create small notches in the insulation. I did this with the help of a wire stripper. This will allow us to connect the PH2.0 connector in parallel.

Now, let's strip the insulation off of the wire from the PH2.0 connector. Make sure to leave approximately 1cm of unstripped wire, since we will use the uninsulated wire to wrap around the notches we made previously.
Wrap the uninsulated wire around each of the notches and add a dab of solder. Do this process for both the positive and negative leads.
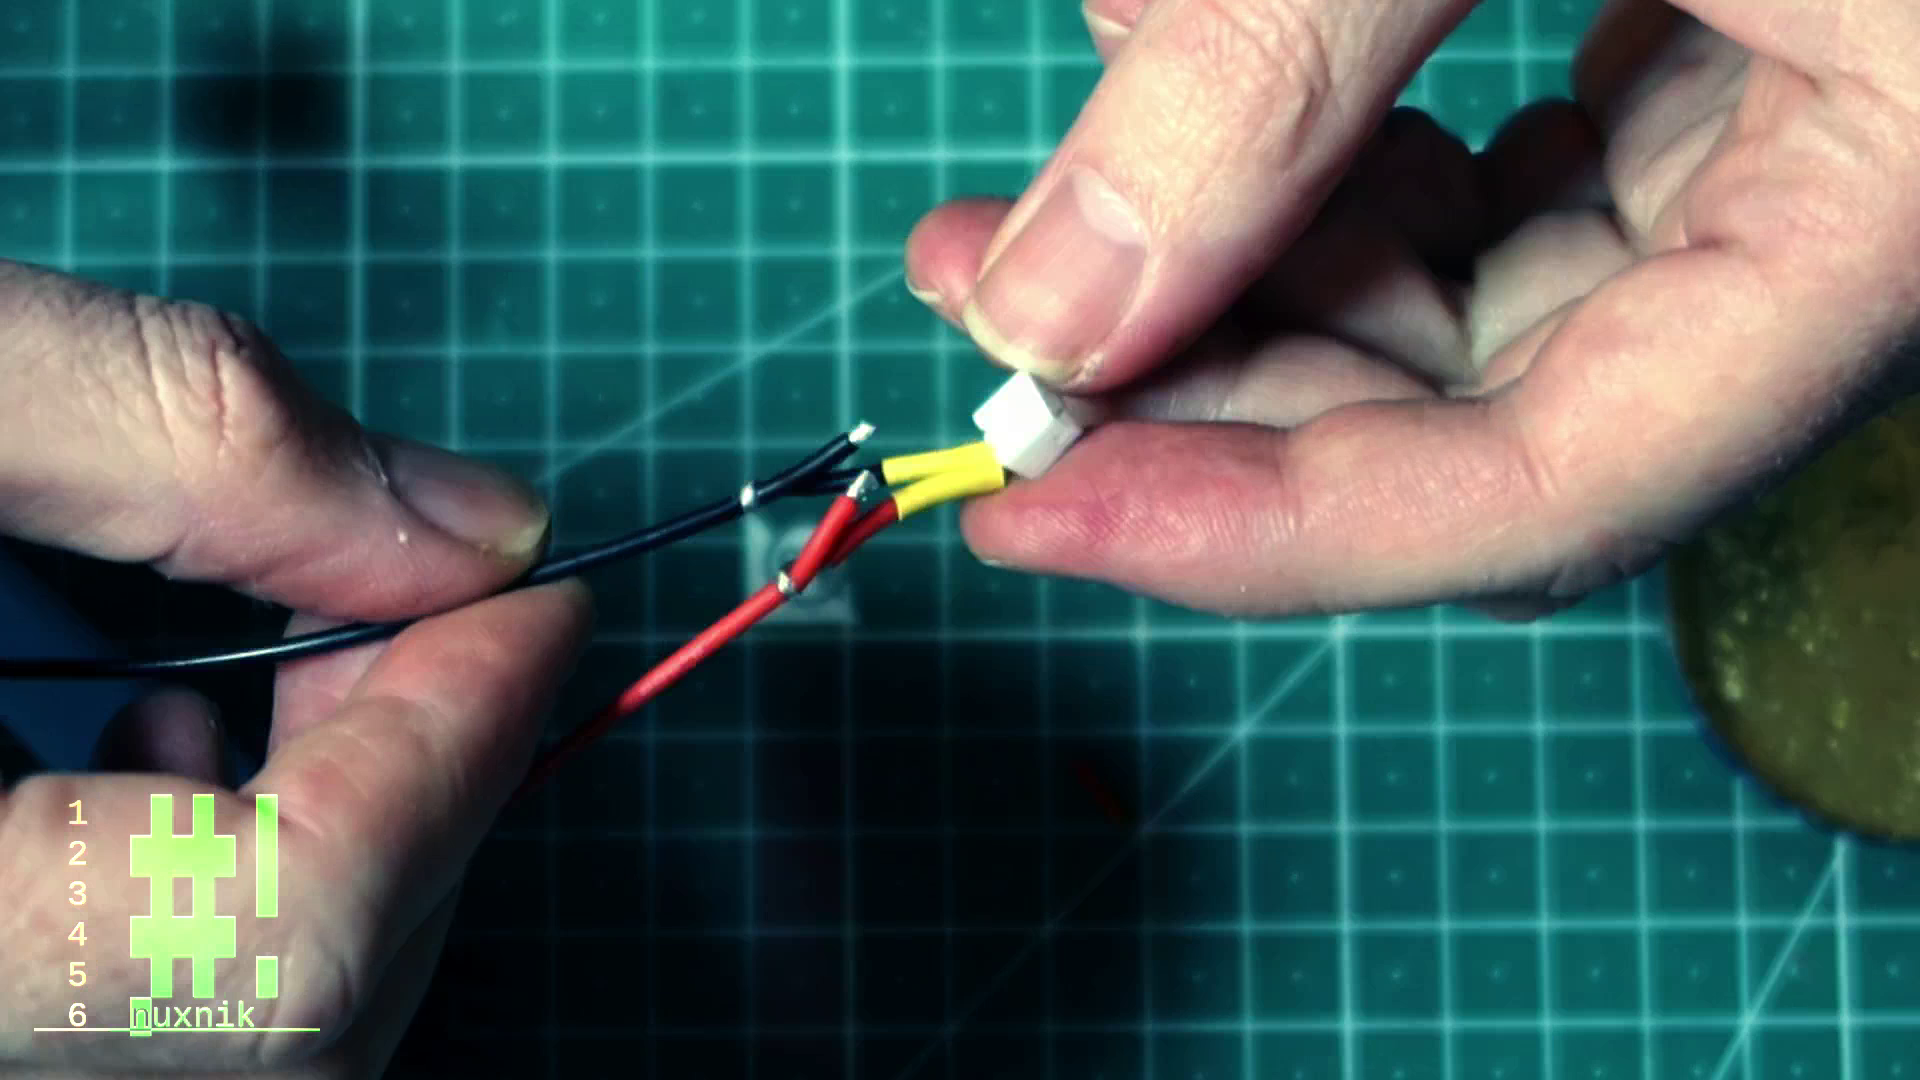
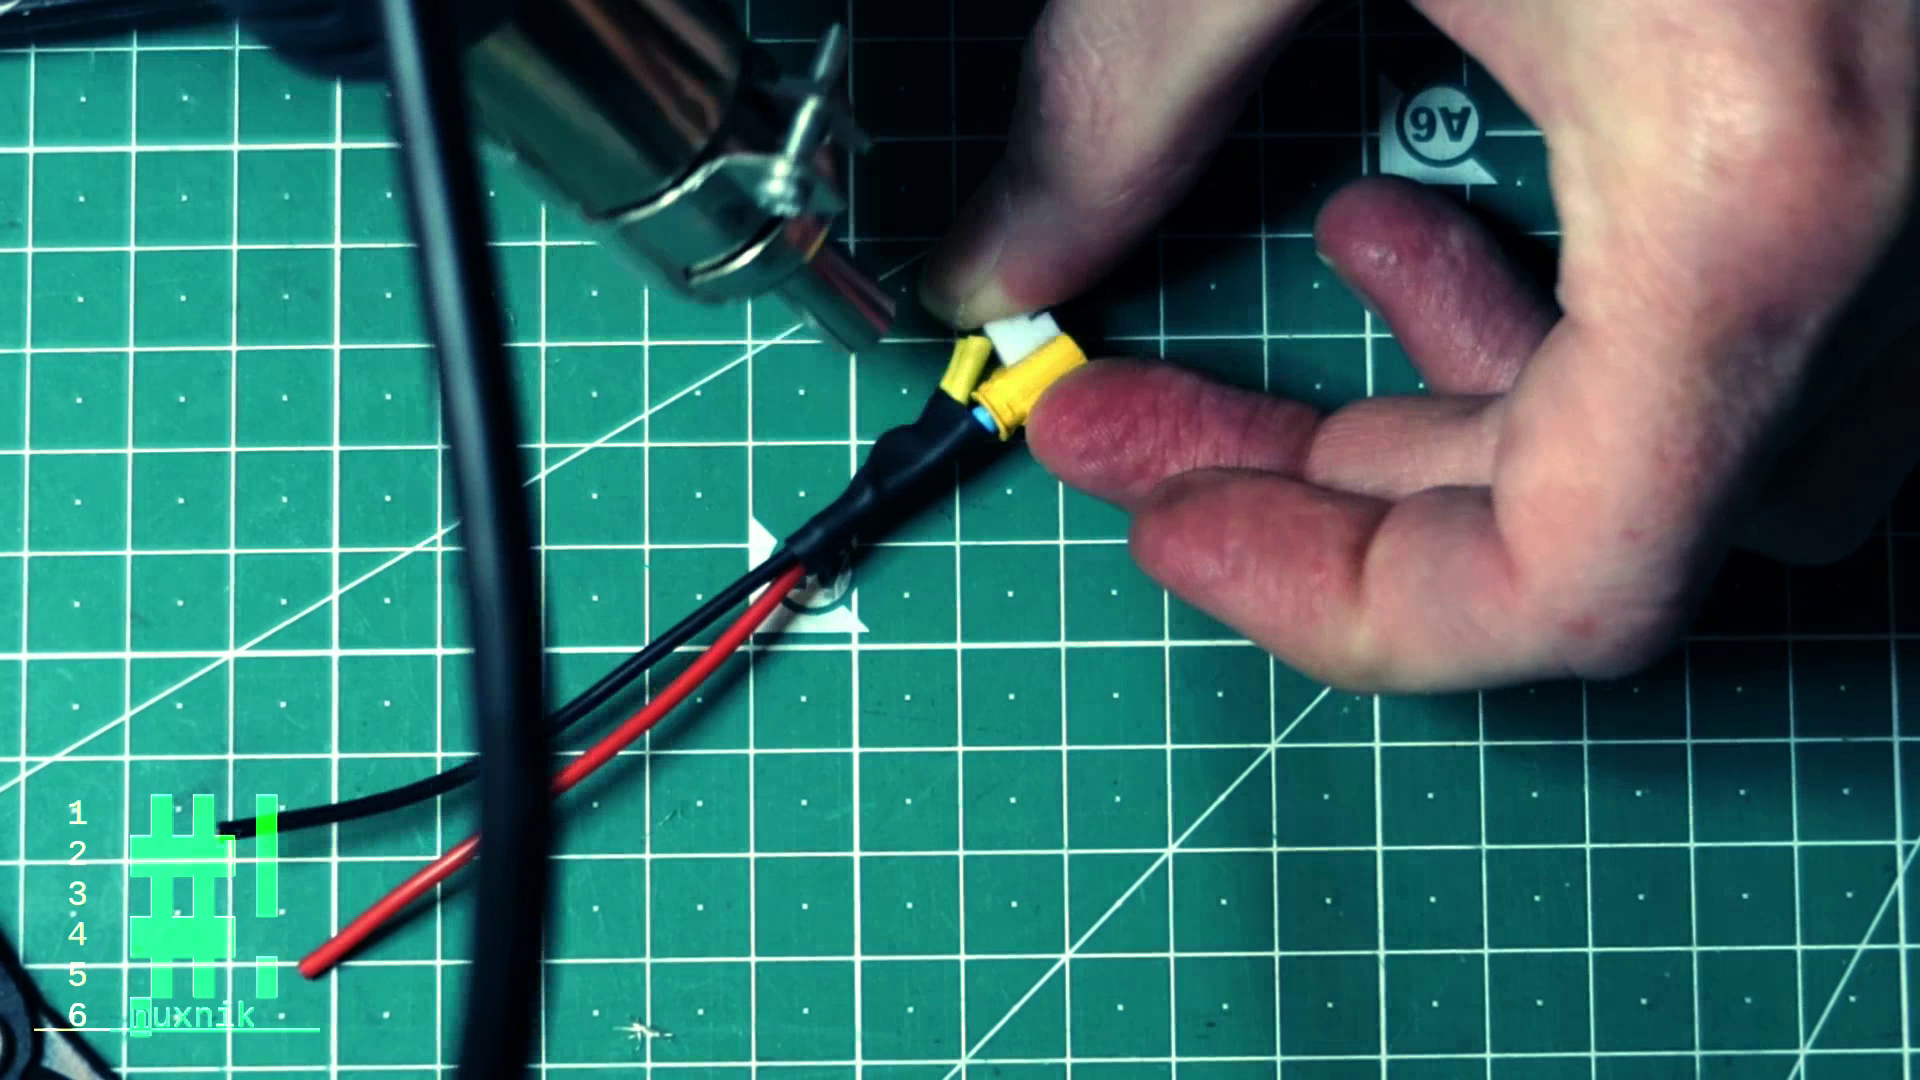
Now we need to solder the 18 AWG wire to the XT30 connector. Make sure to add heat shrik tubing before soldering the connections.
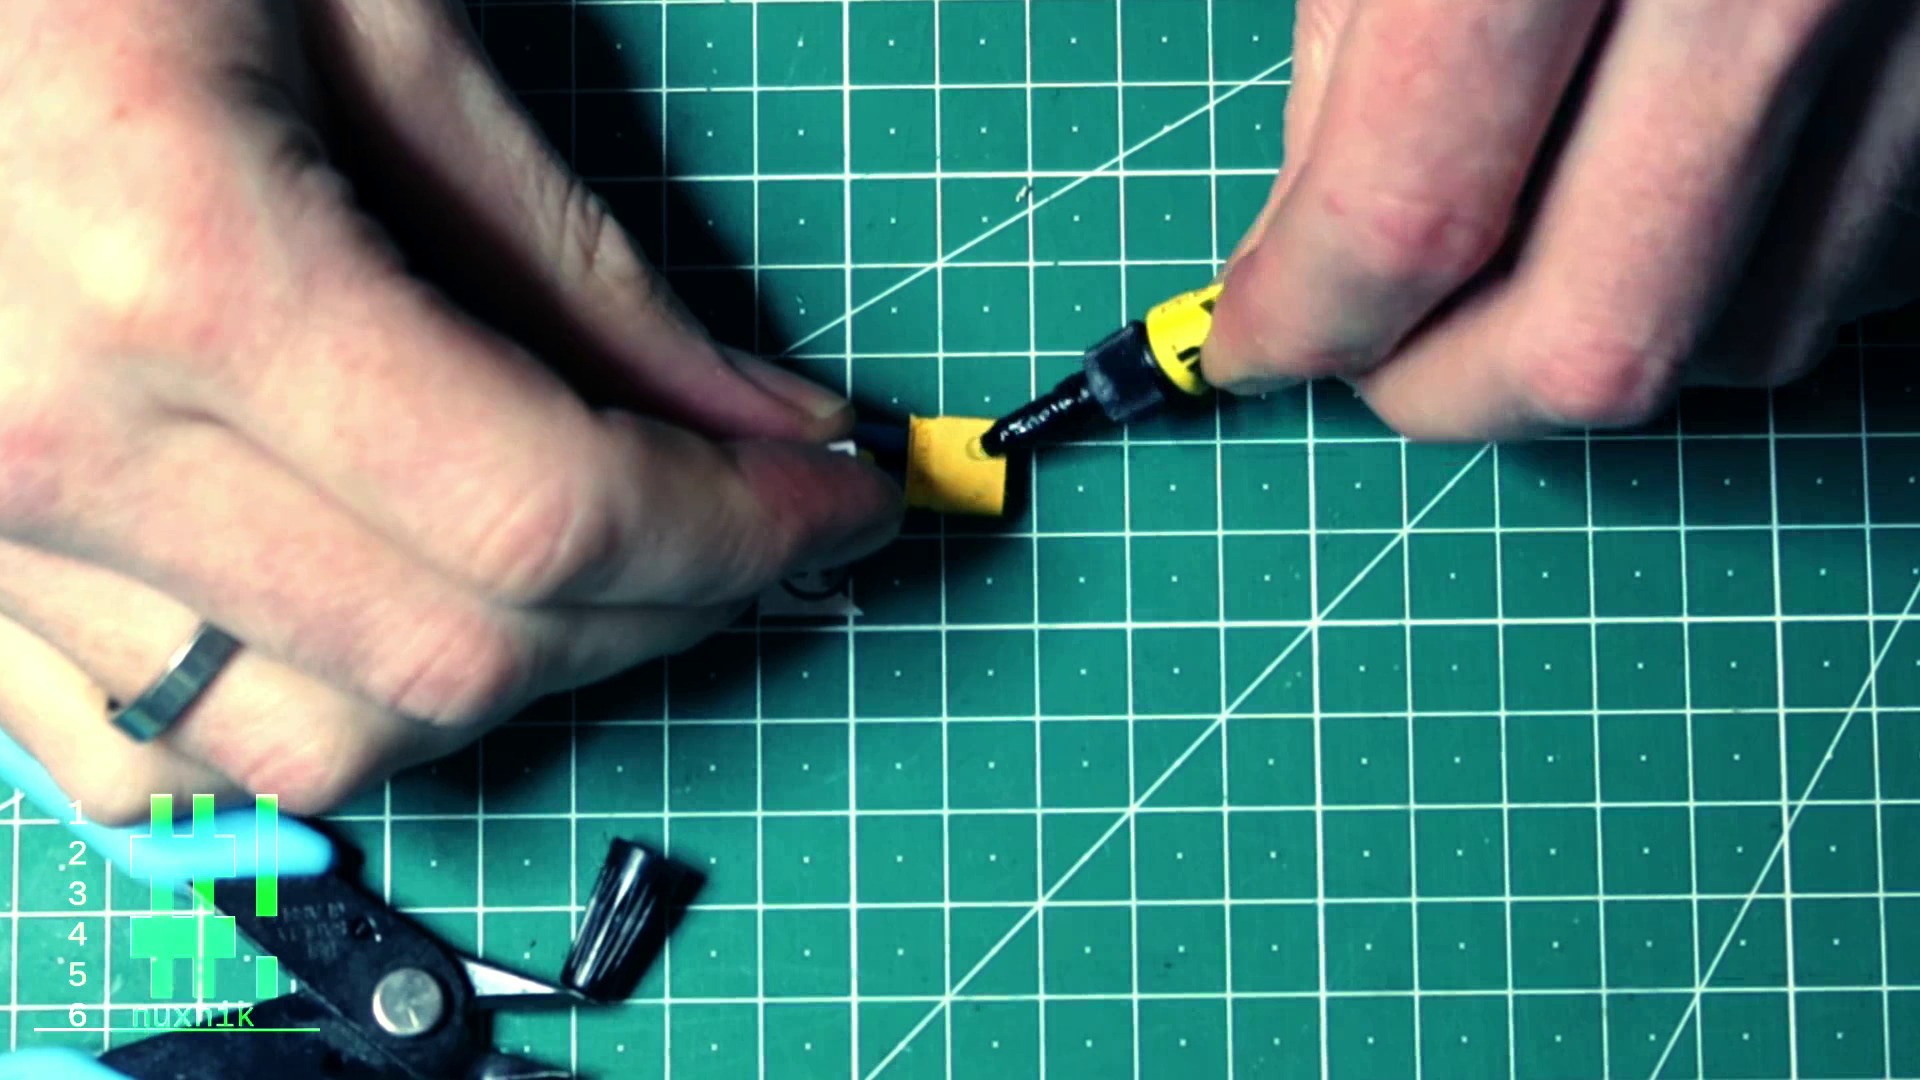
Slide heatshrink tubing over the exposed wires and apply heat.
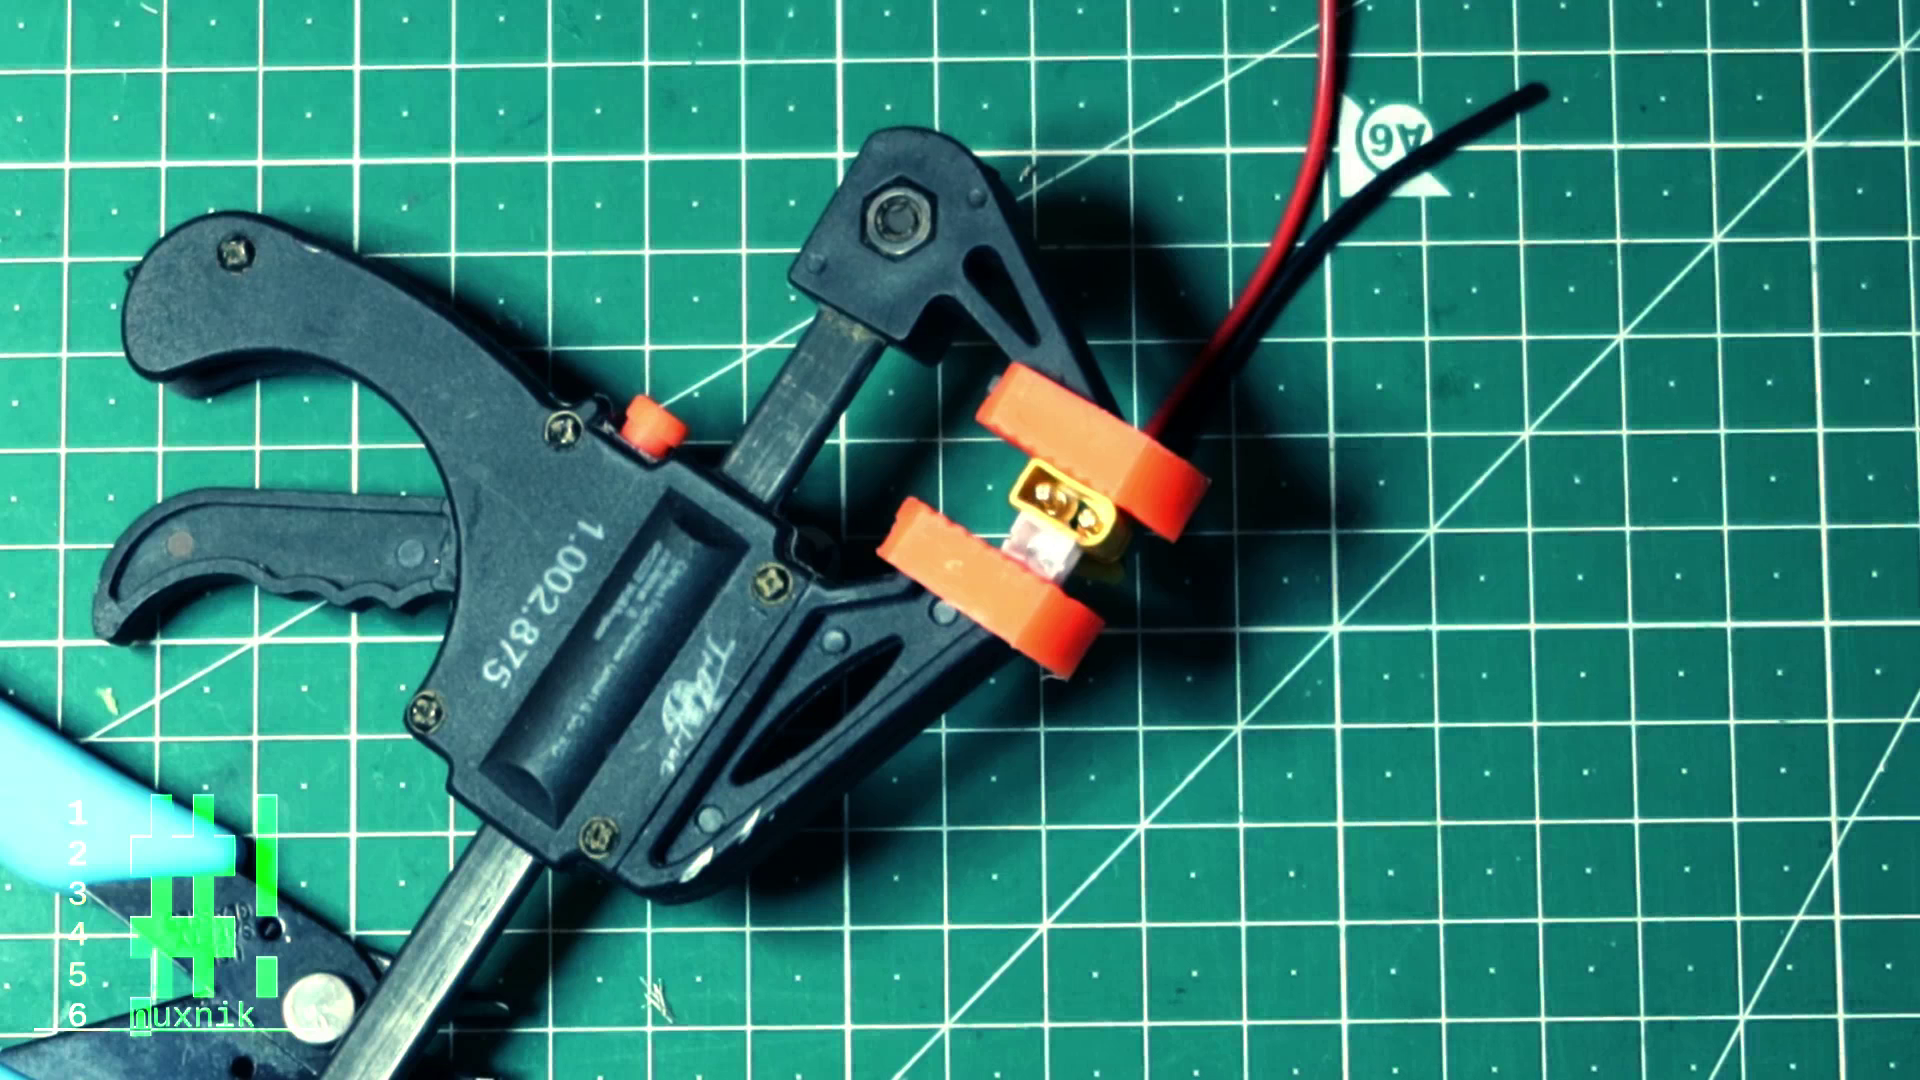
Adding superglue between the PH2.0 and XT30 connector will ensure a solid bond.
I added a clamp over the two connector while the superglue dried.
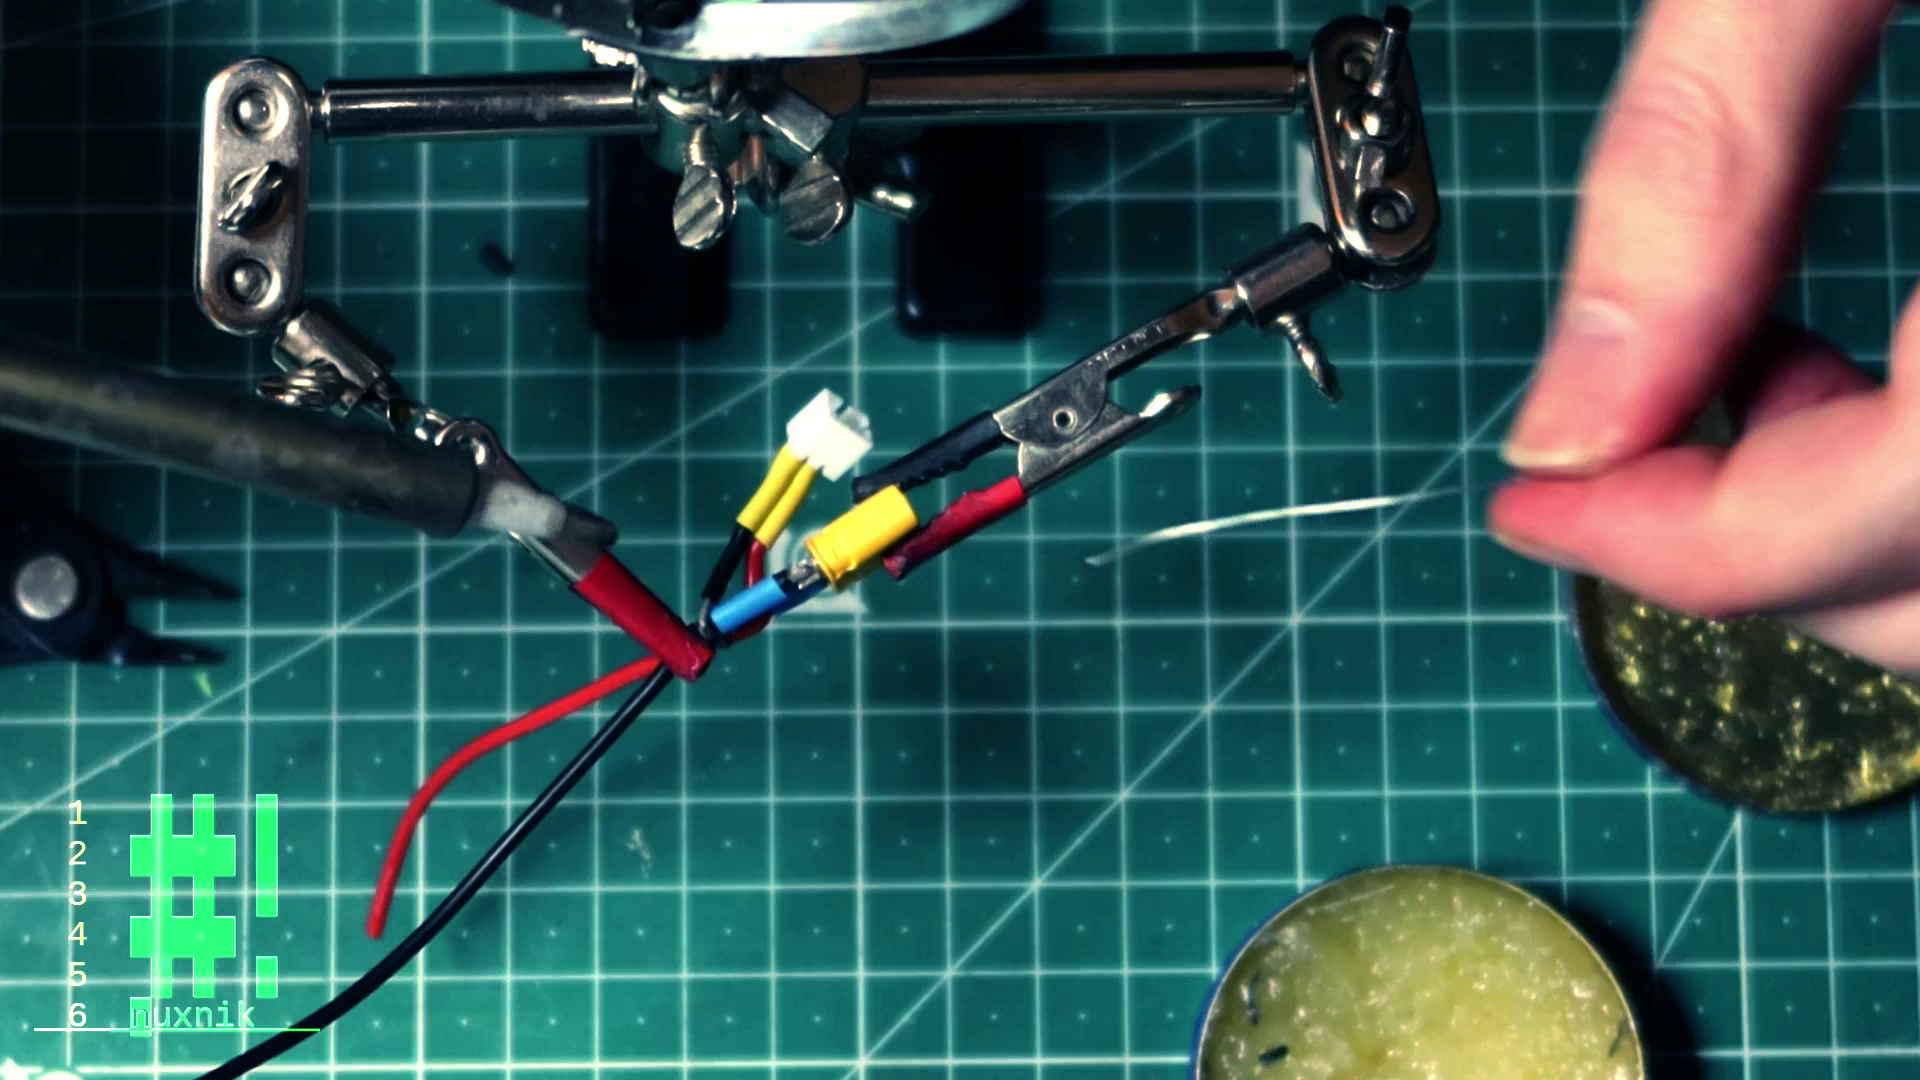
After the glue has dried, we will add some heat shrink over the connectors to add some rigidity.
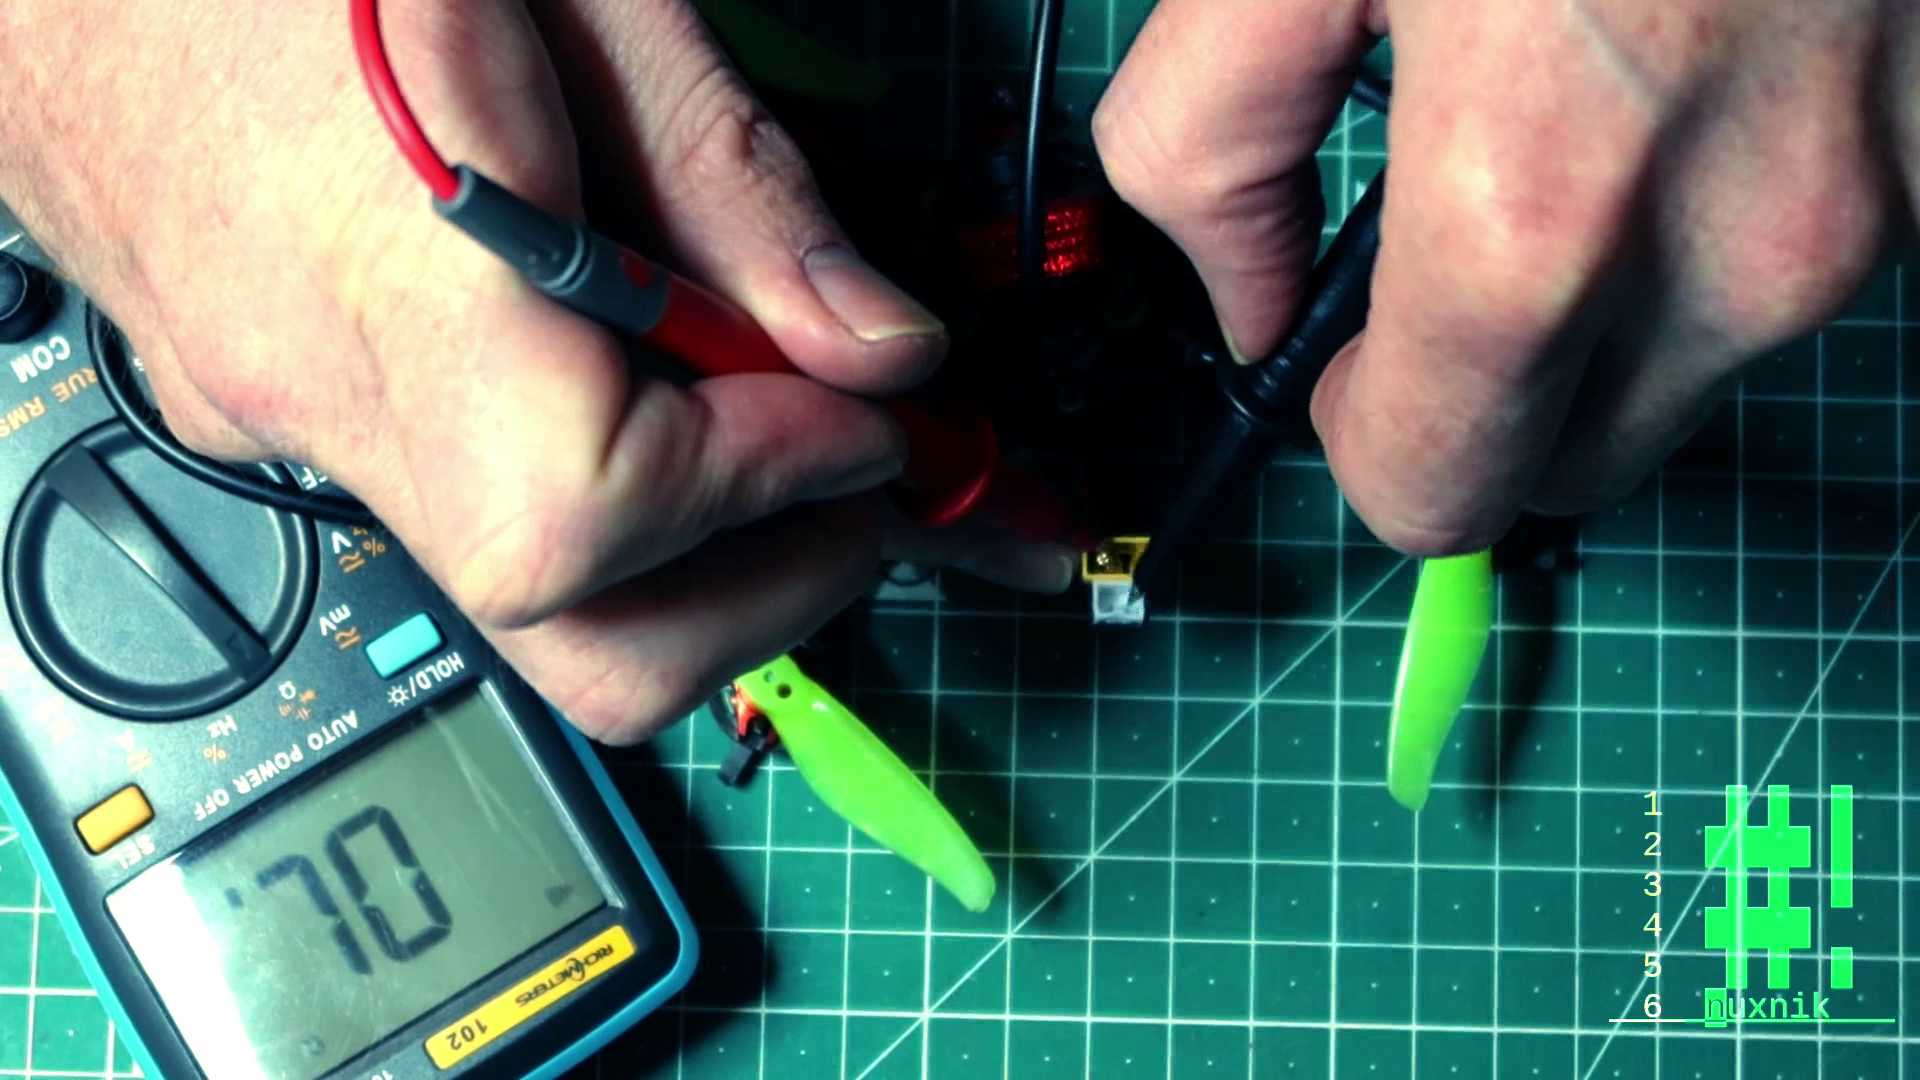
Solder the power leads onto the flight controller and as a final step, let's get our multimeter and put it in continuity mode. Check the connector terminals and make sure the wires aren't crossed. You can also double check your wiring with a smoke stopper if you have one.
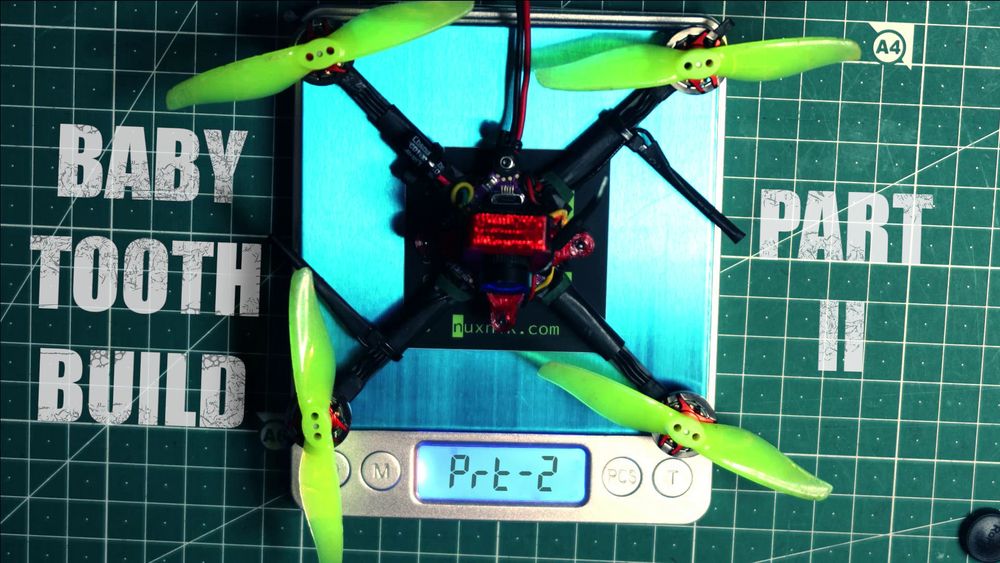
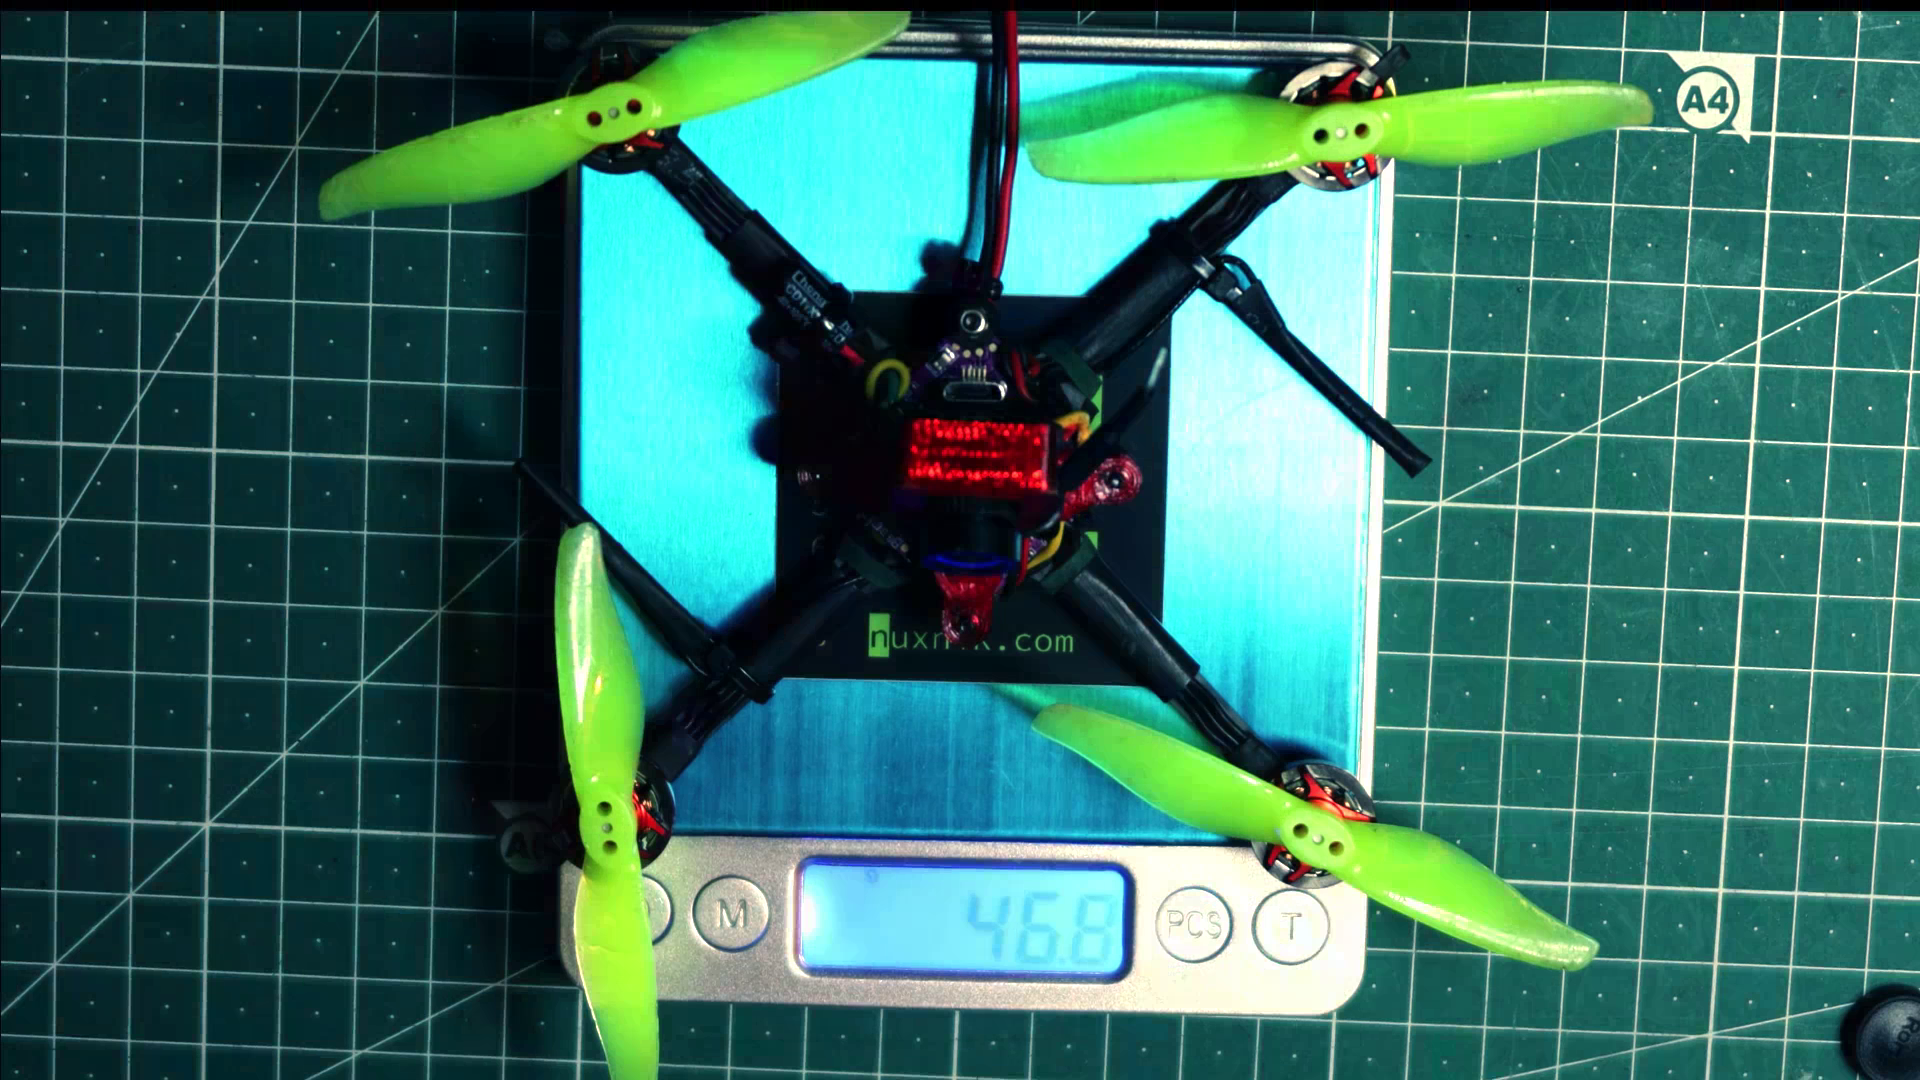
Weight
Obviously, this modification will add some extra weight.
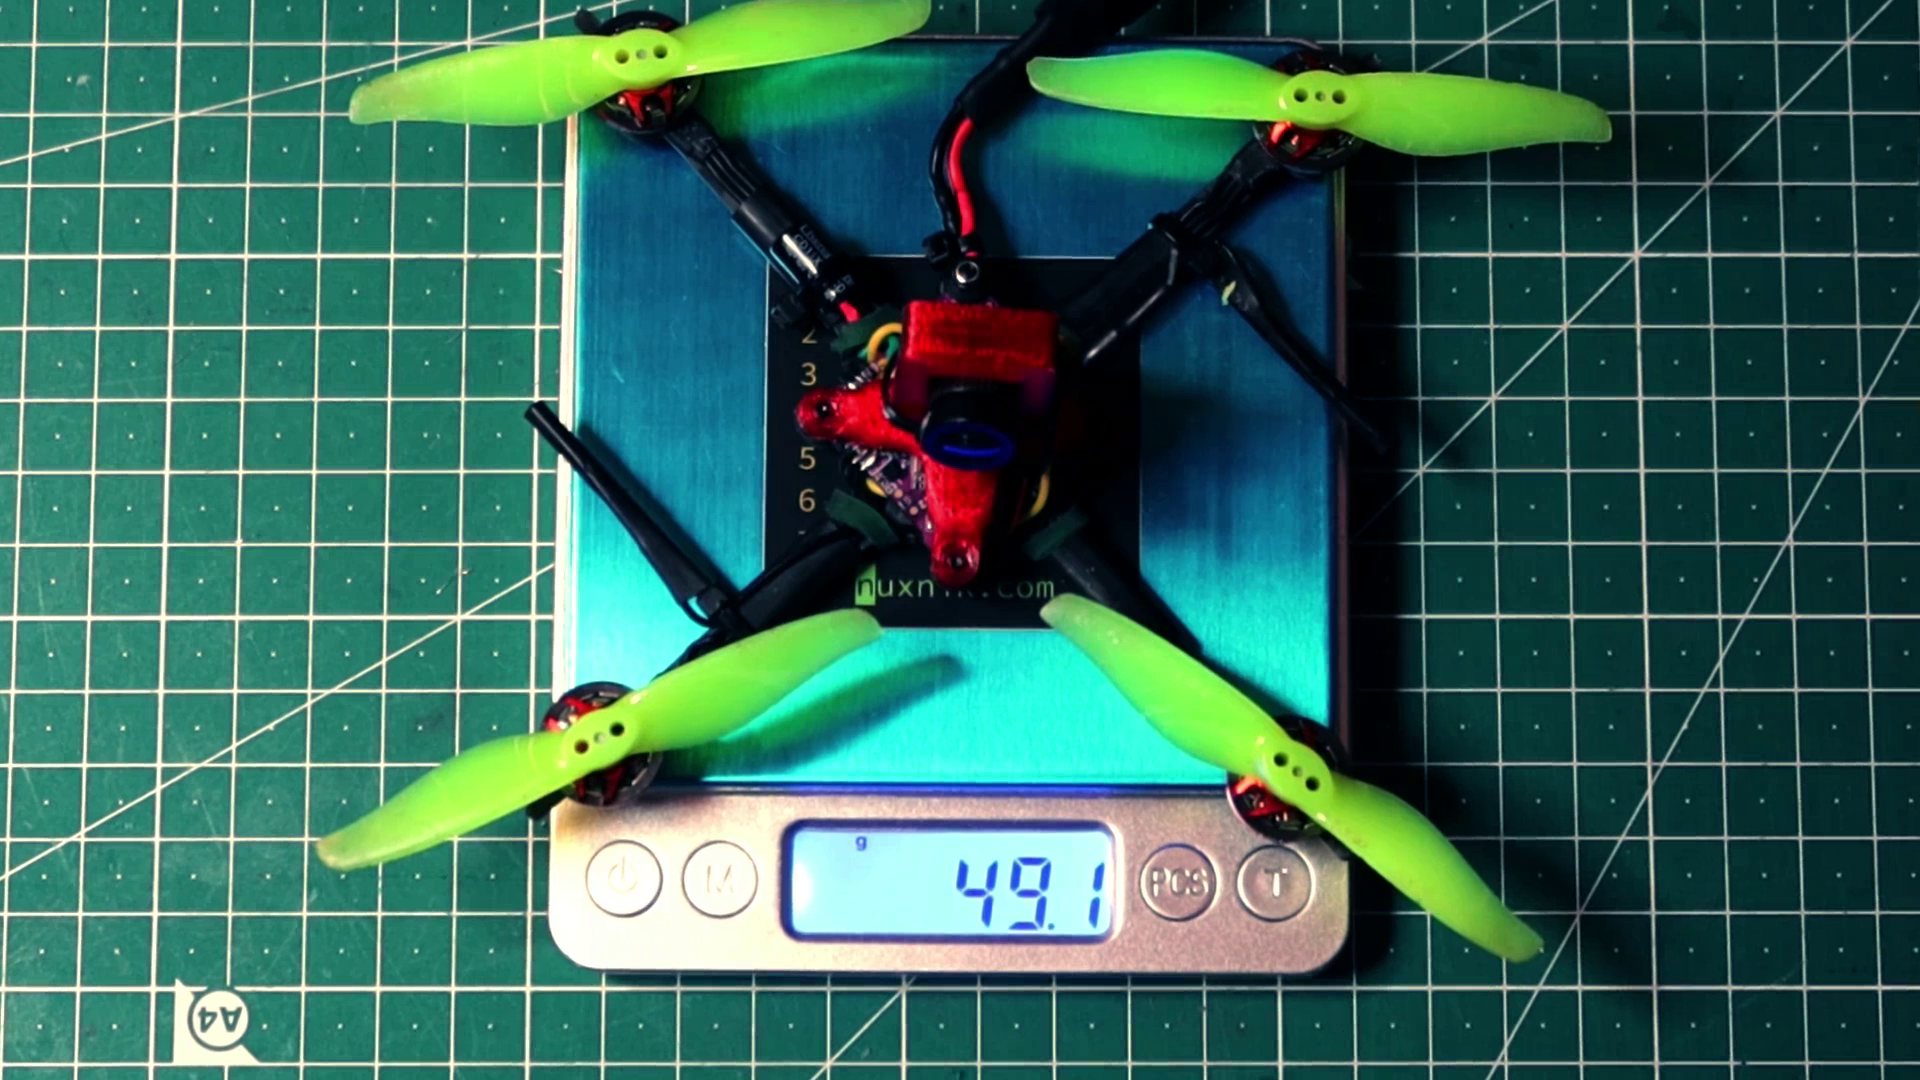
Note, that the connector modification is optional. It is more or less a compomise in order to accomodate as many battery connector types as possible. Feel free to use one or the other connector types depending on your preference.
Betaflight Configurator
Now that the soldering is finished, let's get on with configuring our drone in Betaflight-Configurator. Fire up the application, plug in your drone via USB and click "connect".
Back Up
Before changing any of the settings, let's create a backup of the current configuration. This is a nice fall back to have, so we can change it back in case something goes wrong.
diff all
Click the "copy to clipboard" option in the lower right corner and save this text to a file on your computer. Later, if something needs to be reset or your want to start all over, just copy the contents of the backup file to the cli and press enter. This will reset the FC to the "factory" state.


Ports
Let's click the "ports" tab first. If you used the same components as the ones I listed in the build guide, you can configure your ports as follows:
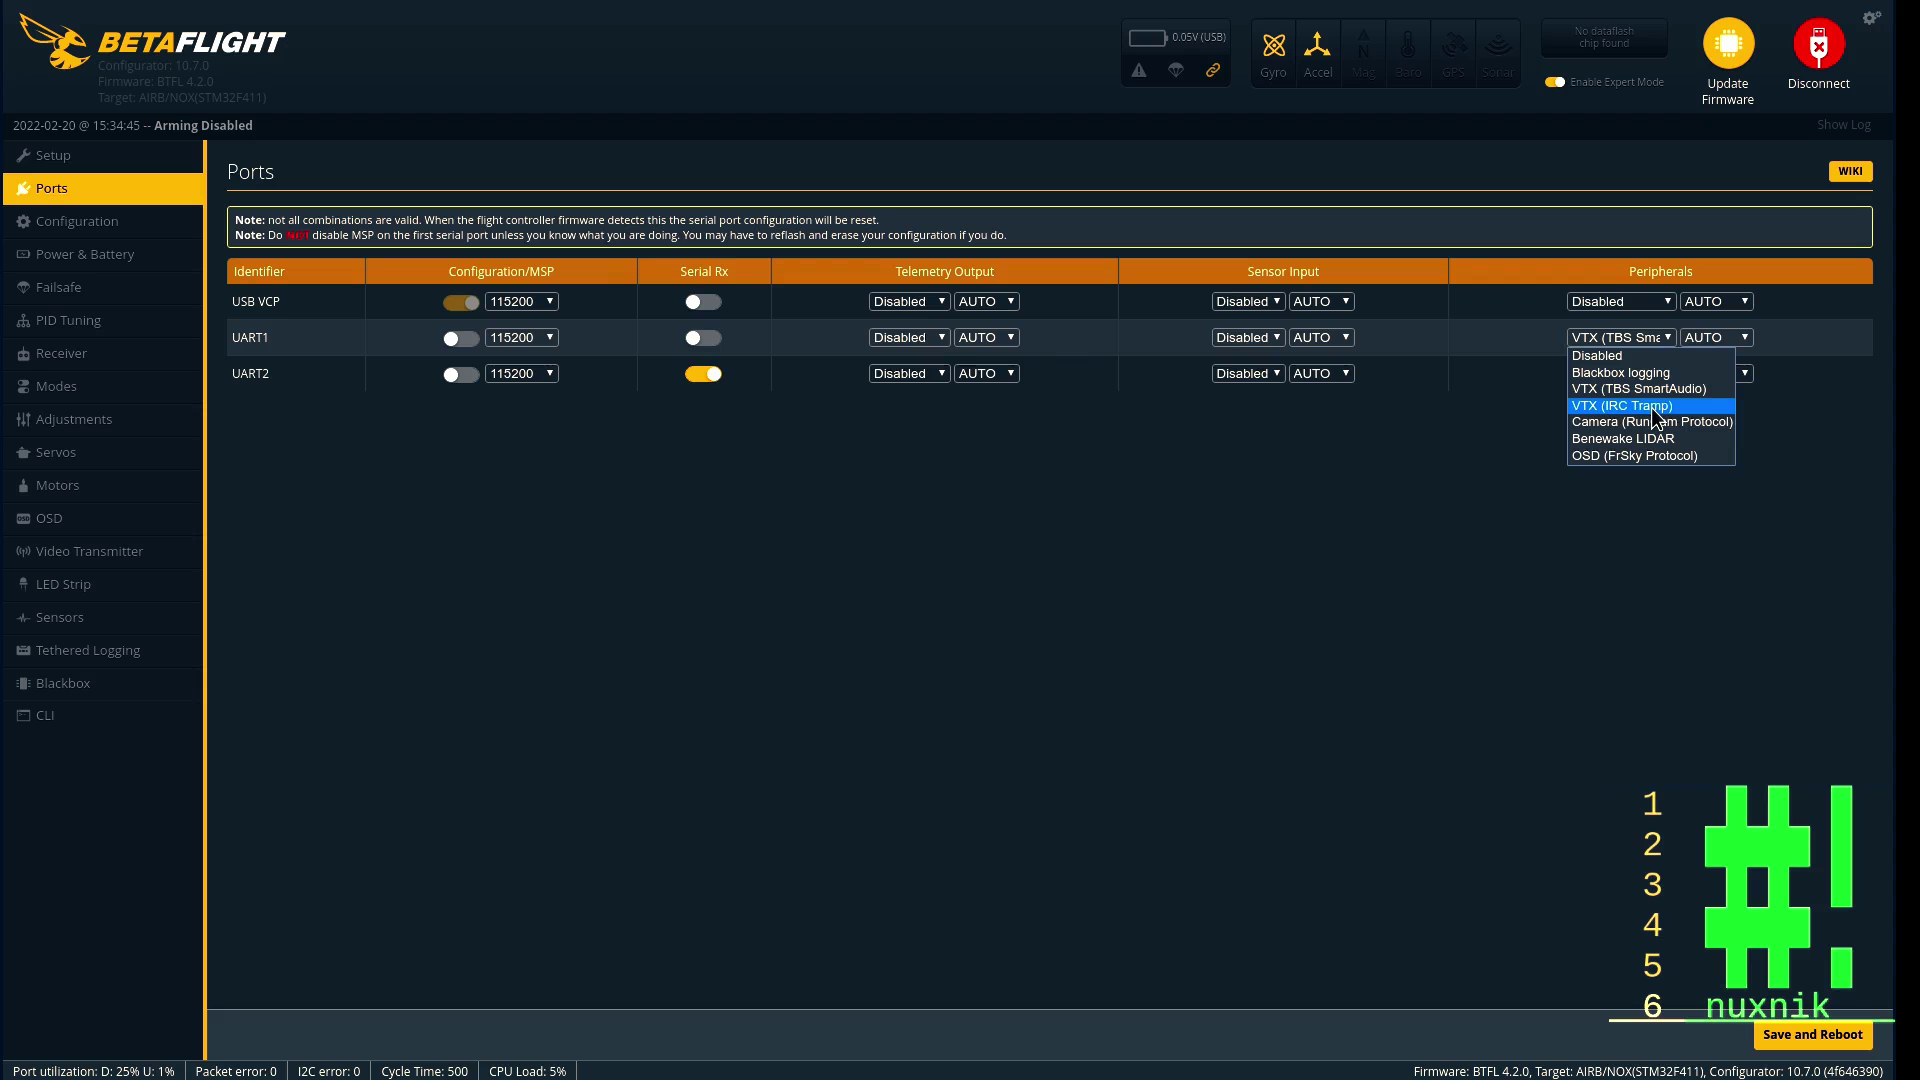
"UART 1" should be set to the TRAMP protocol for the Eachine Nano VTX. If your VTX is different, you need to set the correct protocol and UART depending on how you wired it up.
UART 2 should have "Serial RX" activated. Click "Save and Reboot".

Board Orientation
During our build, we placed the flight controller upside-down into the frame. We did this because the USB jack does not fit into frame in the flight controllers standard orientation. This is perfectly fine as long as we let the flight controller know what is going on. If we don't do this, the FC will think it is upside down and make it unflyable.

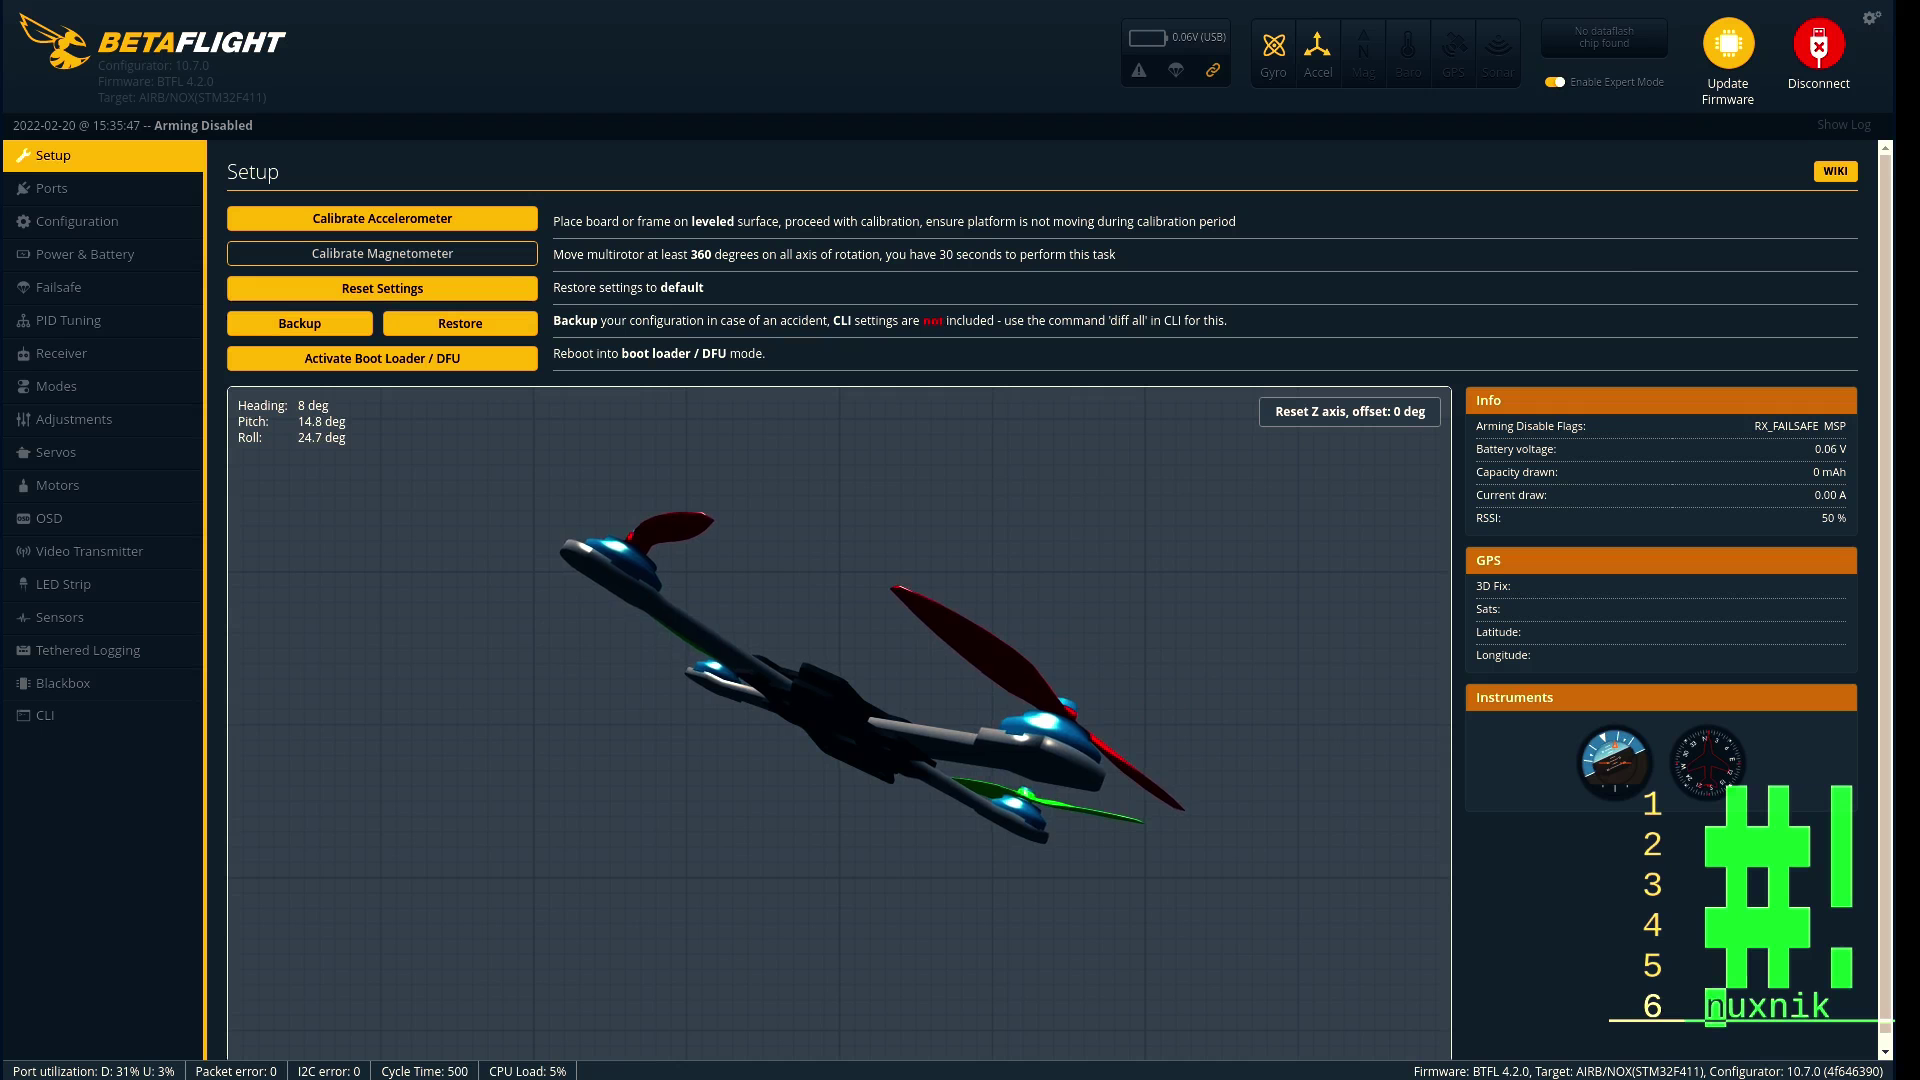
Click on the "Configuration" tab and go to the "Board and Sensor Alignment" option. We need to change the "Roll Degrees" value to 180. The setting lets the FC know that the board is flipped over 180°.

Don't forget to click the "save" button in the lower right hand side. You should notice that the model showing the position of the drone will be modified and show the board being right side up.
Motor Mapping
Because we flipped the board over, we will need to remap the motors. The normal mapping of the motors is also switched and we have to tell Betaflight knows which motor is which. This might be a litte complicated, to remember which resource is which. Below you see the normal orientation of the motors.
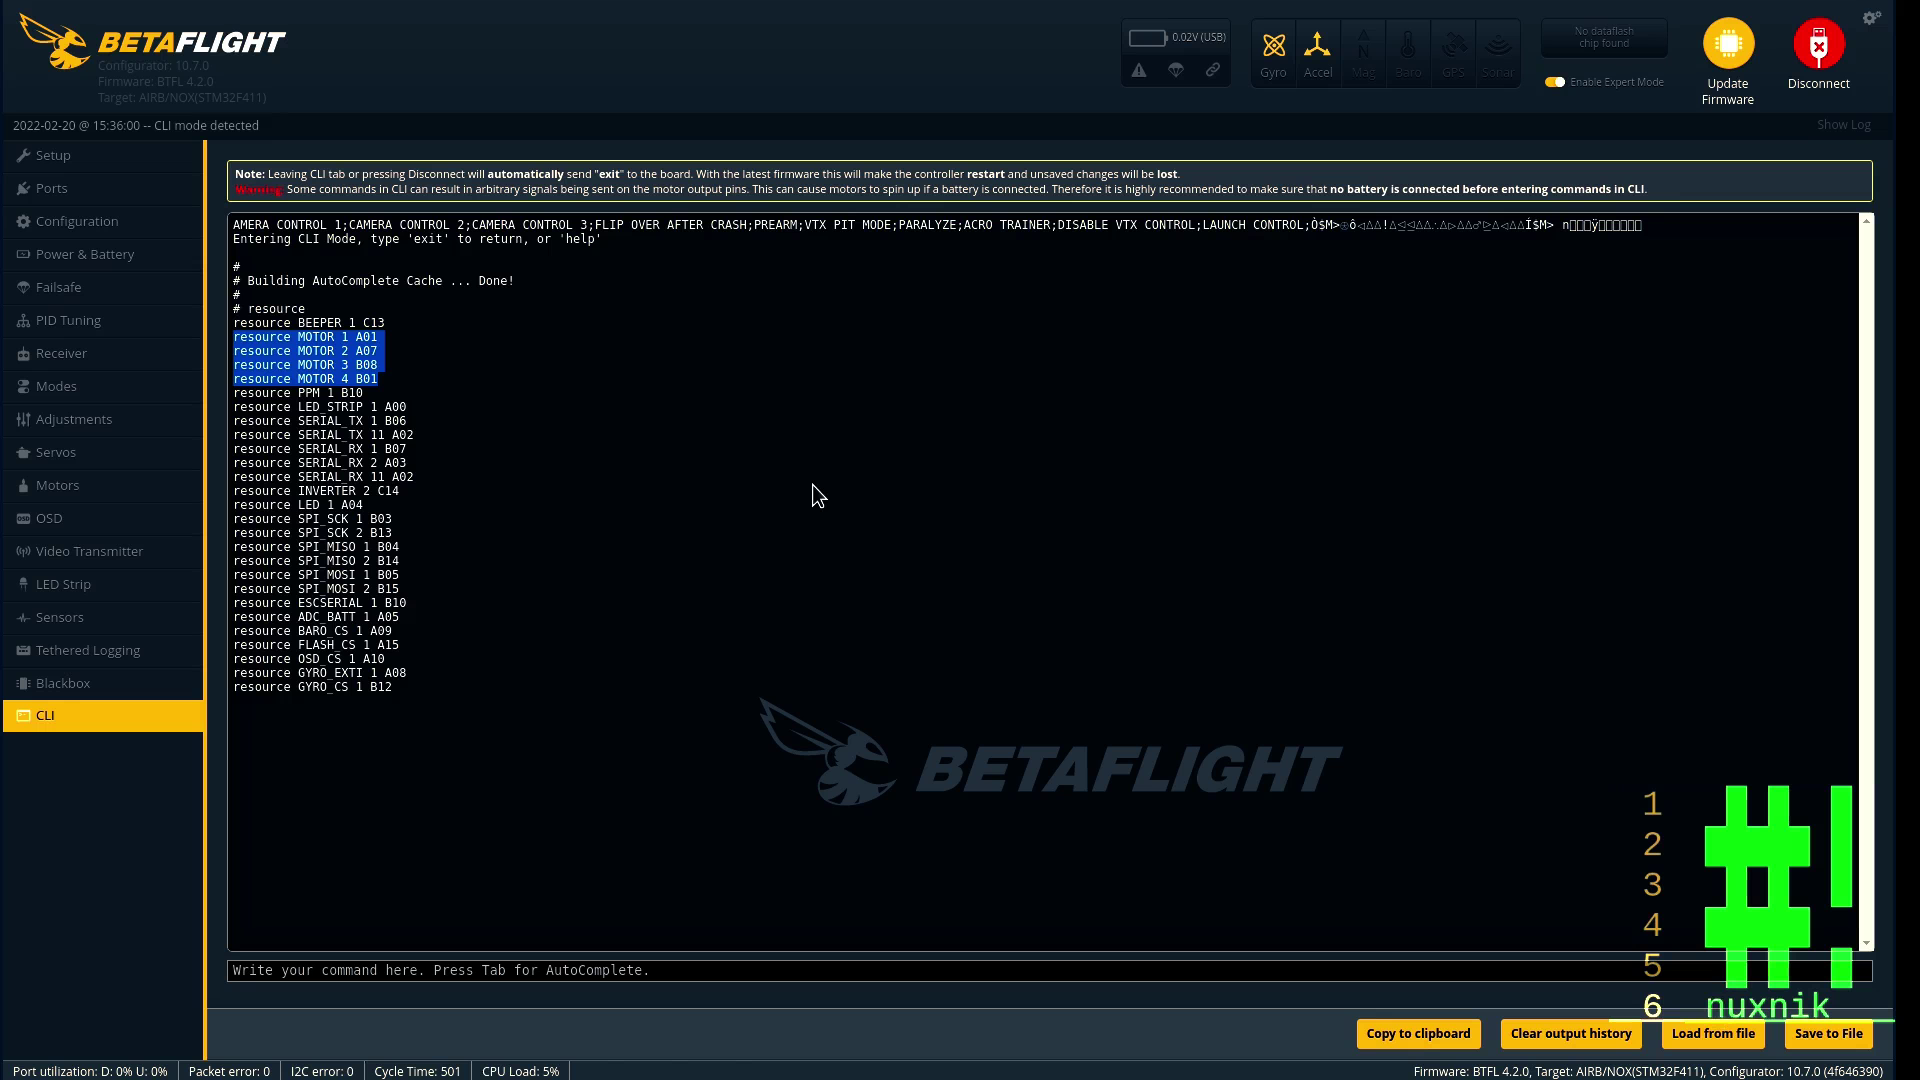
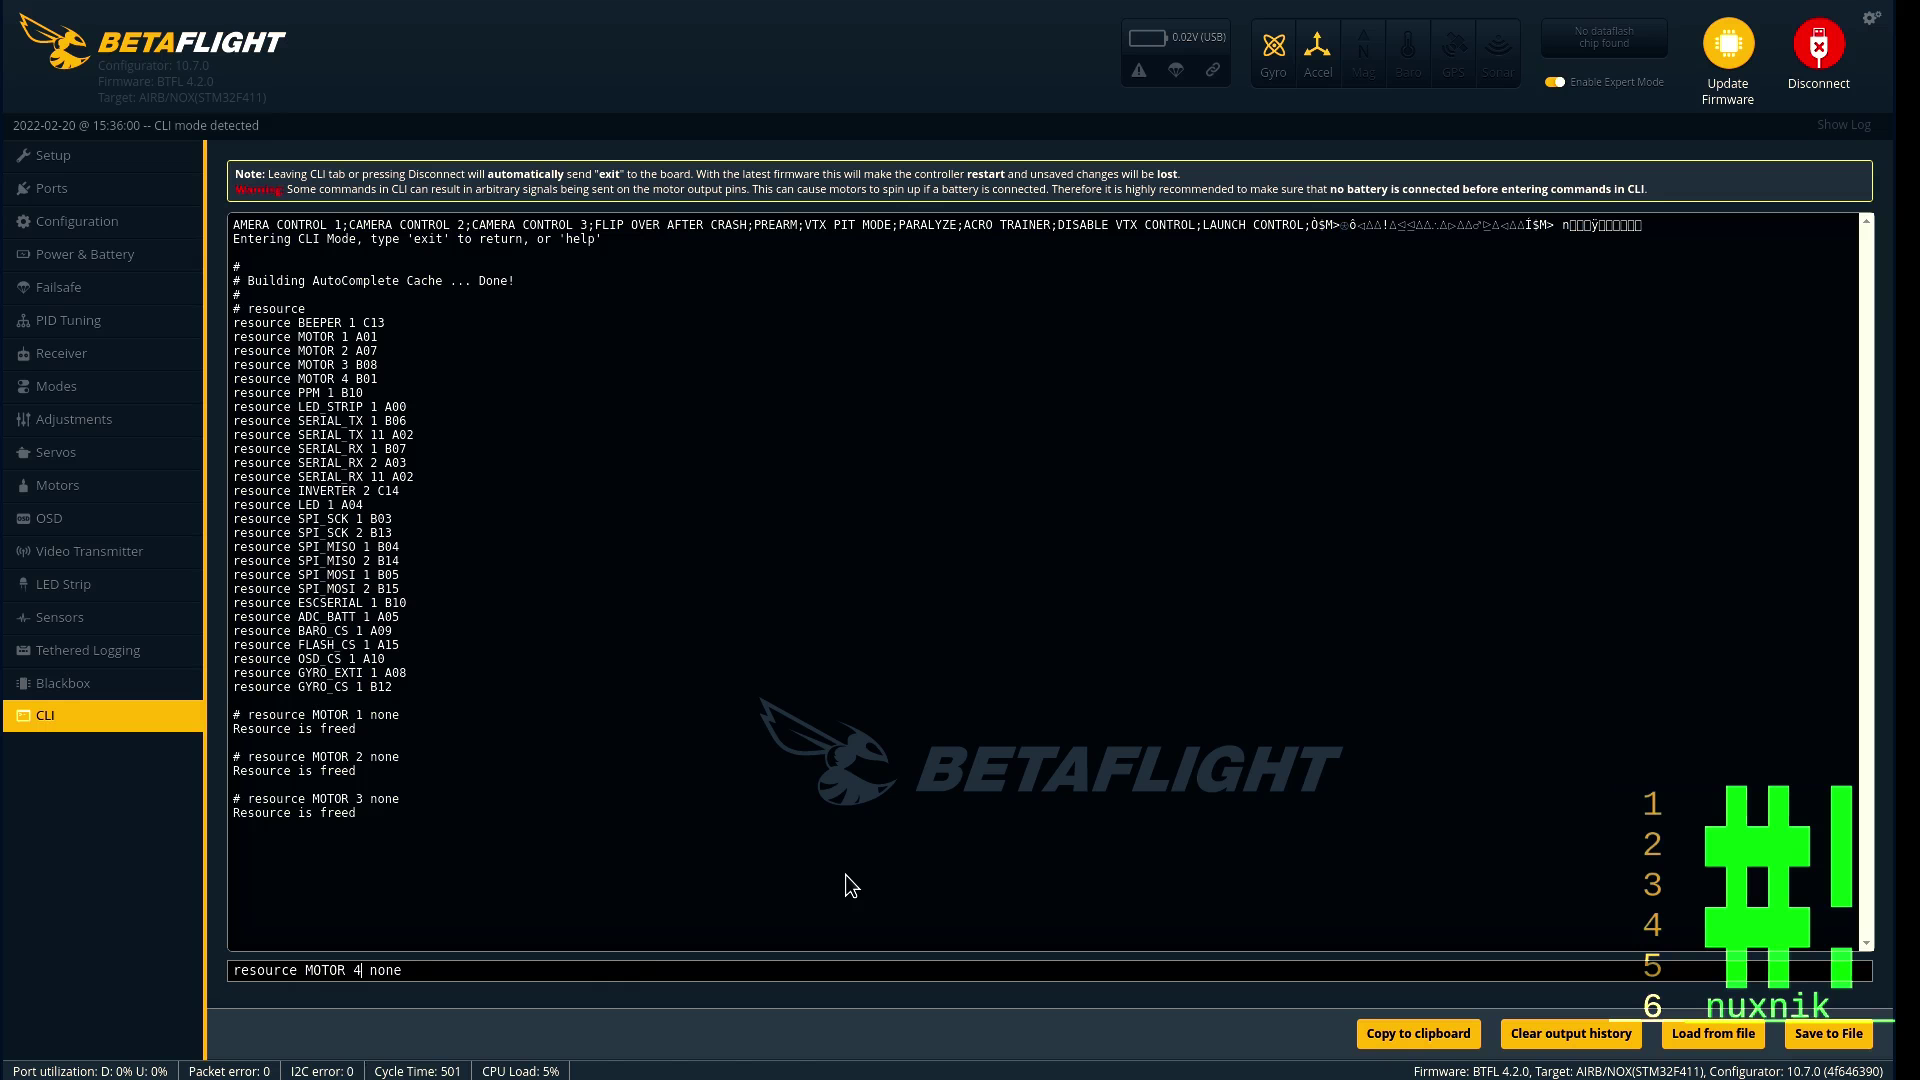
Now that we know what motor numbers should be reassigned, click the cli tab and type:
resource
Now, press enter. The resource values we will be changing are the following:
resource MOTOR 1 A01
resource MOTOR 2 A07
resource MOTOR 3 B08
resource MOTOR 4 B01
Let's change the resources. If you are using the same board as me, you can copy and paste the following commands:
# Free up the resources
resource MOTOR 1 none
resource MOTOR 2 none
resource MOTOR 3 none
resource MOTOR 4 none
# Ressaign the motors
resource MOTOR 1 B08 # Motor 3 is now Motor 1
resource MOTOR 2 B01 # Motor 4 is now Motor 2
resource MOTOR 3 A01 # Motor 1 is now Motor 3
resource MOTOR 4 A07 # Motor 2 is now Motor 4

# Save the changes
save
After entering "save" betaflight configurator will reboot your drone. Let's make sure the changes have taken effect. Re-connect and type the following into CLI section:
resource

The settings should reflect the changes you made. Now, click on the "motors" tab and plug in a battery. IMPORTANT: Make sure to remove your propellers before plugging the battery in! Move the slider for motor 1. The lower right hand motor should spin. Repeat this for each motor to double check that the remapping was successful.
Motor Direction and BLHeli
Since our battery is plugged in and the props are removed, let's test the direction of each motor. I default configuration for this FC is "Props-In". This means that the propellers turn toward the drone. Make sure the propellers are turning in the correct direction by moving the motor sliders for each motor. Since this is difficult to see, hold a small piece of paper next to the motor. This will help in determining which direction they are spinning.If one or more of the motors are turning in the wrong direction, open BLHeli and click connect.
You can change the direction of the motors by selecting the drop down which corresponds to the motor in quesiton. When you are finished click save.
VTX
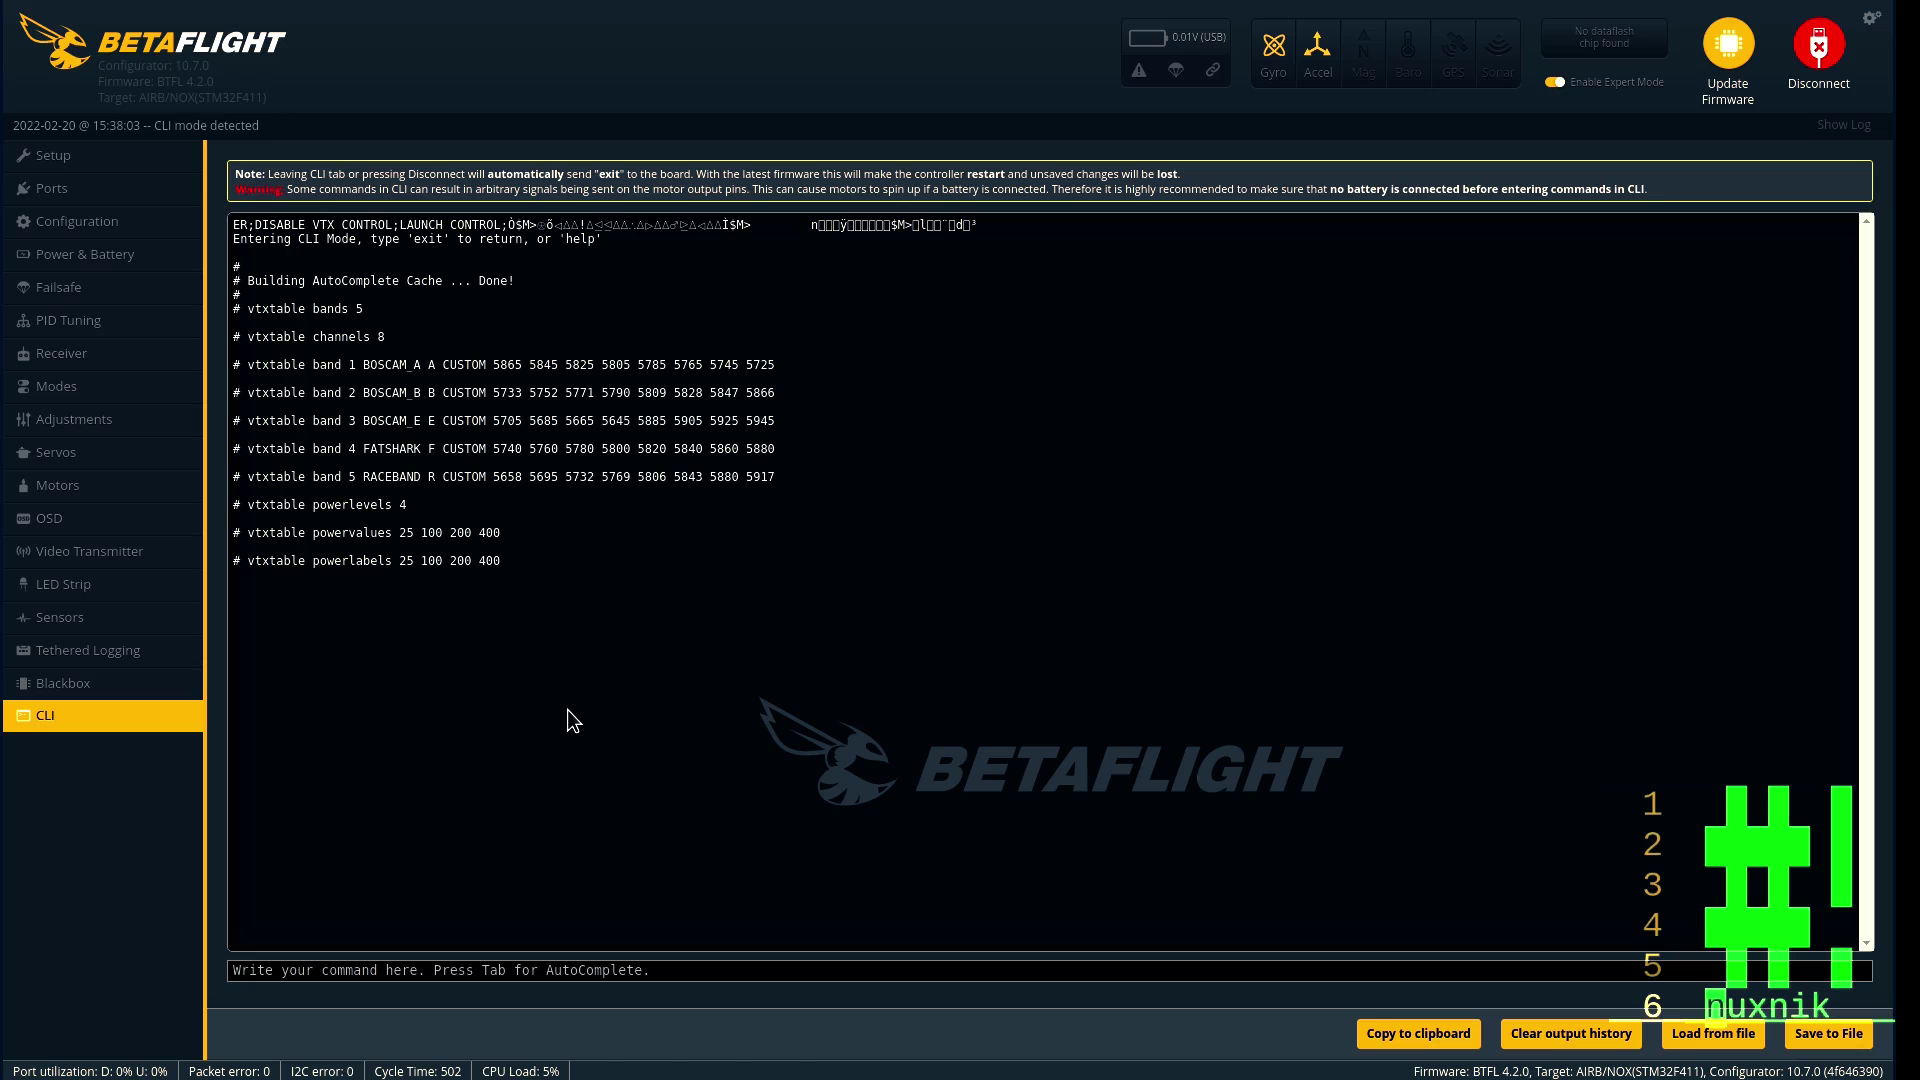
VTX settings are different depending on the make and model. Unfortunately, there is no "one size fits all" configuration for VTXs. If you are using a differnt VTX, search online for the correct settings for your specific model. If you are using the Eachine Nano VTX, click the CLI tab and copy/paste the following code snippet:
vtxtable bands 5
vtxtable channels 8
vtxtable band 1 BOSCAM_A A CUSTOM 5865 5845 5825 5805 5785 5765 5745 5725
vtxtable band 2 BOSCAM_B B CUSTOM 5733 5752 5771 5790 5809 5828 5847 5866
vtxtable band 3 BOSCAM_E E CUSTOM 5705 5685 5665 5645 5885 5905 5925 5945
vtxtable band 4 FATSHARK F CUSTOM 5740 5760 5780 5800 5820 5840 5860 5880
vtxtable band 5 RACEBAND R CUSTOM 5658 5695 5732 5769 5806 5843 5880 5917
vtxtable powerlevels 4
vtxtable powervalues 25 100 200 400
vtxtable powerlabels 25 100 200 400
save
This will save the correct VTX table to the flight controller. After clicking "save", your drone will reboot.
PIDs
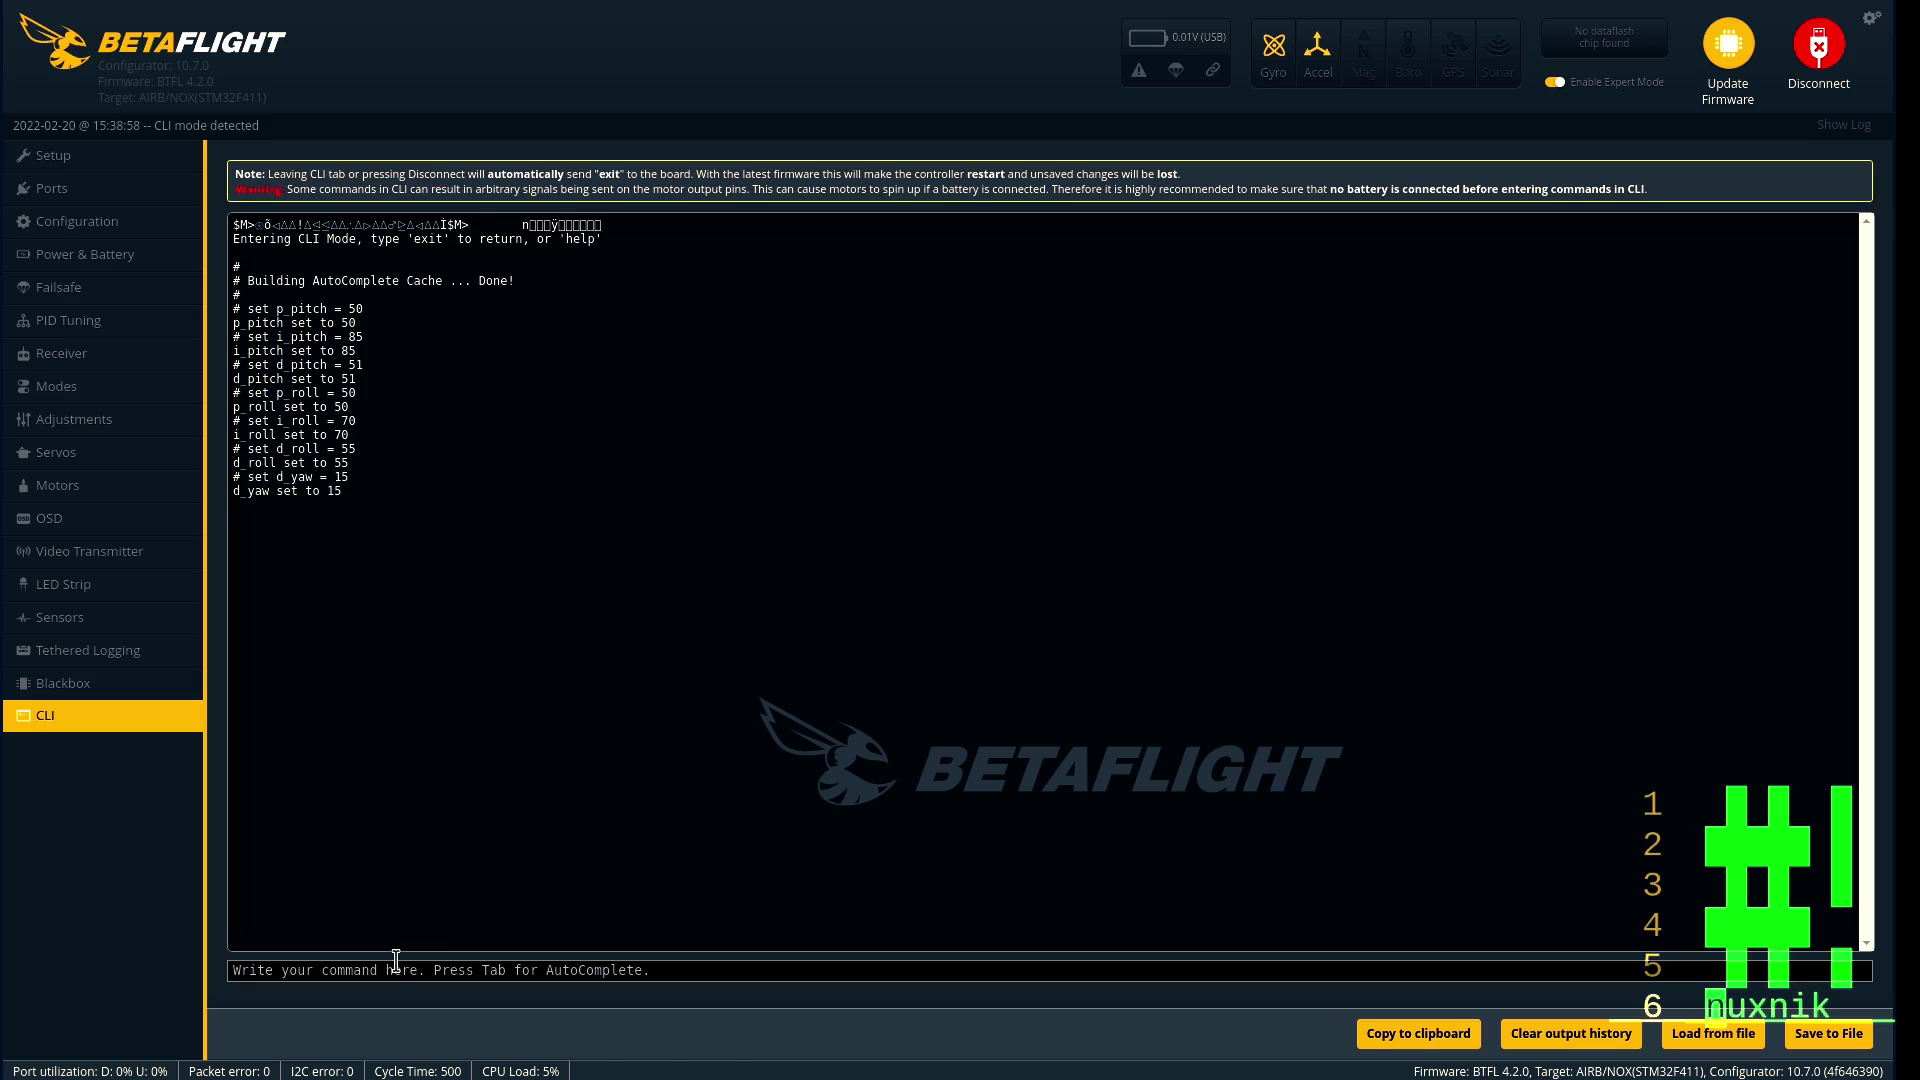
Below is a listing of my PIDs for this drone. Feel free to tweak your tune further. If you want to use my PIDs, open the CLI section and copy/paste the following snippet into the command line and press enter:
1S 450maH Battery PIDs
The weight, propellers and battery type will change your PIDs. The following PIDs are tuned for two blade propellers and a single 1S 450maH. If you are using something different, you should tune your quad to your preference. Copy and paste the following settings into the CLI:
set p_pitch = 50
set i_pitch = 85
set d_pitch = 51
set p_roll = 50
set i_roll = 70
set d_roll = 55
set d_yaw = 15
save
Your drone will reboot.
Build Video and Test Flight
Let's take it to the field and test it.
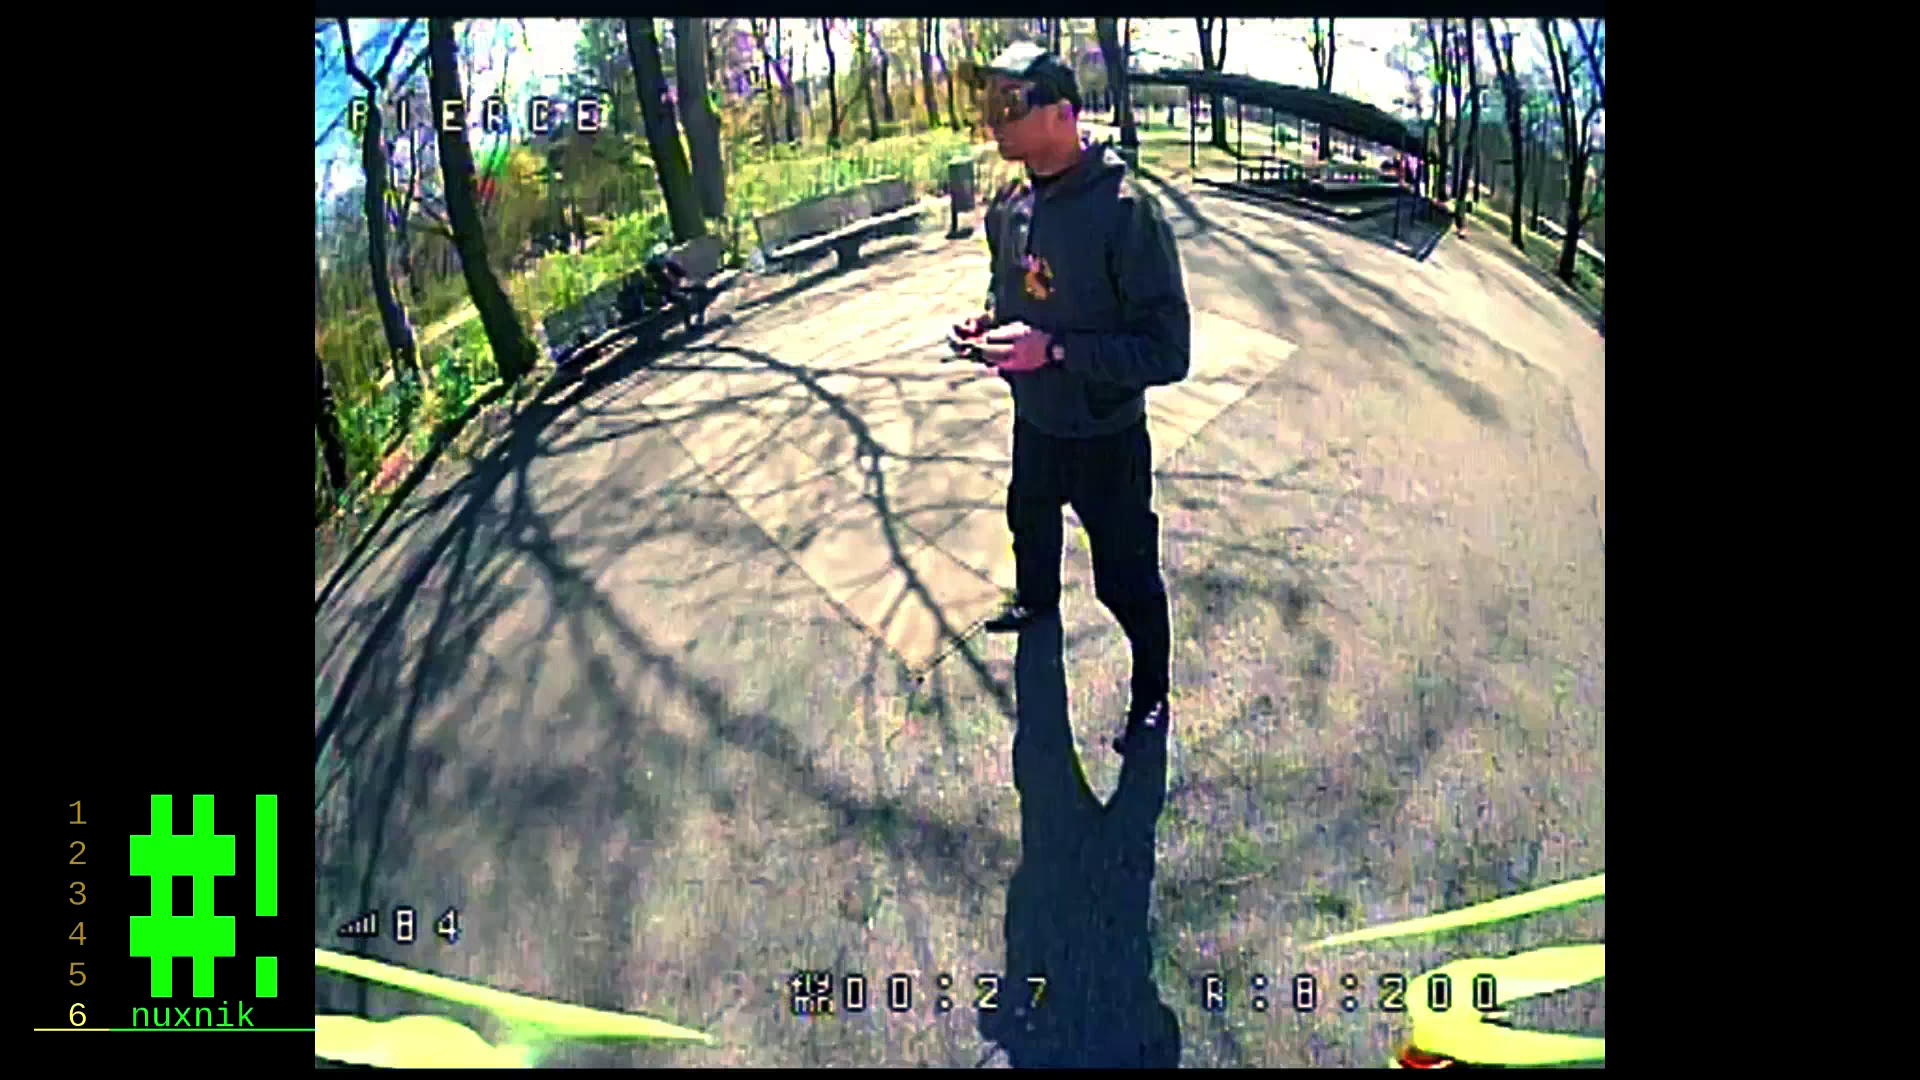


I created a build and flight test video to compliment this article.
Thoughts
This is a fun and easy build. Granted, the configuration process got a little more complicated after we flipped over the FC. Hopefully, you have learned something new and enjoyed this build. Feel free leave a comment below if I have missed something or if you have questions.
Subscribe to my YouTube Channel or check out my Patreon page. I would really appreciate it.