
Rewinding Tiny Whoop Brushless Motors
Synopsis
You are flying your tiny whoop around the house or outside in the garden and crash. After you rearm, you see that one of the motors doesn't spin anymore. You take the motor apart and see that the copper wire of the coils has been severed. Should you throw it away? Not today! In this article, we are going to rewind the copper coils of our happymodel 0802 brushless motors and return them to their former glory.
Required Tools
For this project, you will require the following tools:
- Soldering iron
- Flux
- Tweezers
- Pliers
- Helping hands
- Good eyesight or reading glasses
If you don't have these tools, pick them up! These are tools you can always reuse for other things.
BOM
For this repair, you will need the following items:
| Qty | Component |
|---|---|
| 1 | Copper Enameled Wire |
| 1 | Silicone Insulated Wire |
| 1 | Heat Shrink |
| 1 | Super Glue |
| 1 | C-Clips |
| 1 | Black Silicone |
Disassembly
This project can be simple or difficult depending on your eyes and how close you can focus on tiny things. These motors are very small and will require some good eyesight. However, if your eyesight is not the best, you can use your FPV goggles (with HDMI input) in conjunction with a cheap USB microscope. This is a cheap solution for getting up close and personal with tiny objects.
Remove C-Clips
C-Clips keep the bell and stator in place and fit into small grooves on both sides of the motor shaft. They are held in place by friction and rigidity of the c-clamp itself. Keep in mind that removing the C-Clips can be very tedious due to their tiny size. Through trial and error, I have lost many C-Clips as I tried removing them. When removing them they can act as a spring and fly into the abyss never to be seen again. As Alex from Northridge FX would say - "they disappear into the 9th dimension". That is why I recommend getting a bag of extra c-clips. They are cheap, and it is much easier to have a few extras on hand, than searching for hours for a tiny part that will most likely never be seen again.
I have fixed and rewound approximately 10+ motors of this type thus far and have developed a method in removing C-Clips. Firstly, place a small piece of tape on the curved edge of the C-clips. This will keep it from flying across the room when you push it off. Hold the motor between your thumbs and index fingers with both hands. With both thumbnails, push the corners of the c-clamp off of the shaft. If you don't have thumbnails, this can be problematic. When the C-clips are removed, be careful not to lose the plastic and brass washers tucked under the clamp. Place the small parts in a small plastic bag and put them aside. Now we can easily separate the motor by pulling on the bell.
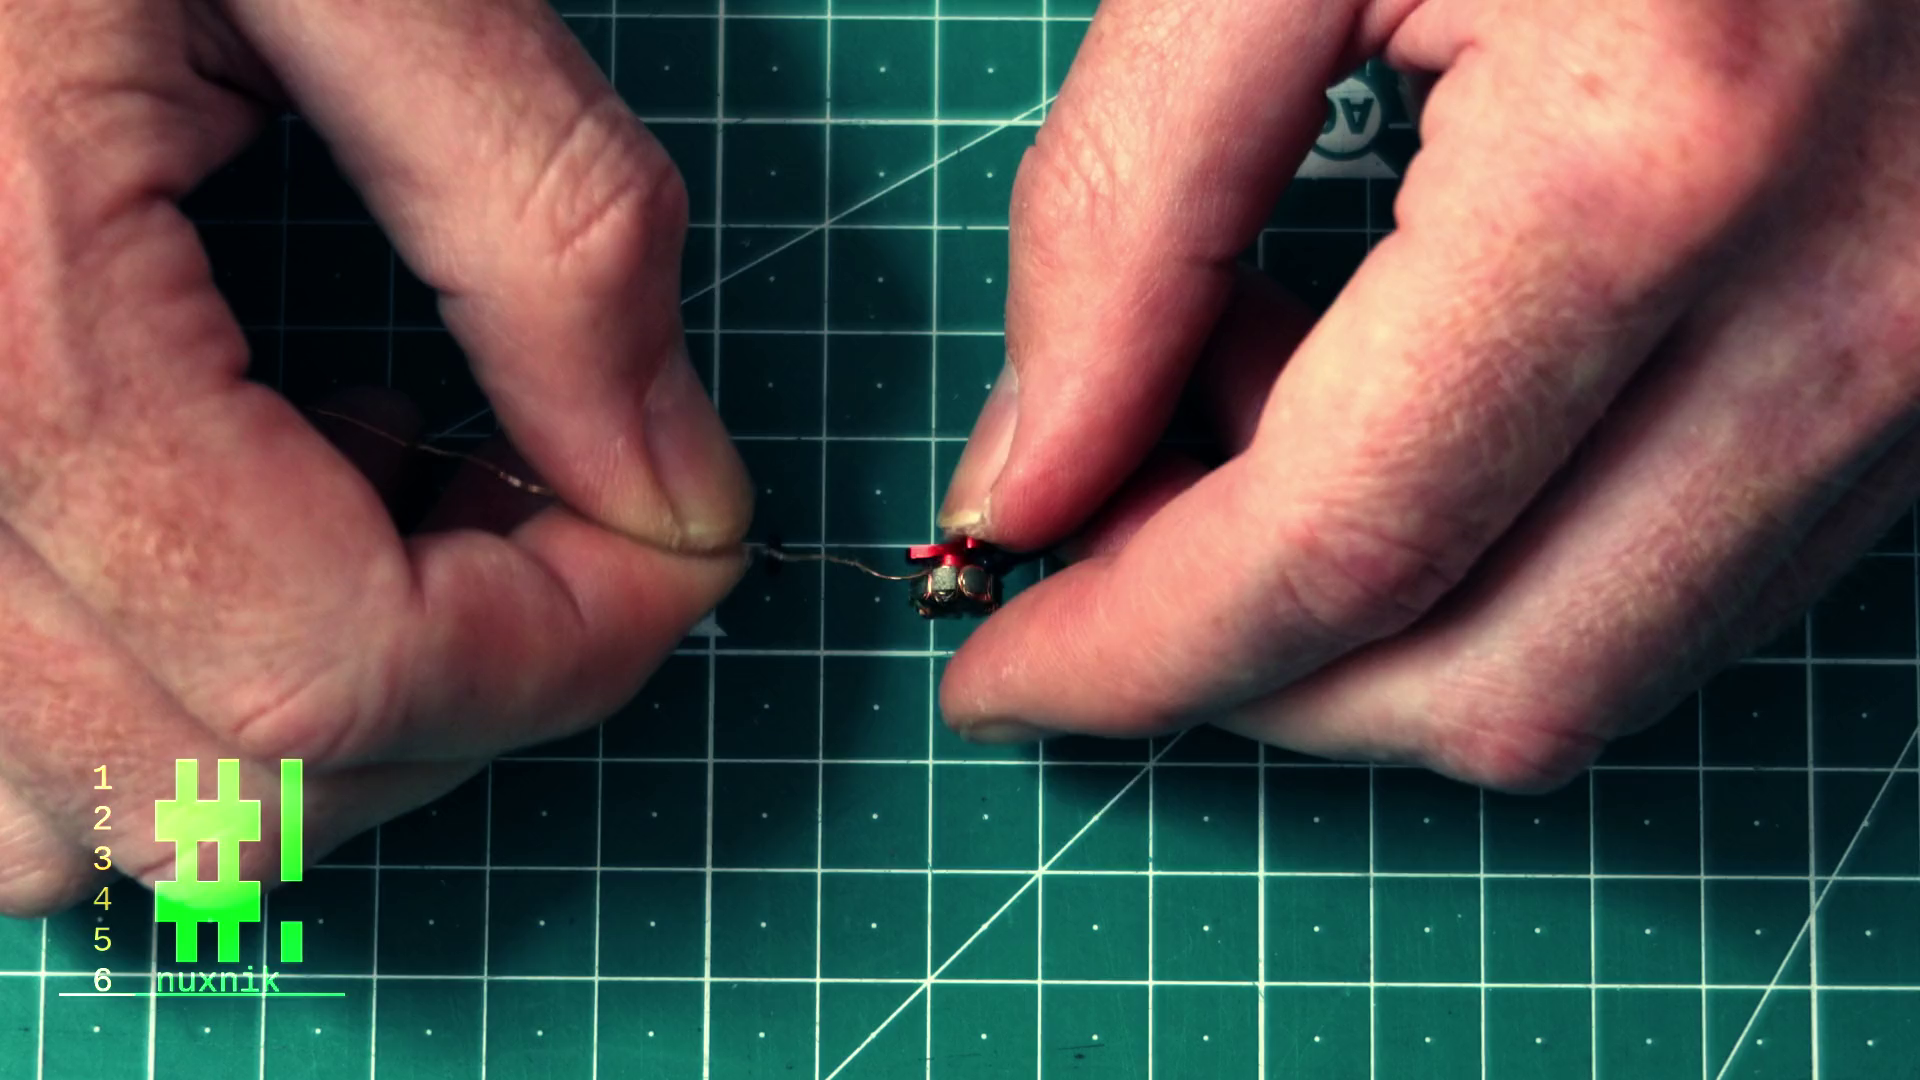
Unwinding The Coils
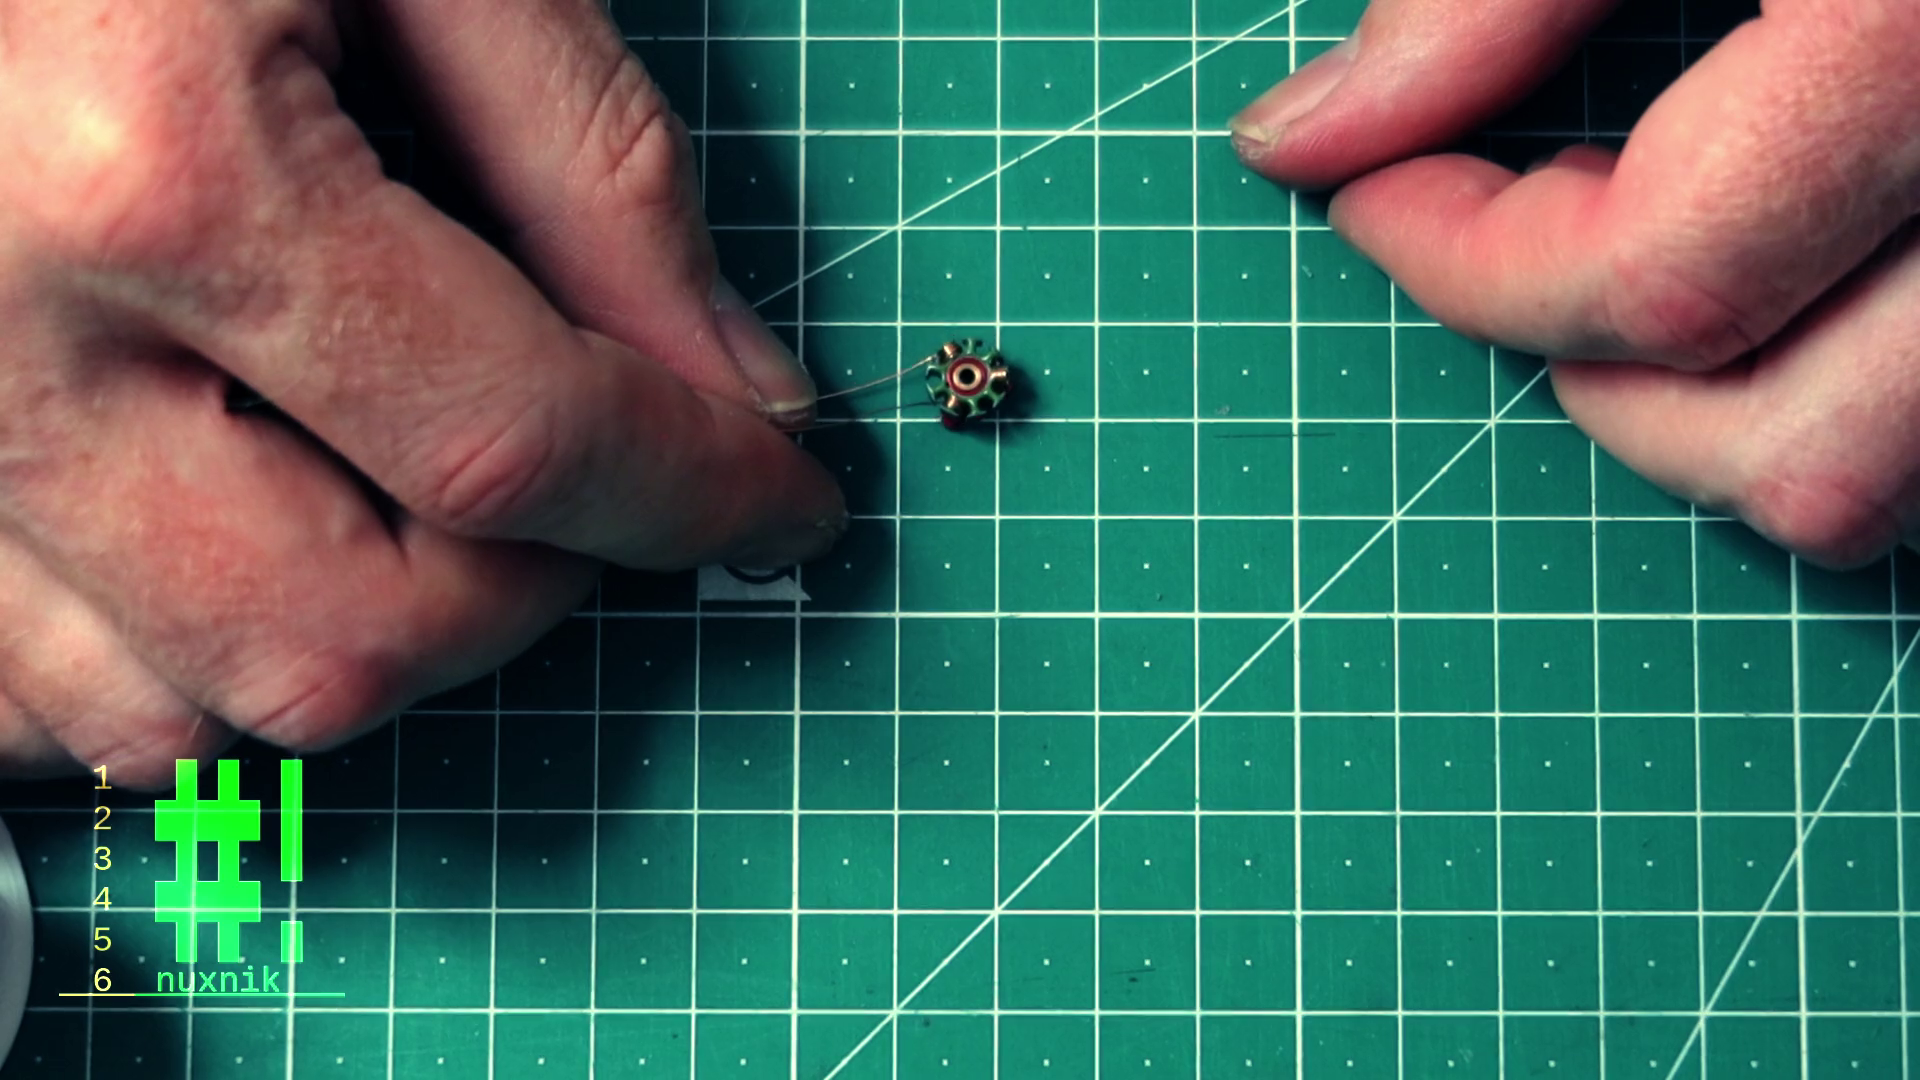
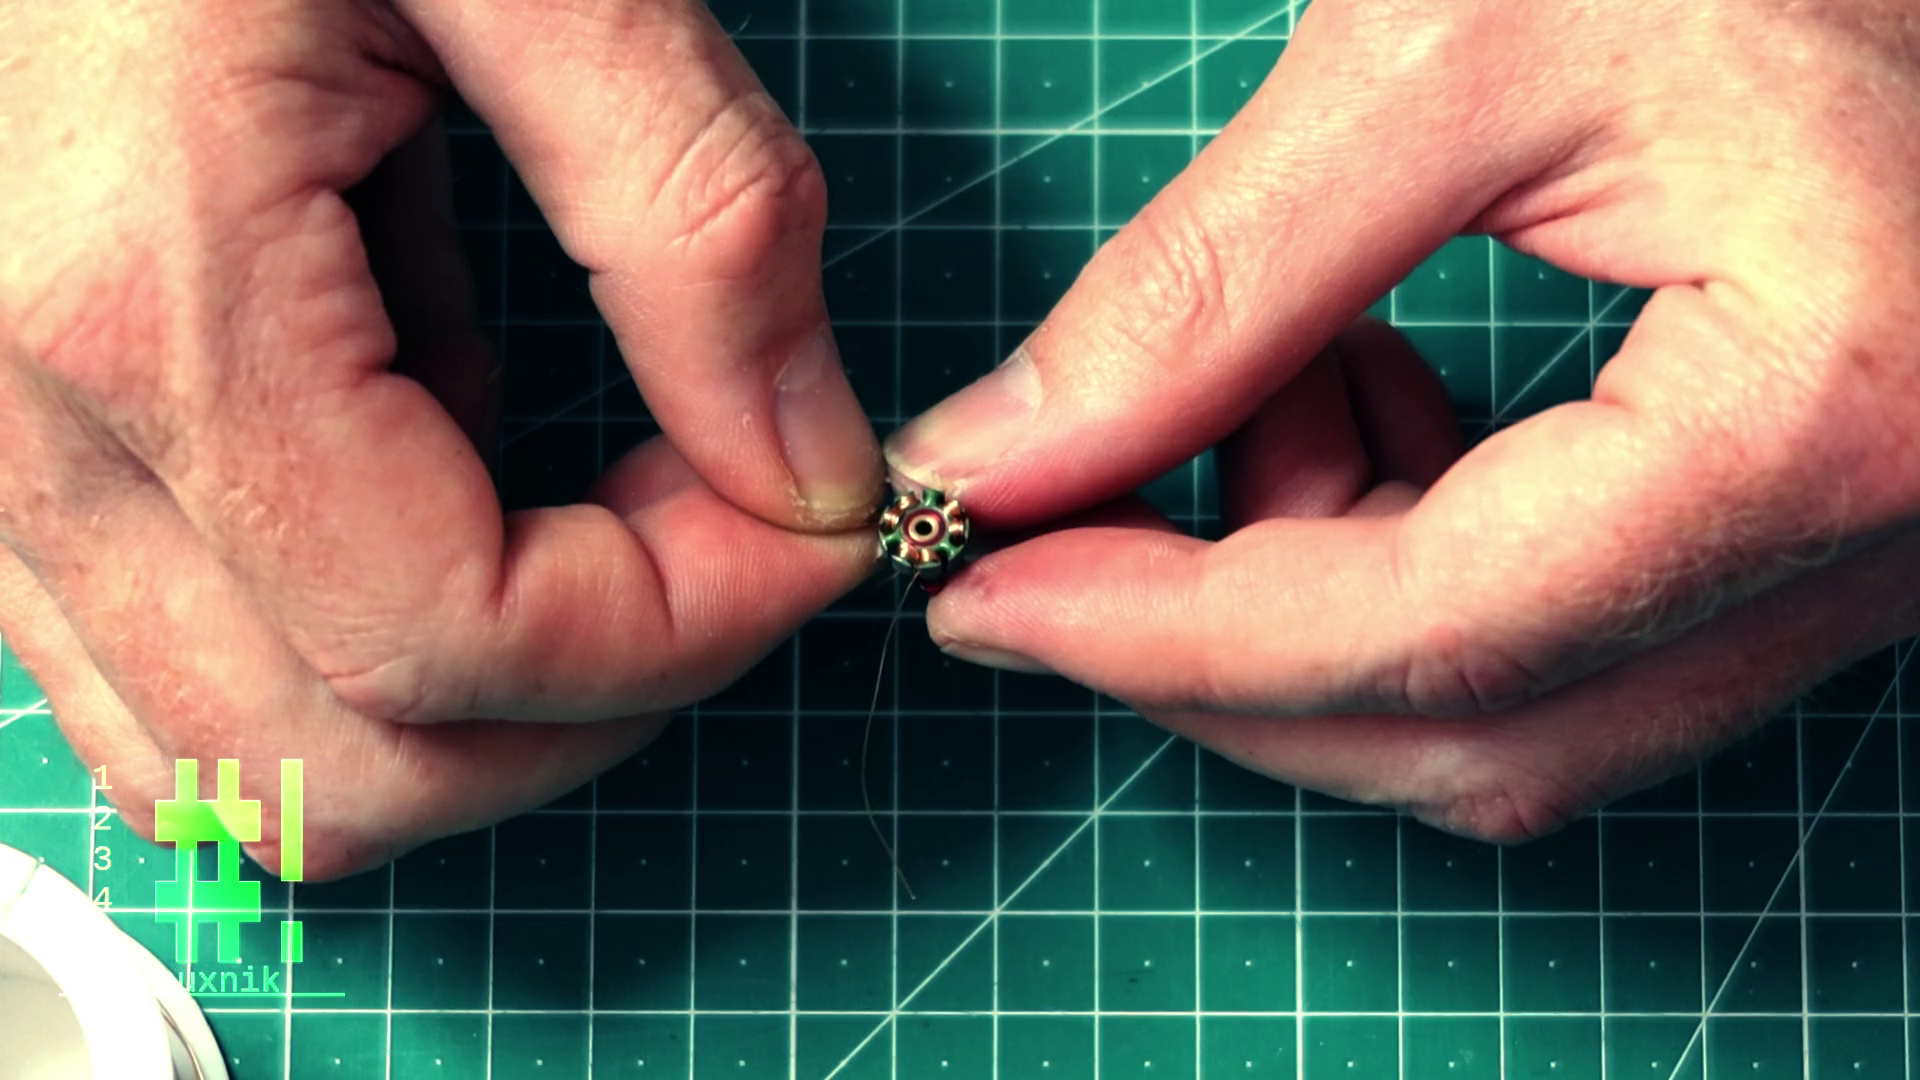
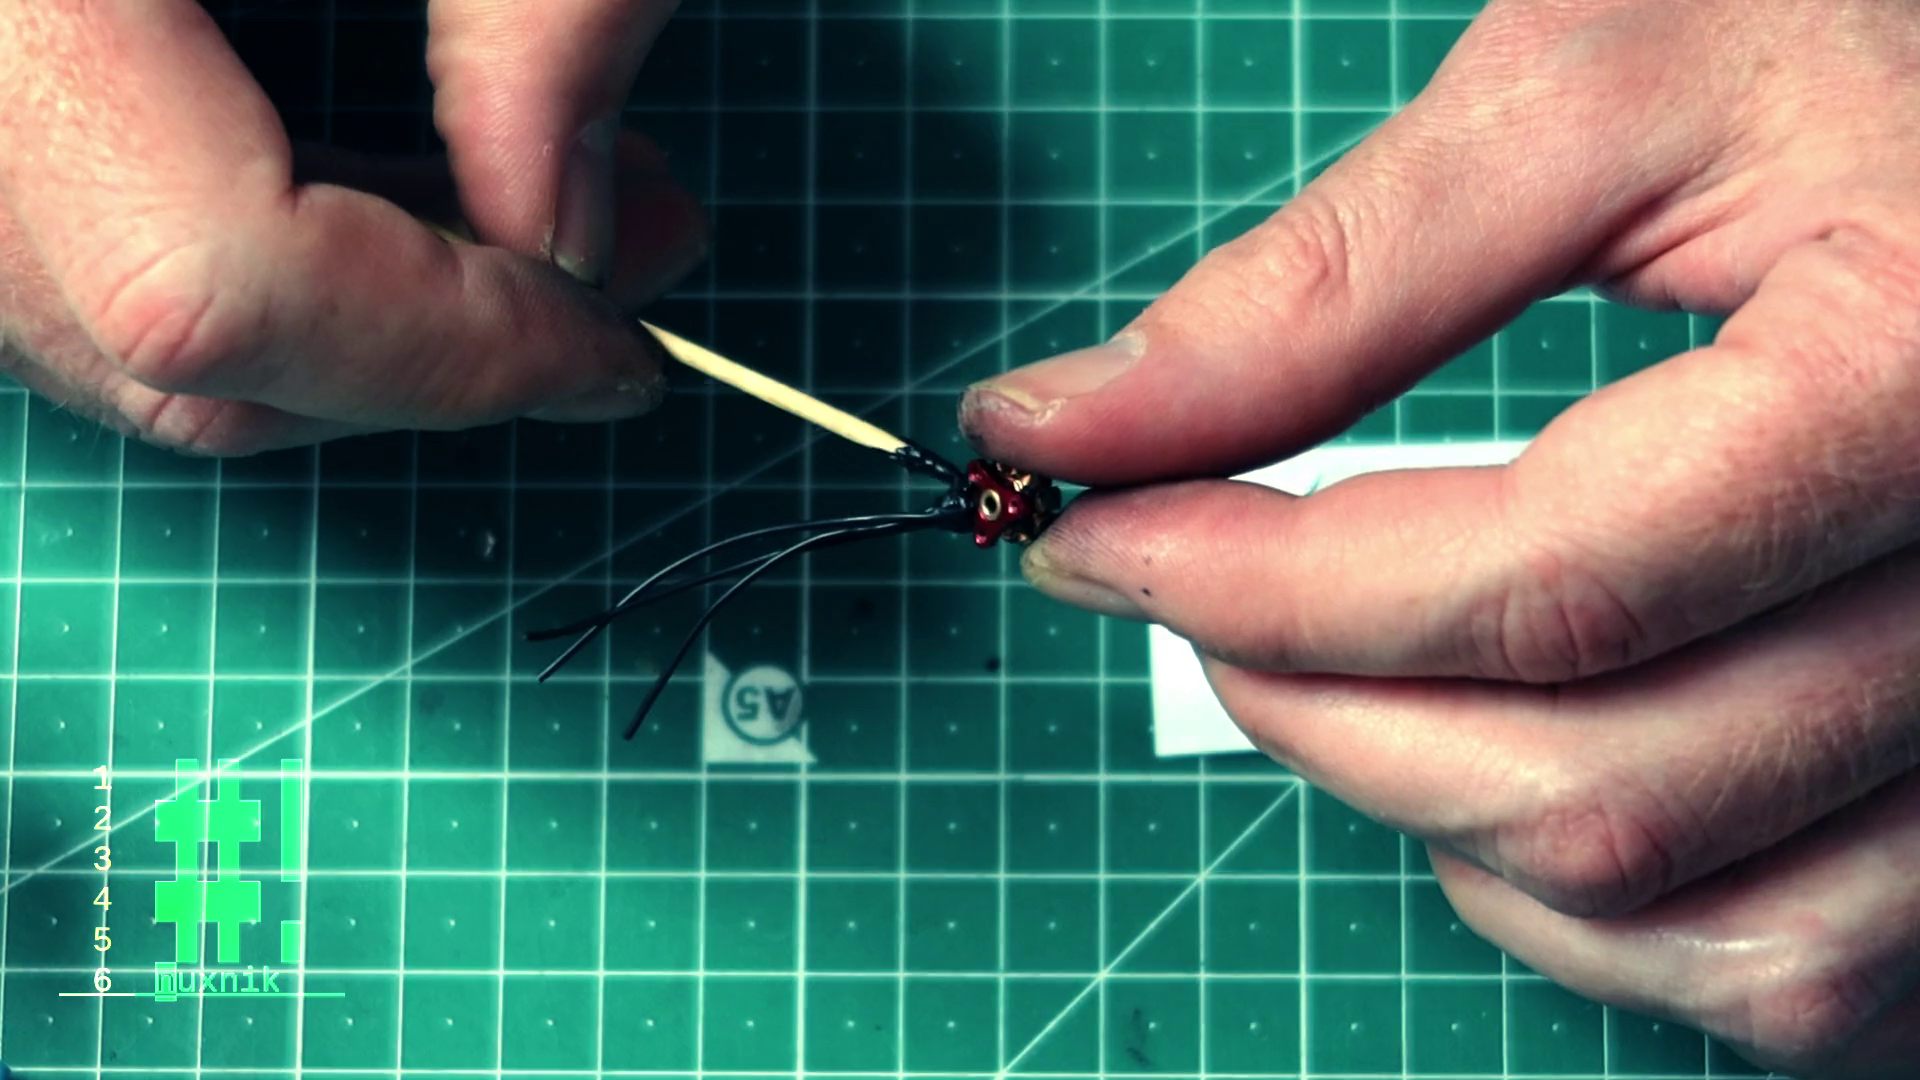
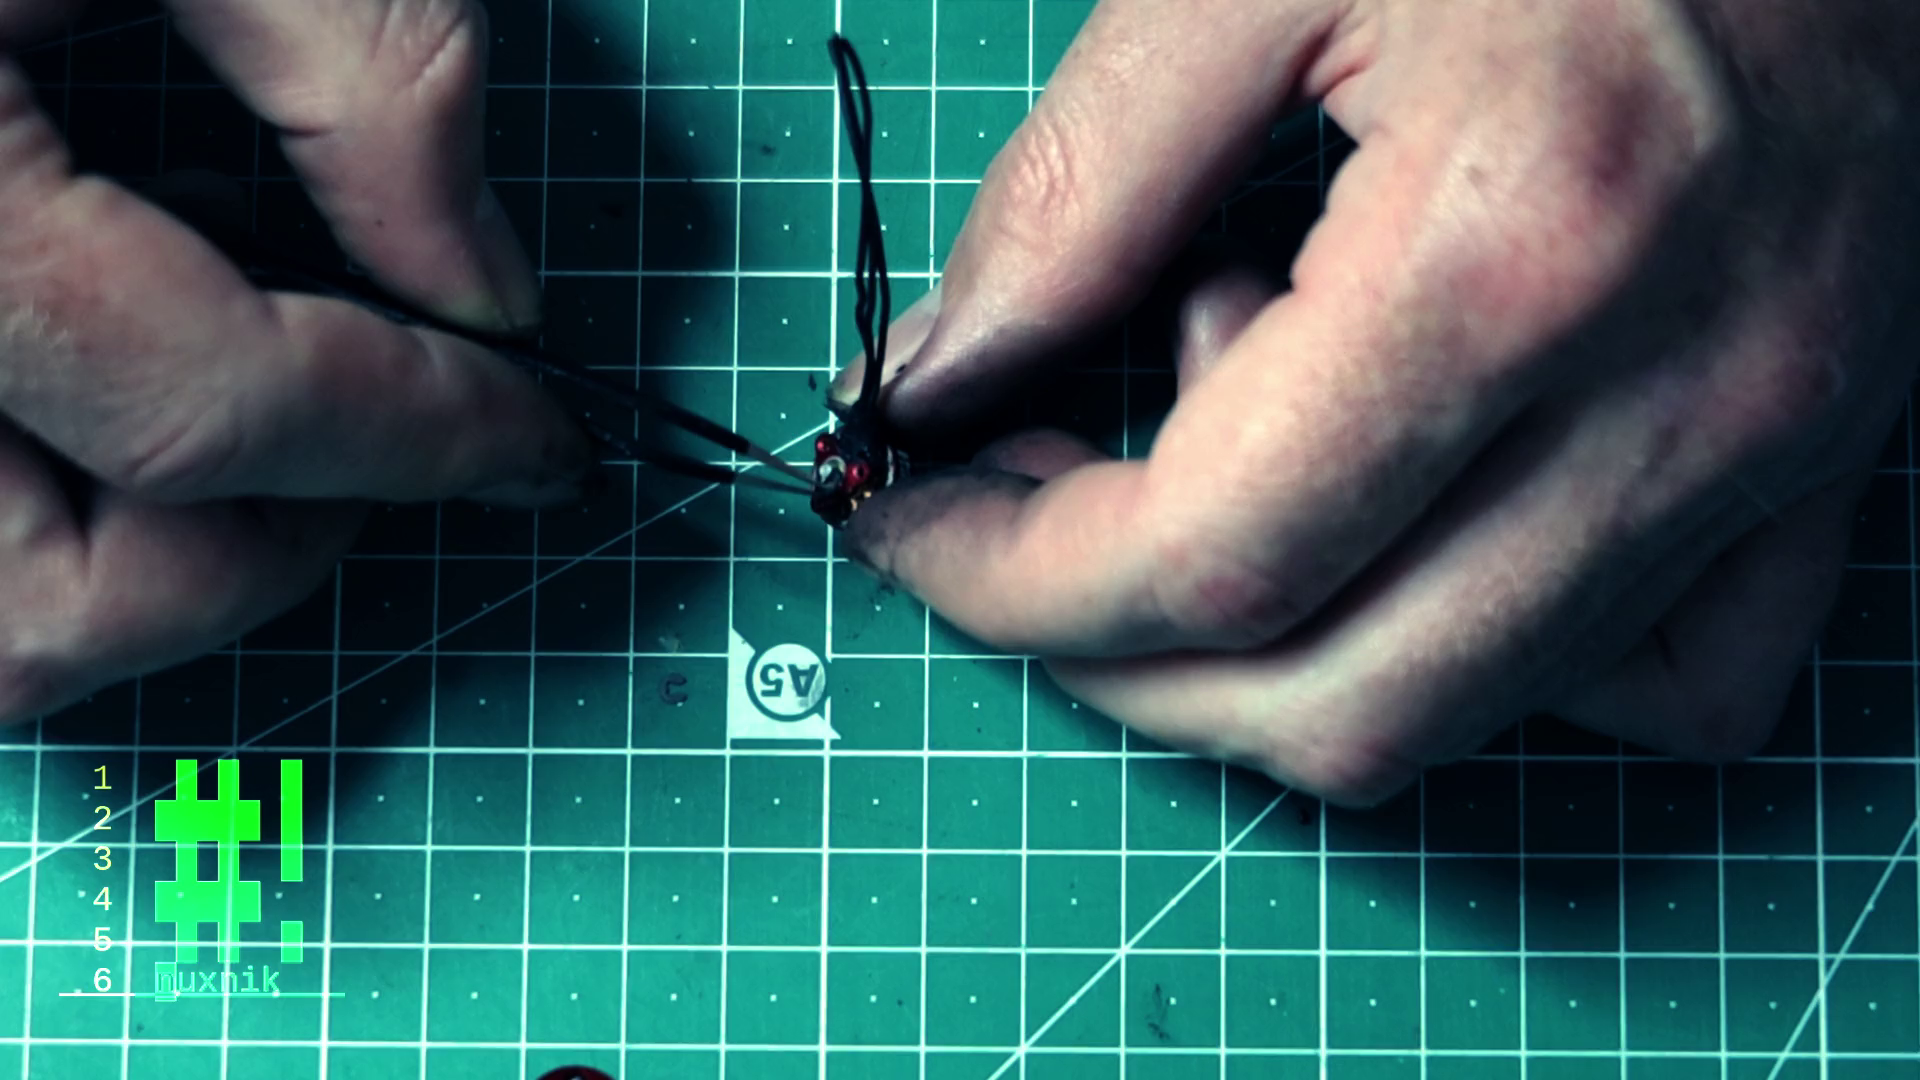
These small scale motors have a small piece of insulation wrapped around a solder joint. The ends of all three wires are connected together to complete the circuit. The connection for this solder joint is tucked under the stator. I found this to be the best place to start when unwrapping the copper wire. Remove the insulation and, with a pair of wire snips, cut the solder joint where the wires meet. This will separate the wires from one another, allowing us to unwind each wire individually.
When unwinding the wire, take note of the number of turns for each coil. For happymodel 19000KV motors, I have found that each coil is wound 9 times with 2 mm copper enameled wire.
If you want to increase or decrease the motor KV, you can add or subtract coil turns. Fewer turns mean higher KV, and more turns means the opposite. At another time, we will test this and measure the motor KV.
Cleaning
Now that the disassembly is complete, let's clean off some of the gunk and crud that has collected during flight. For this step, you will need an old toothbrush and some isopropyl alcohol. Dip or spray a liberal amount onto each component and scrub the grime away with your tooth brush. After cleaning, allow the rest of the IPA to evaporate.

Reassembly
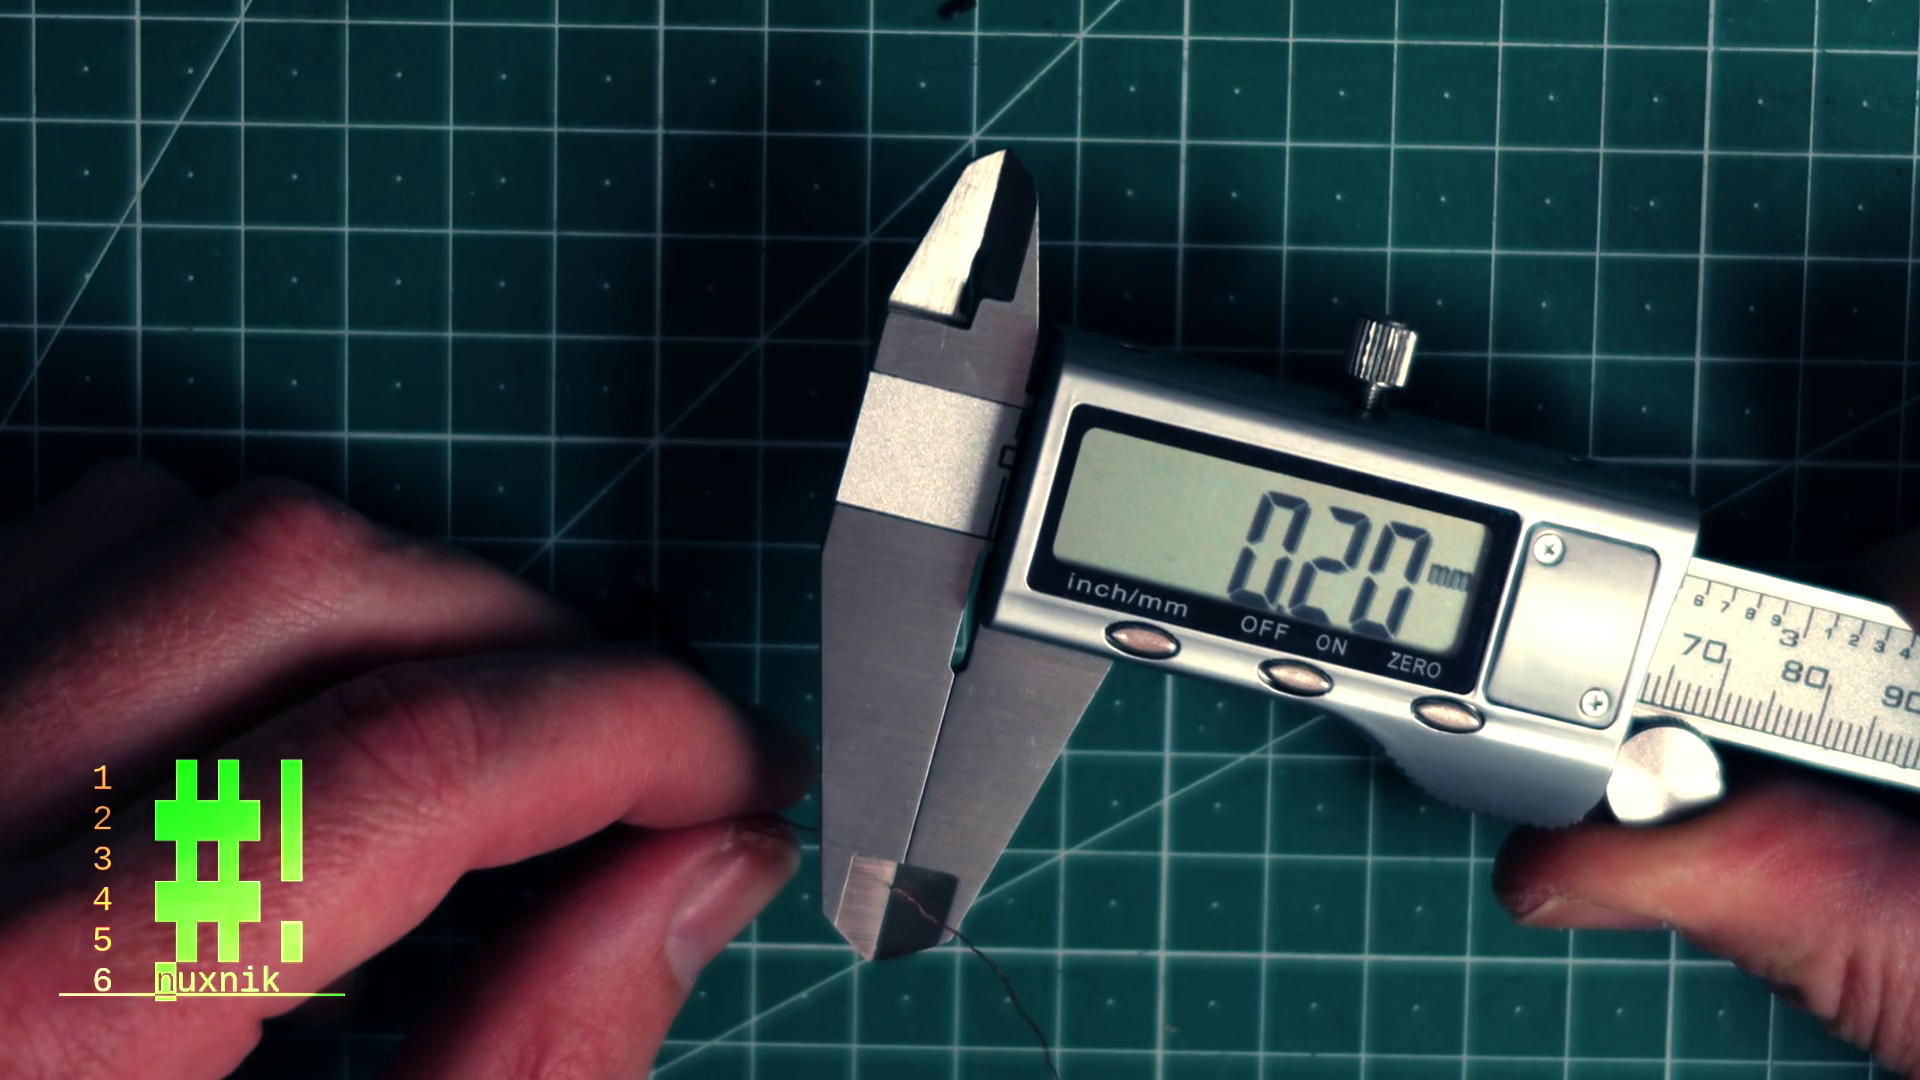
With a caliper, we can see that the copper enameled wire is 2 mm thick. Remember, if you are rewinding different motor types, make sure to make your own measurements and get the correct copper enameled wire.
Winding the Coils
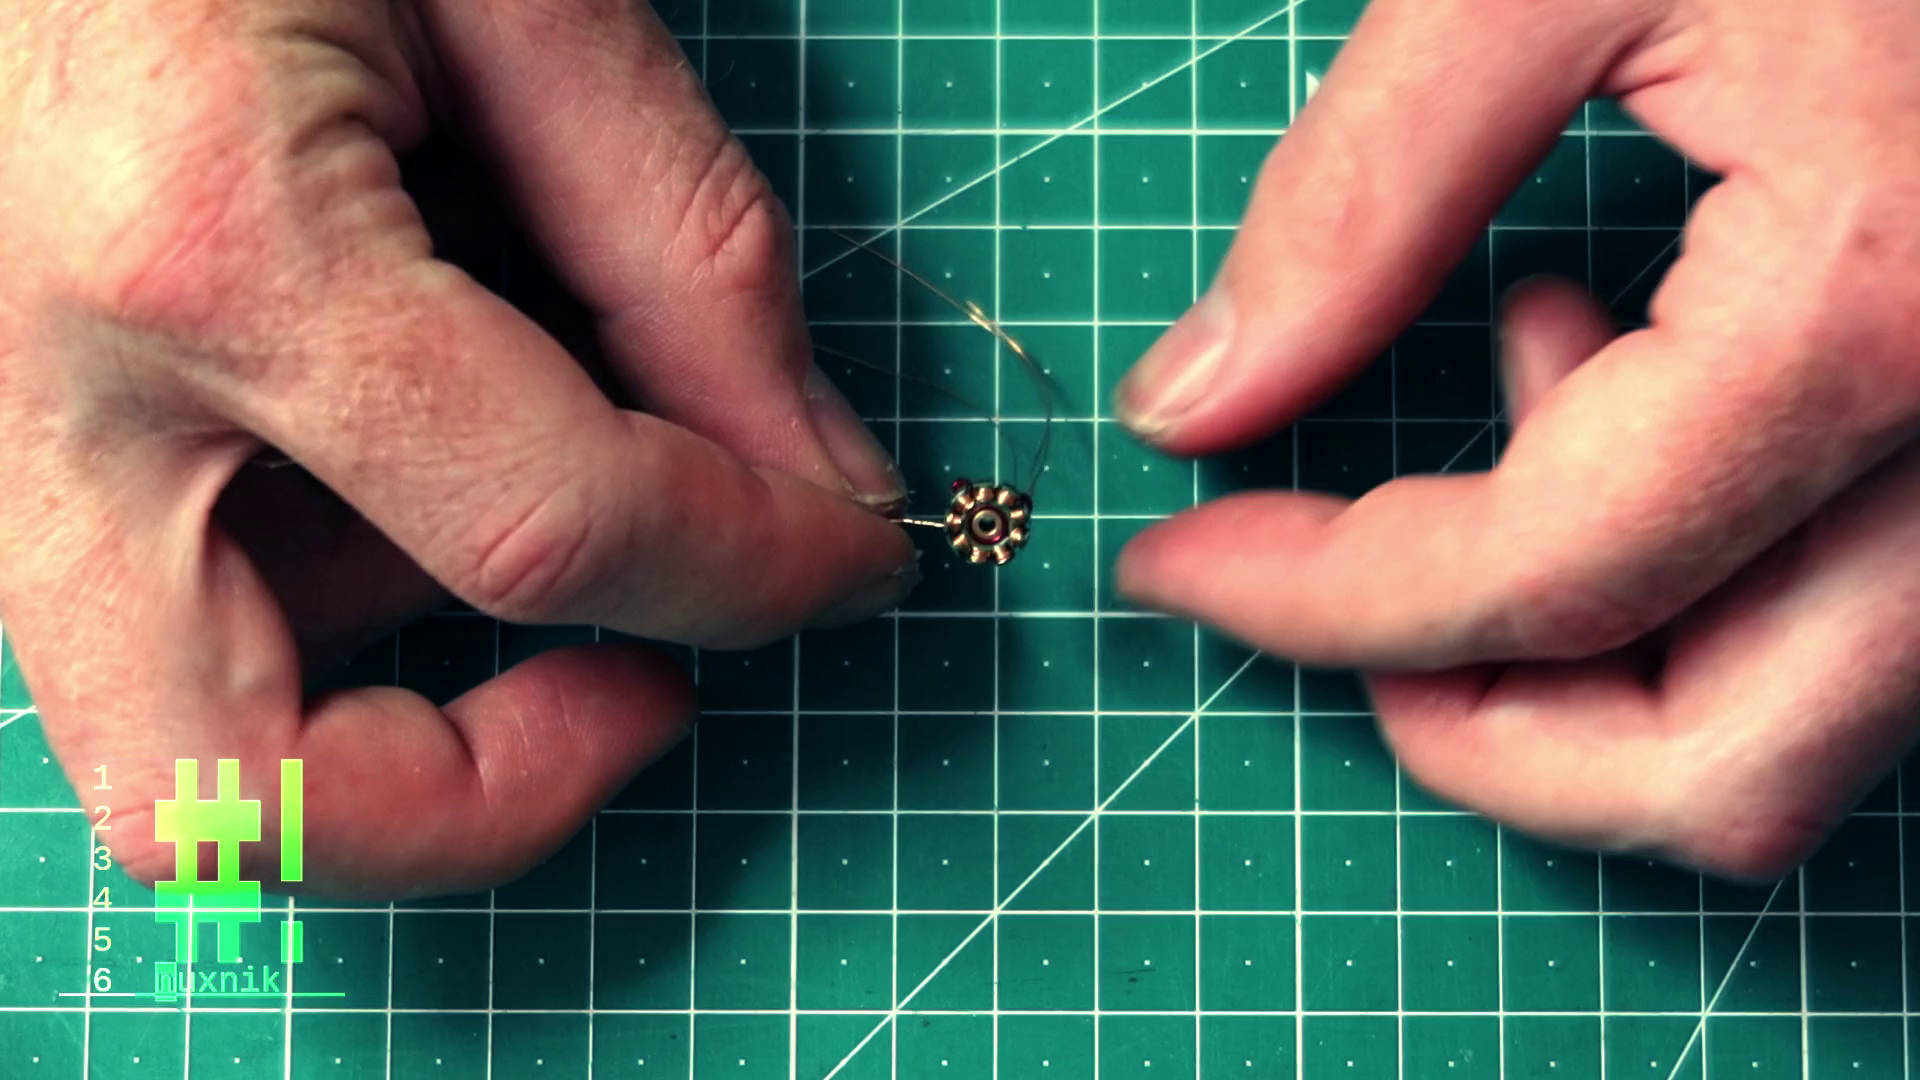
Winding these motors is straight forward. Each coil requires 9 turns. Make sure to leave approximately 5-6 cm of extra wire at the end. Wind the first coil, then skip two coils and wind the next. For each wire, you will need to wind 3 coils in total. Repeat this process for the other two wires
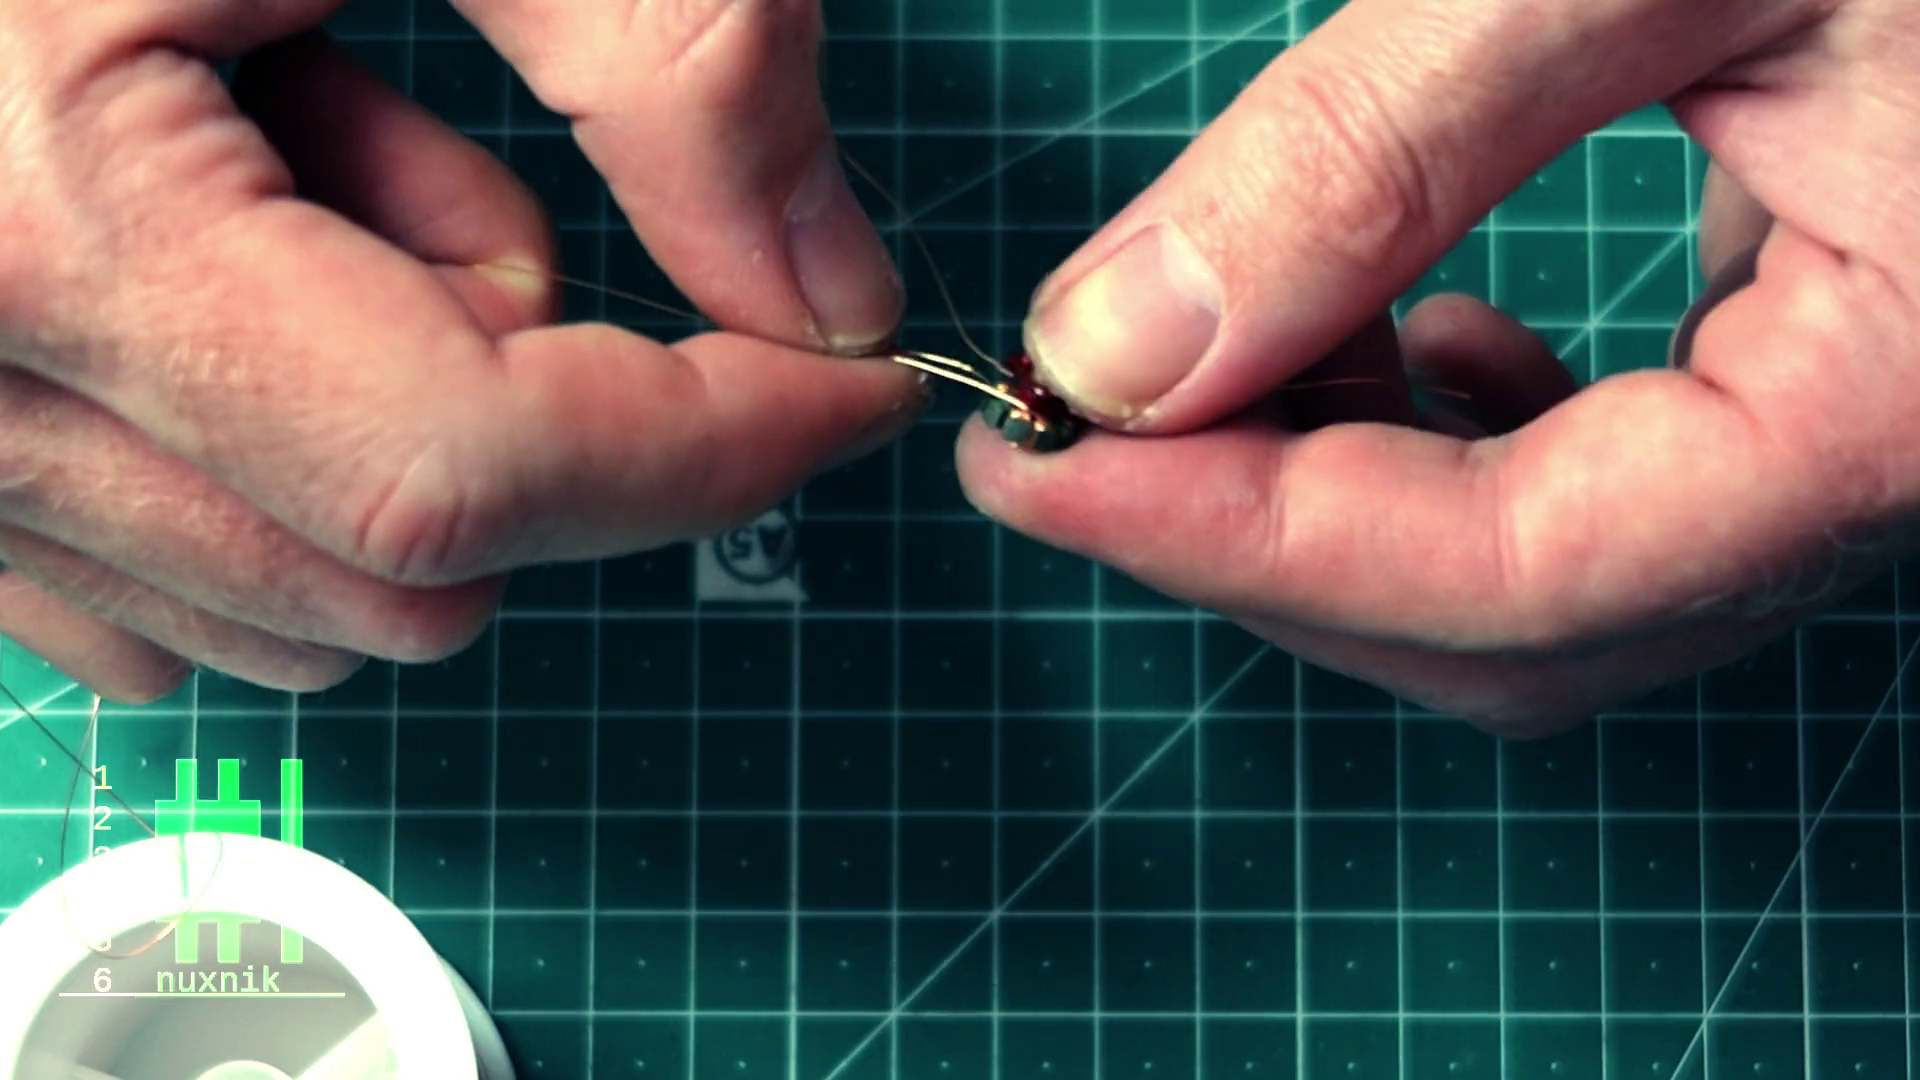
When you are finished, your stator should look something like this:
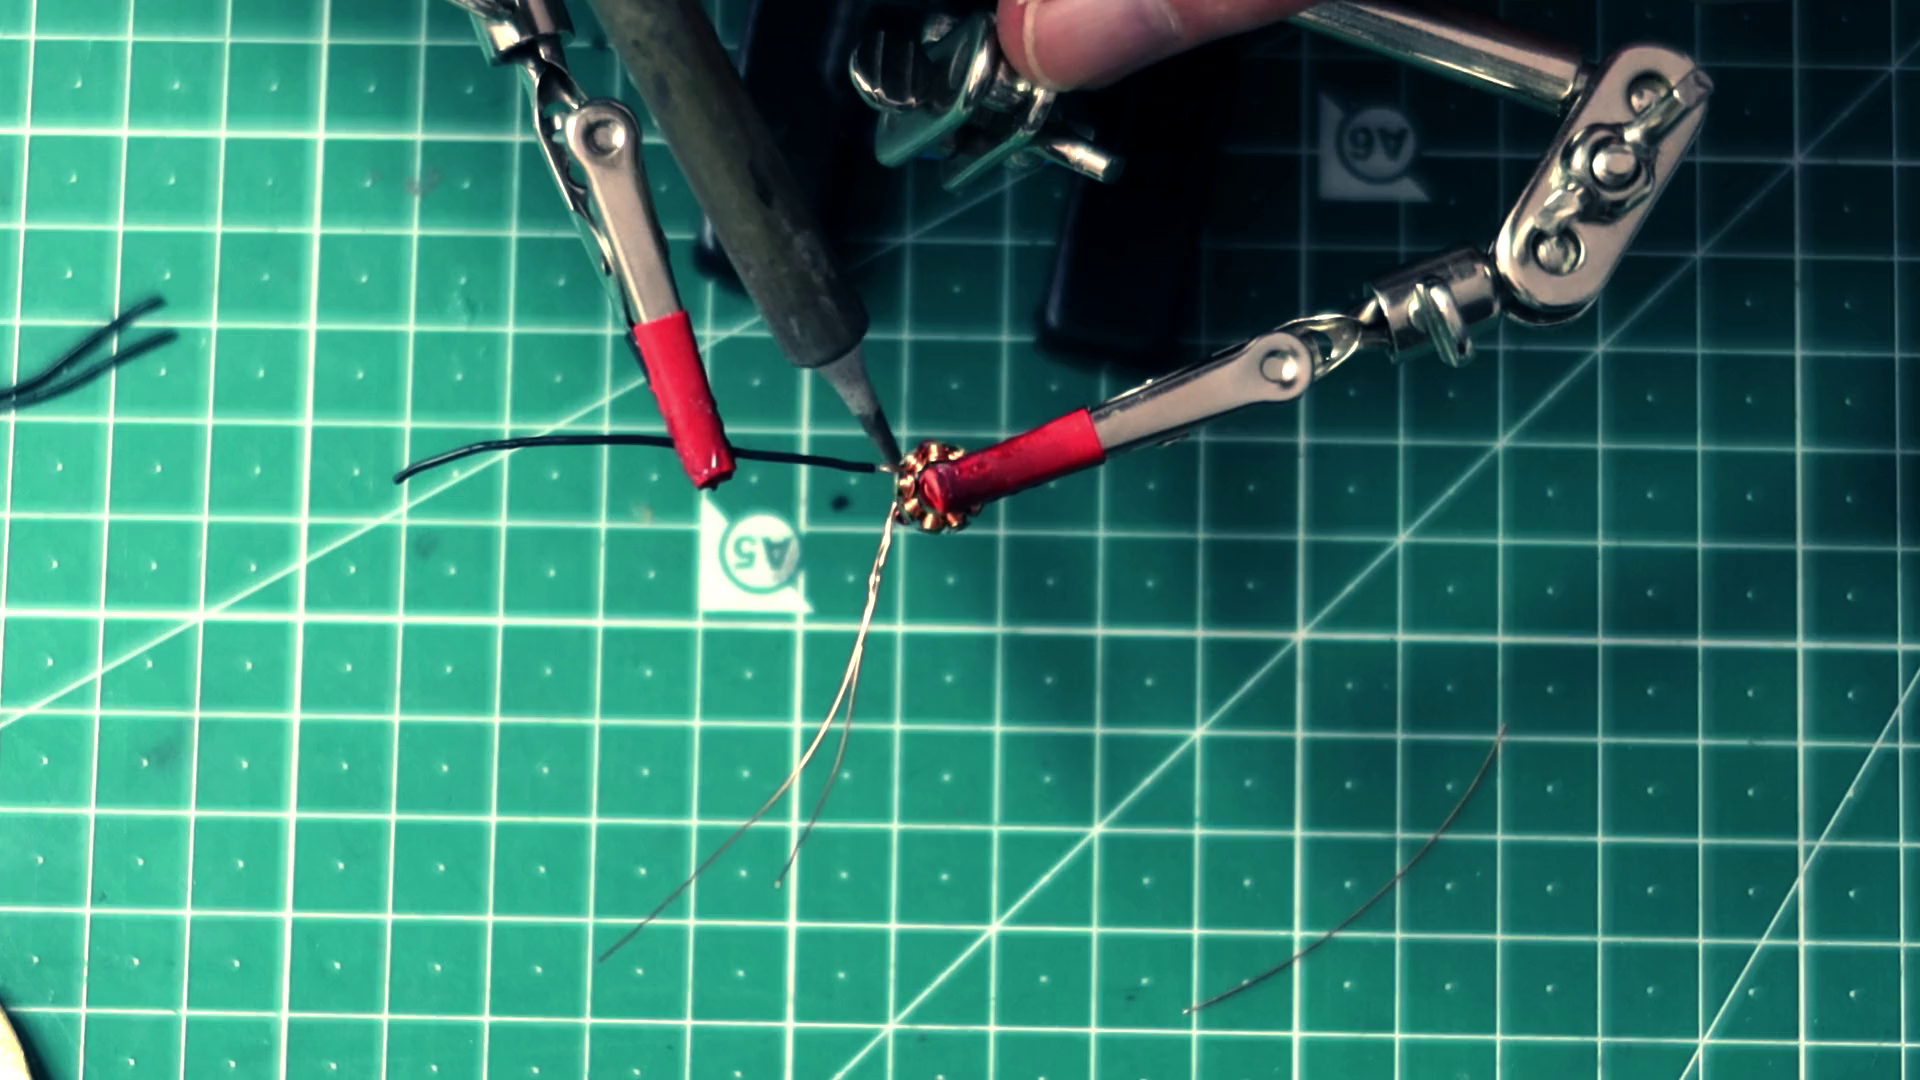
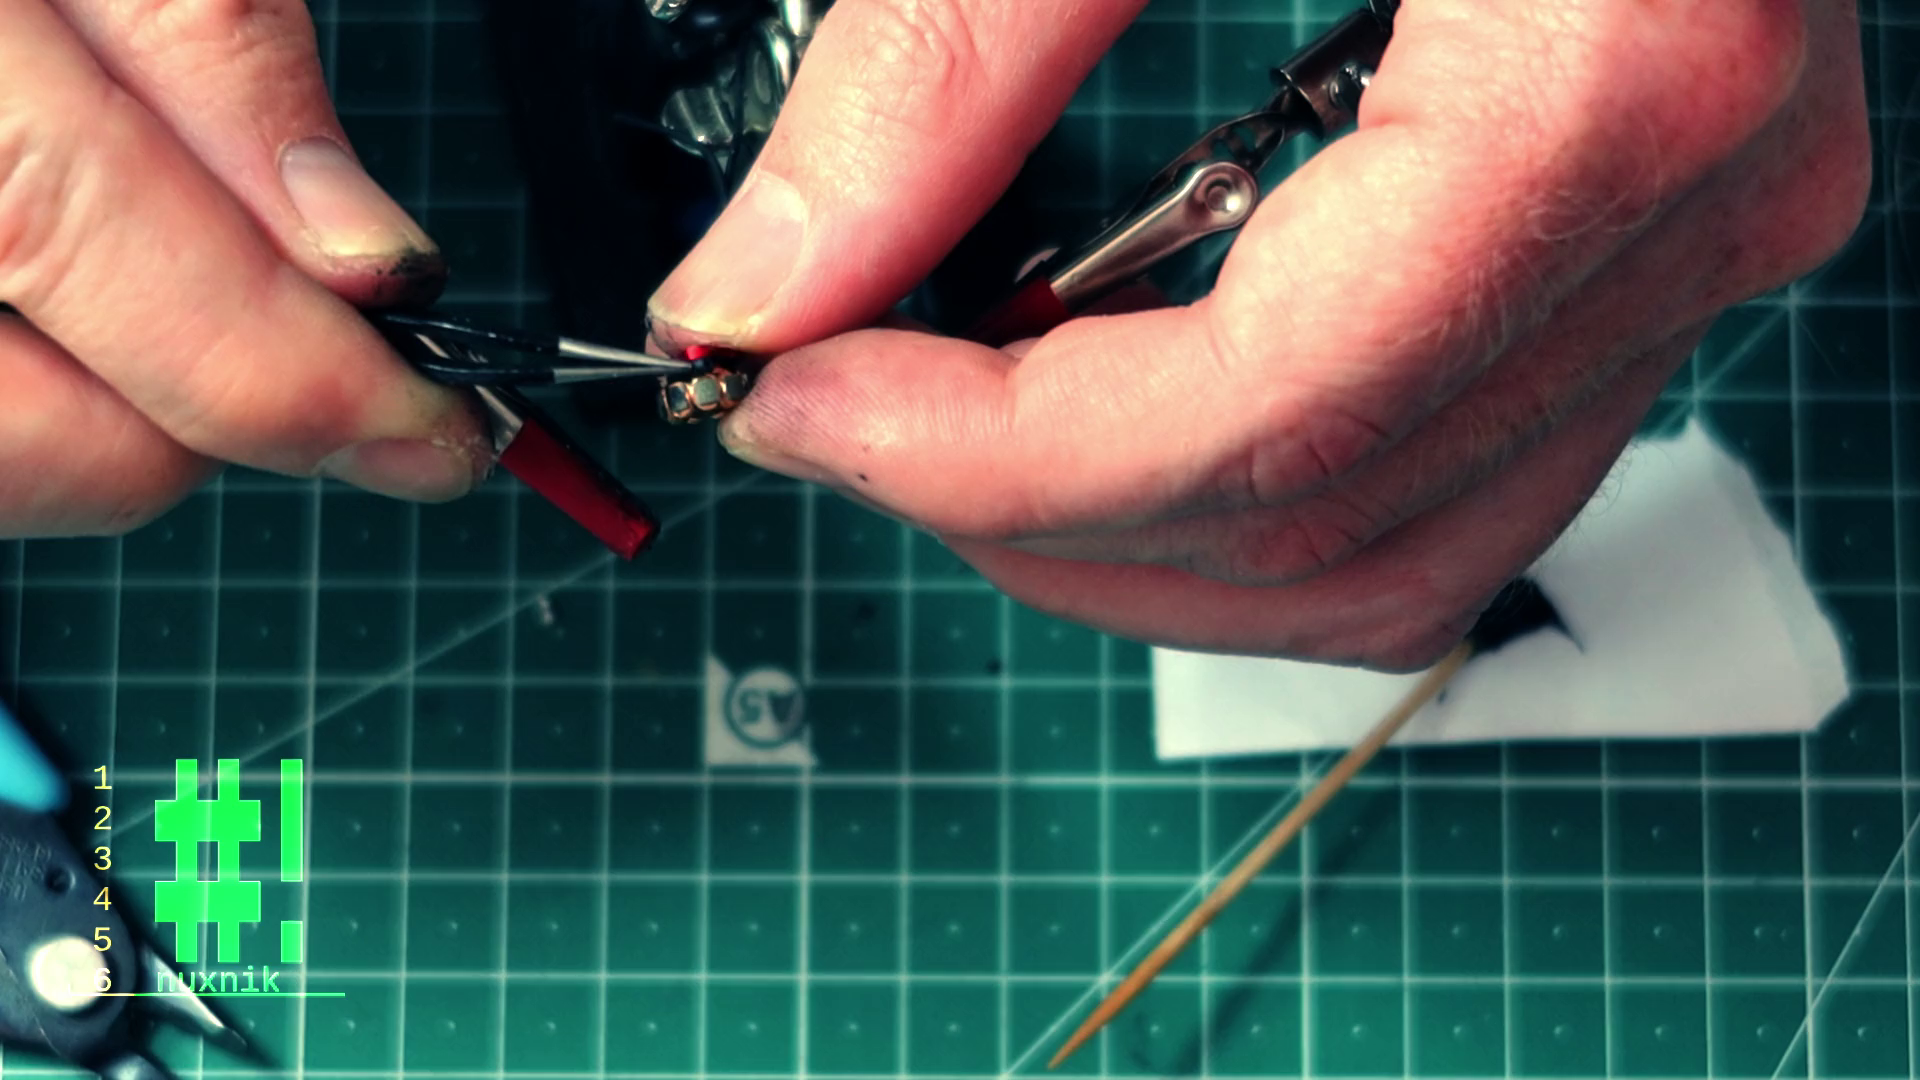
Soldering the Coil Wires
When we unwound the wires, we cut off the solder joint that joined all the wires together. Now, we will reverse this process and solder the three wires back together. Twist the group of coil wires together and cut off the excess, leaving approximately 50 mm. Before soldering, add some flux and solder them together with a solid solder joint. The heat of the solder should remove the enameled insulation at the joint. You can also use a small piece of sand paper or the edge of a small knife to remove some of the insulation at the tips of each wire. Before moving forward, it is a good idea to test this circuit with a multimeter. Put your multimeter in continuity mode to probe the ends of each coil wire and confirm that the solder joint is truly connected. This is helpful before completing the rest of the assembly. I have made this mistake in the past, which wasted time.

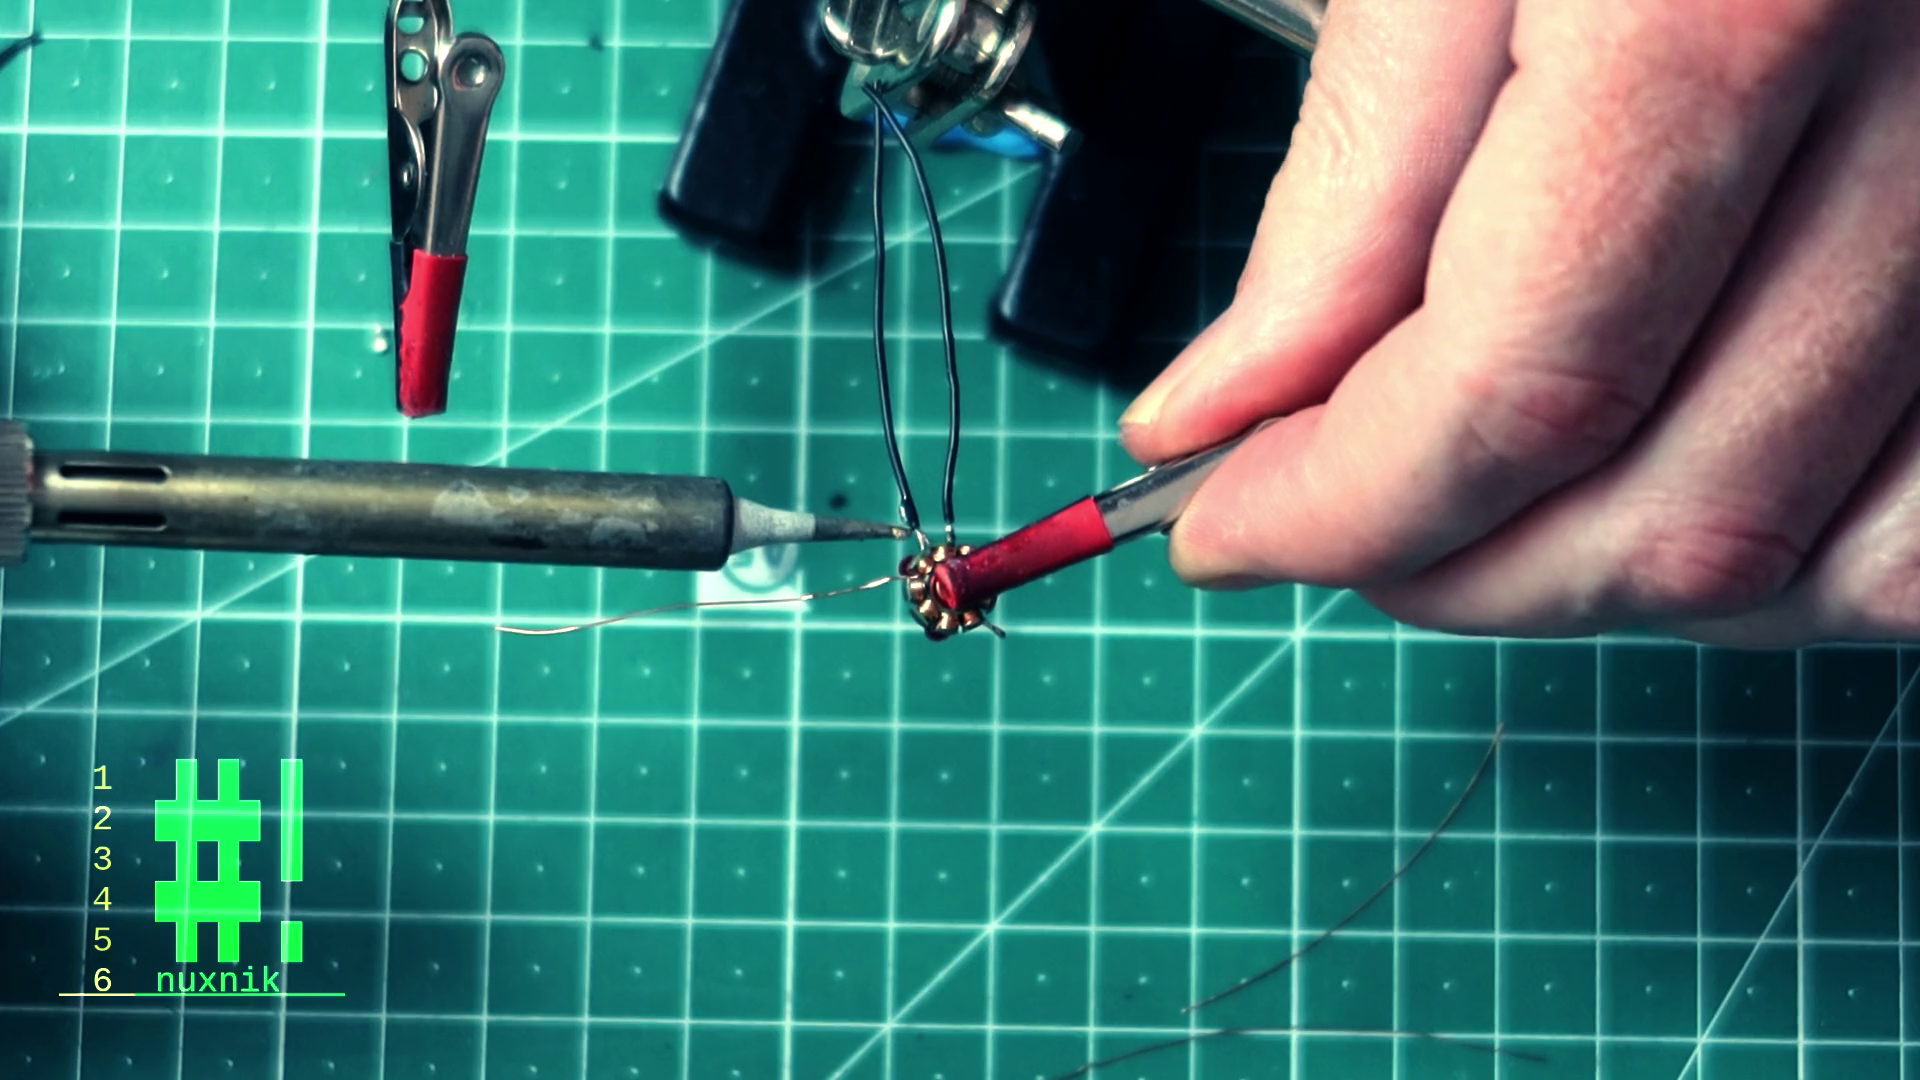
Attaching the Motor Wires
The opposite ends of the coil wires need to be connected to silicone insulated motor wires. Cut three wires, approximately 6 cm a piece. Separate the motor wires and solder them securely to the silicone coated wire.
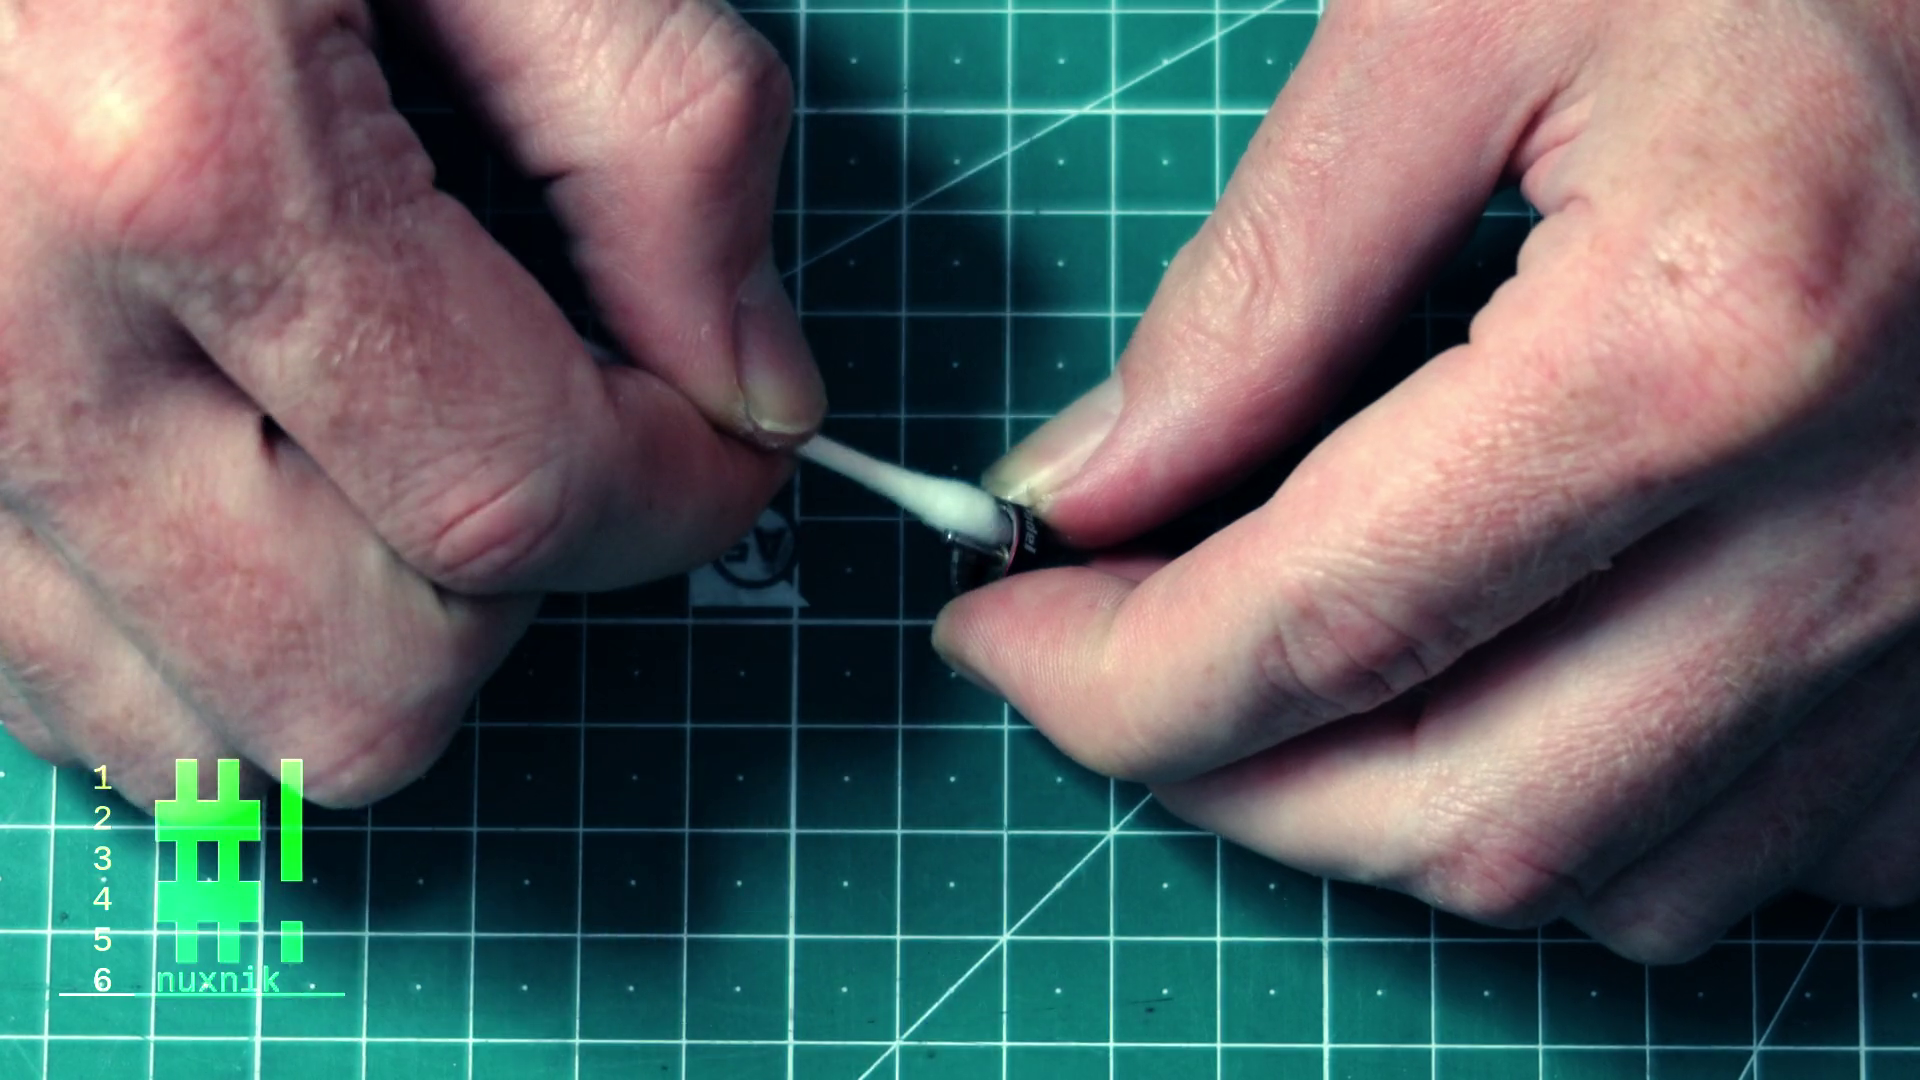
Now let's make a makeshift silicone "palate" out of paper. Cut out a small piece of paper, place it on your workbench and add a small dab of silicone. Be careful not to get silicone everywhere. It is a pain to clean up. Next, we will coat the exposed solder joints with silicone and slide heat shrink tubing over them. Apply some heat with a hot air gun or lighter to shrink the tubing.

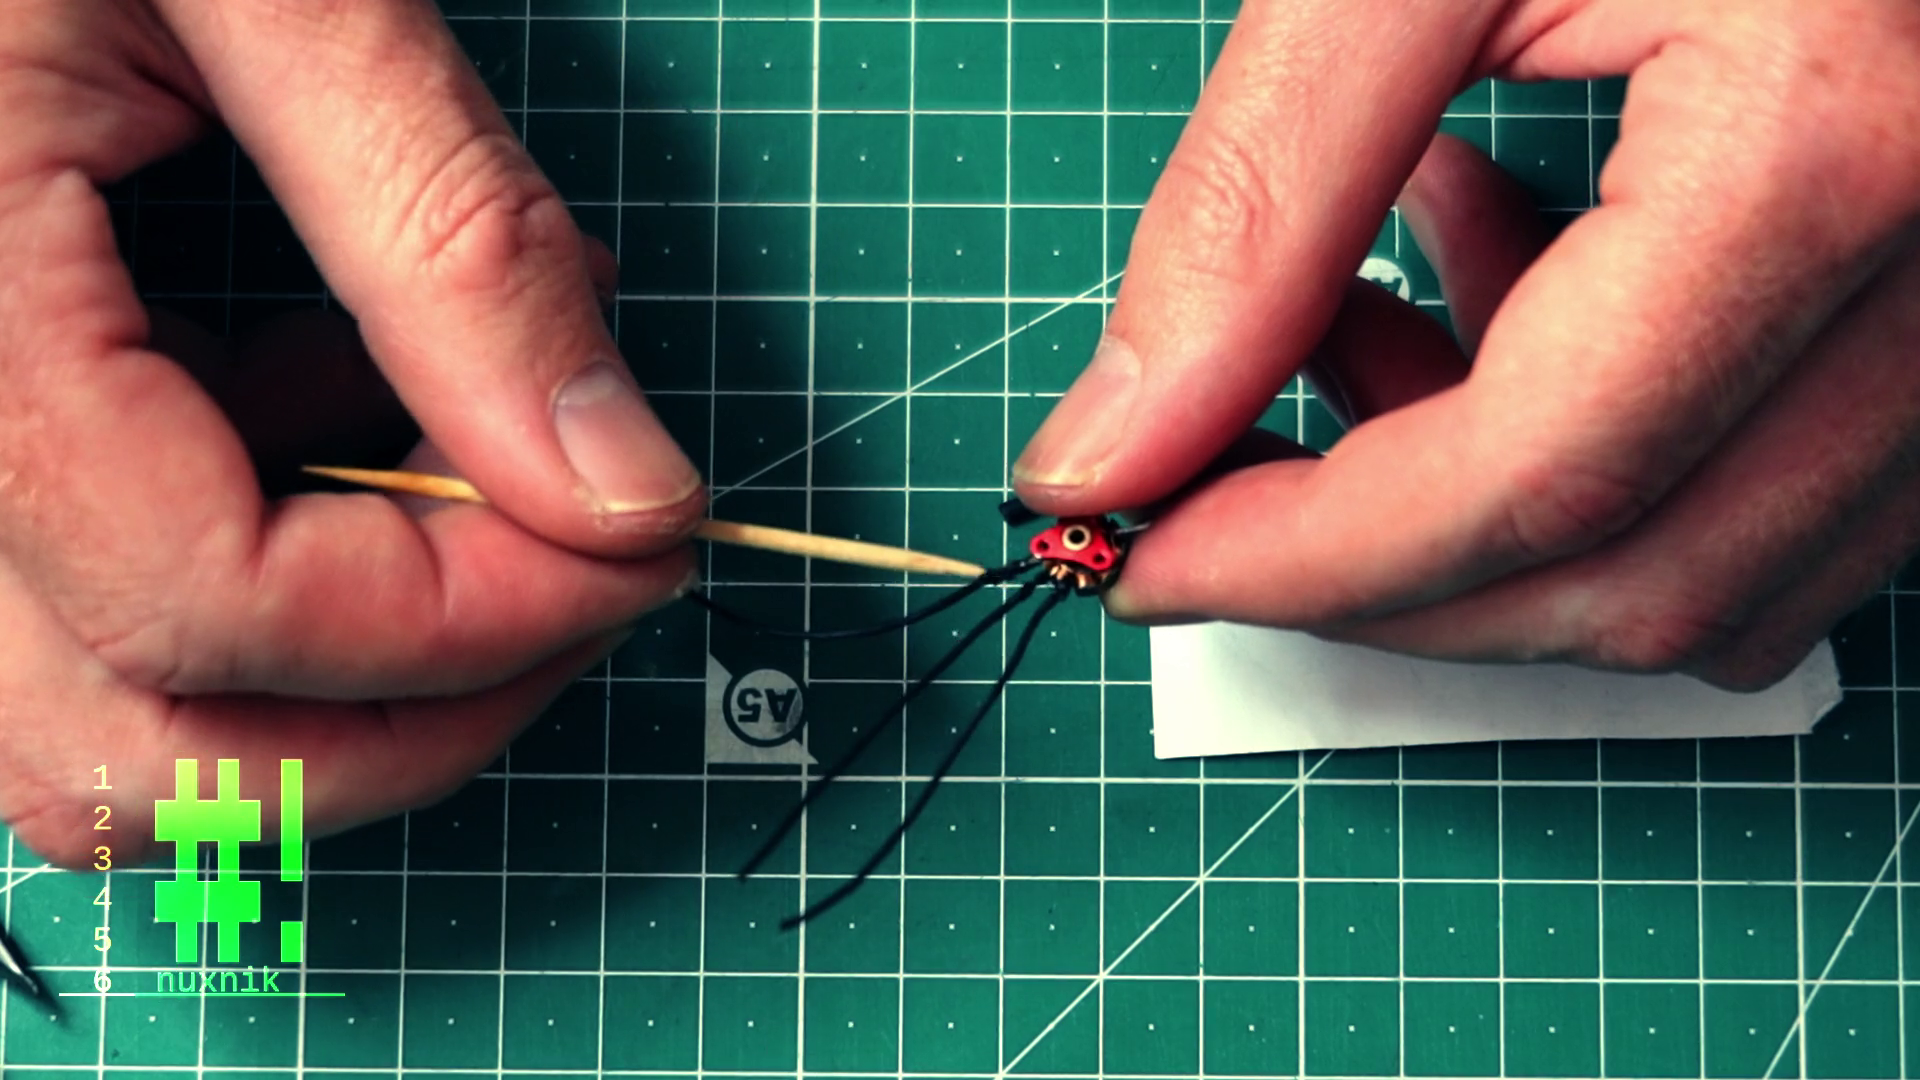

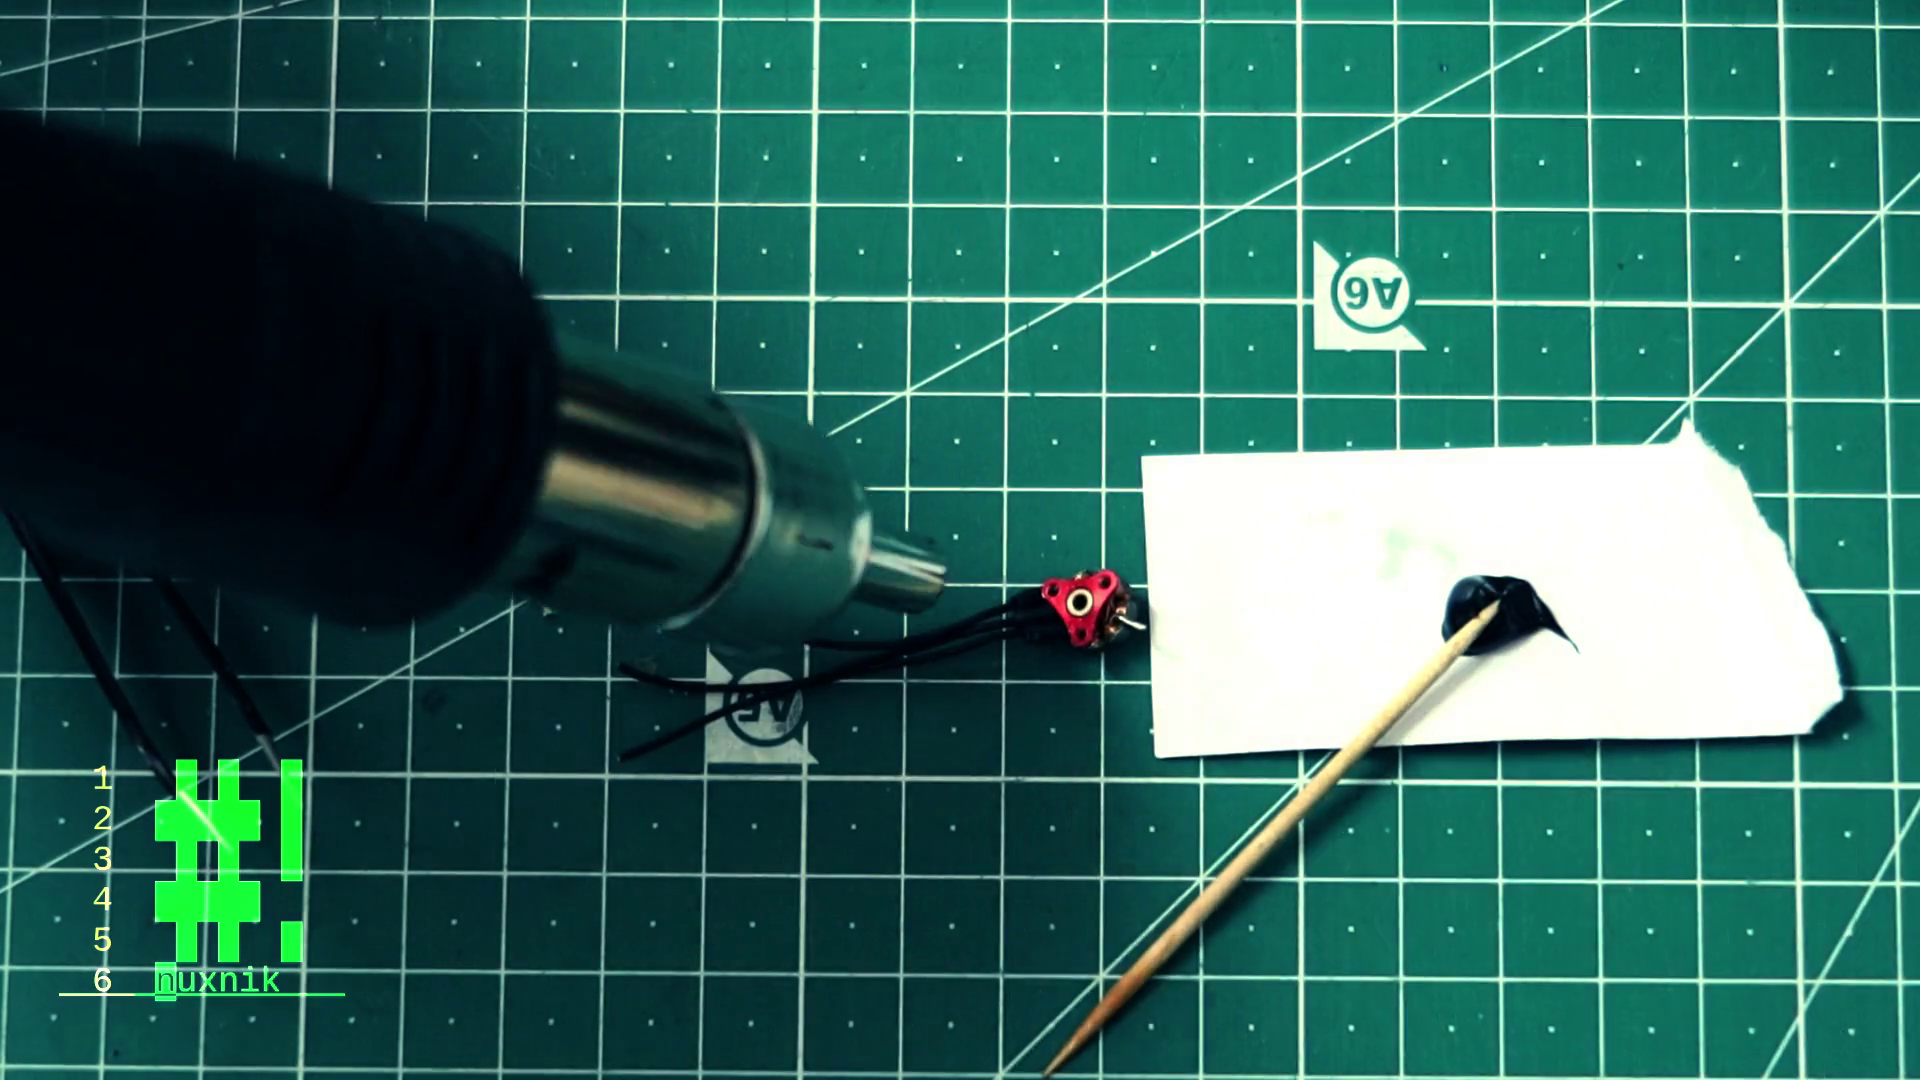
With a toothpick, coat the solder joint with the silicone. Slide a small piece of heat shrink tubing over the joint and tuck it under the stator.

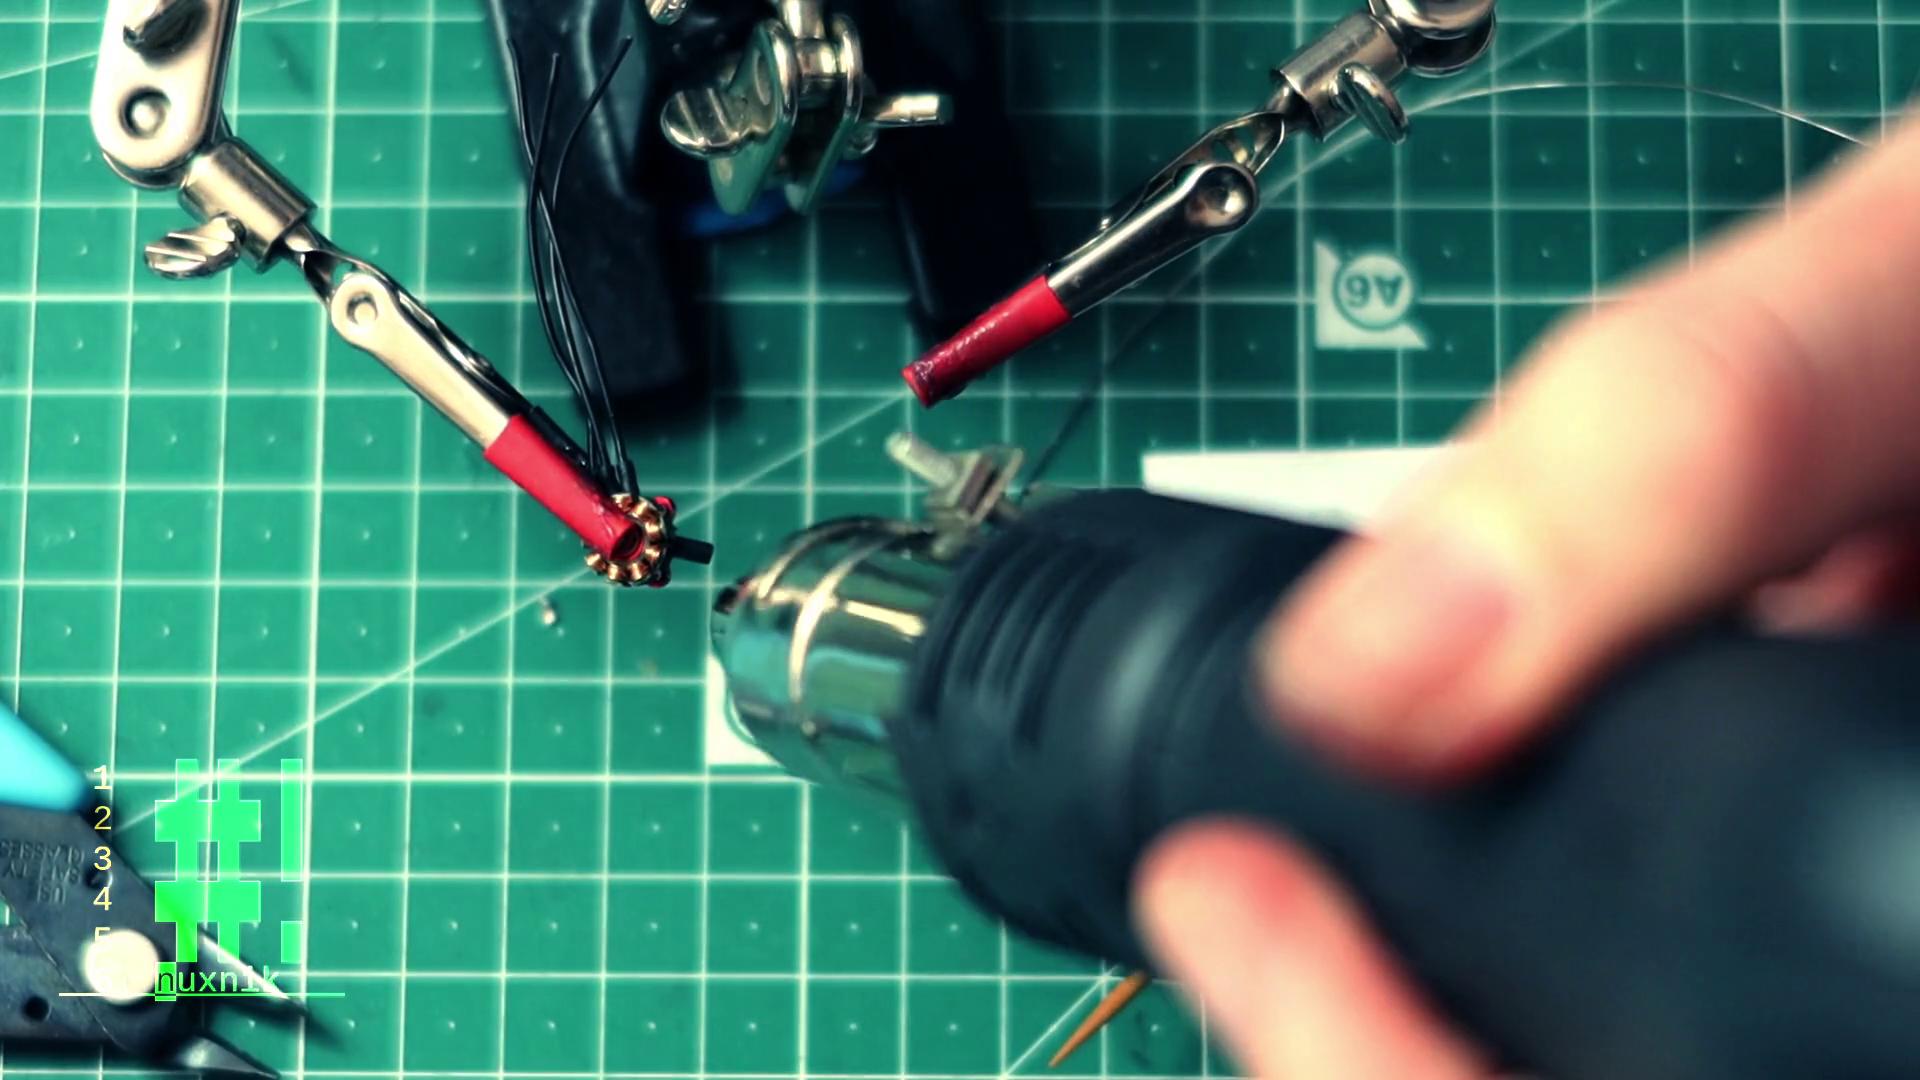
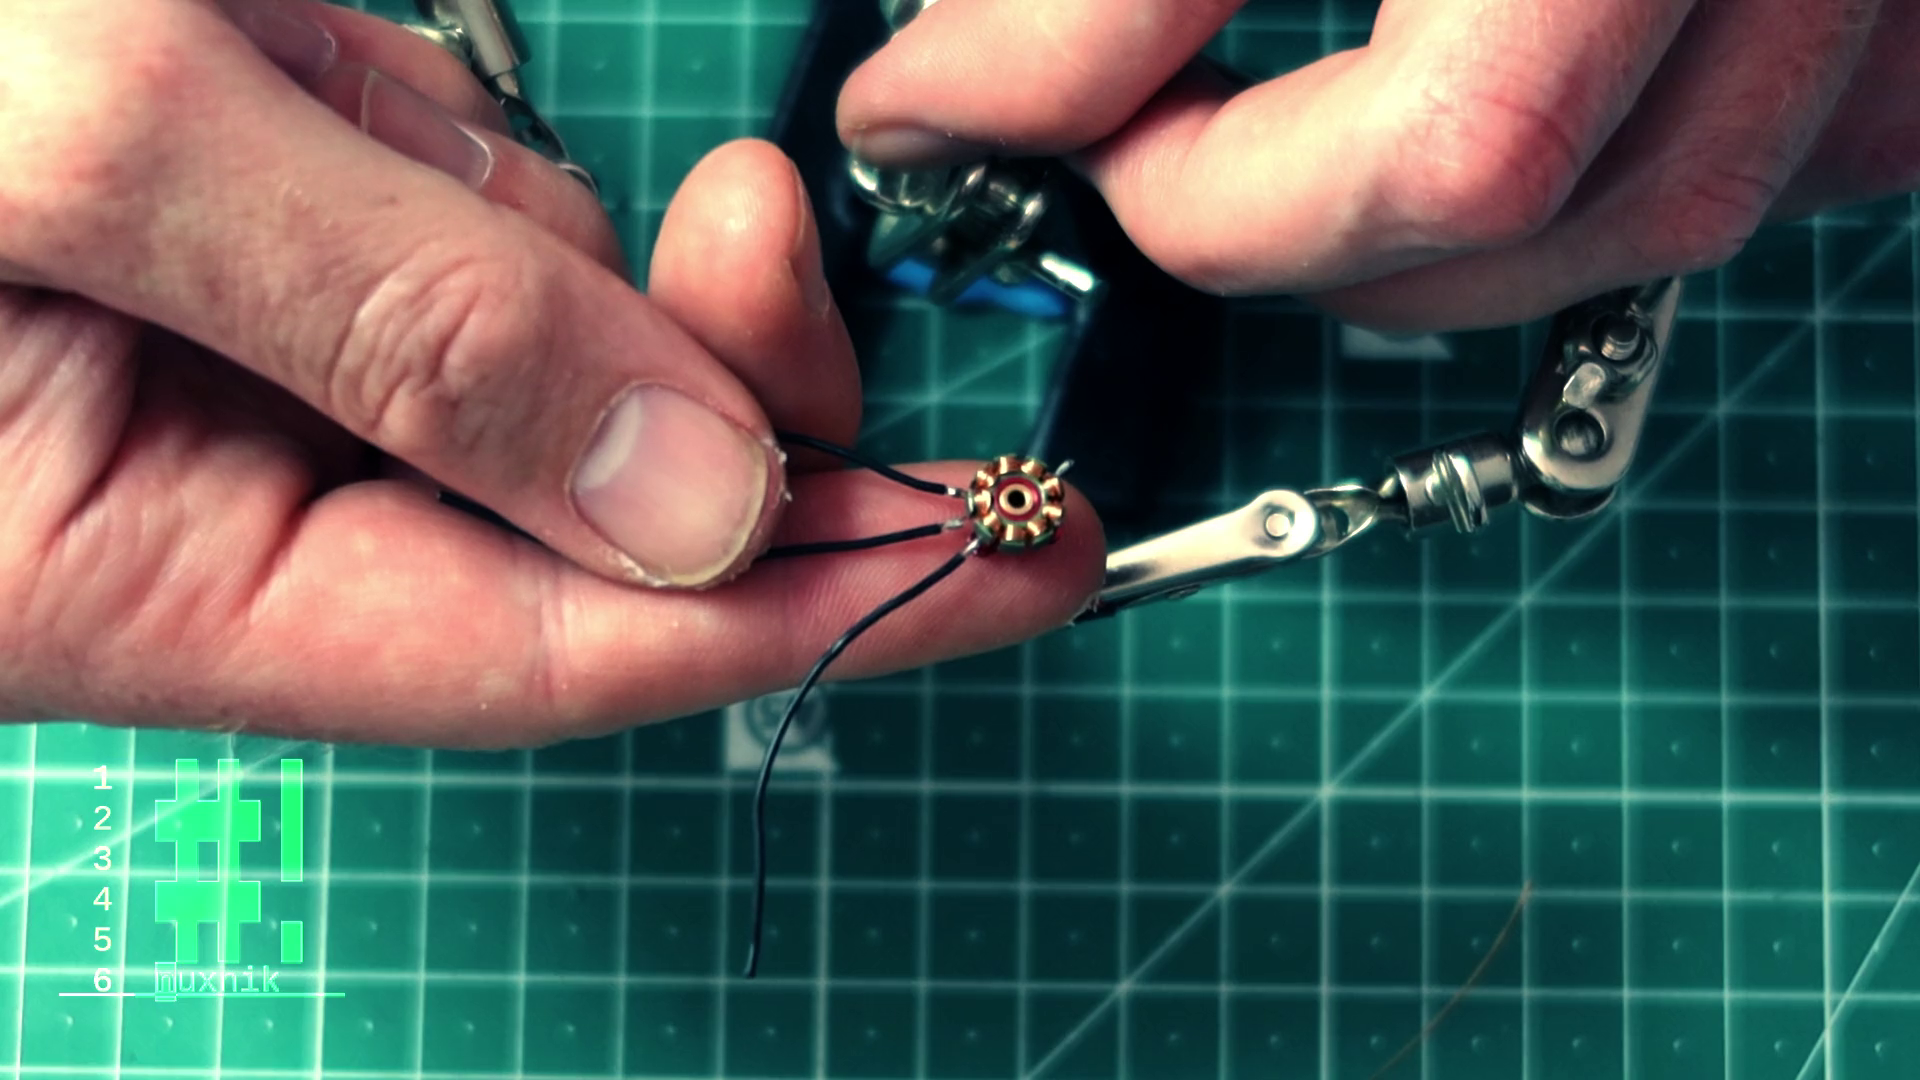
These wires and solder joints are fragile. In order to make them more robust and shock resistant, coat all three of the wires covering the solder joints with a thick blob of silicone and slide another larger piece of heat shrink tubing over them. Apply heat once again.

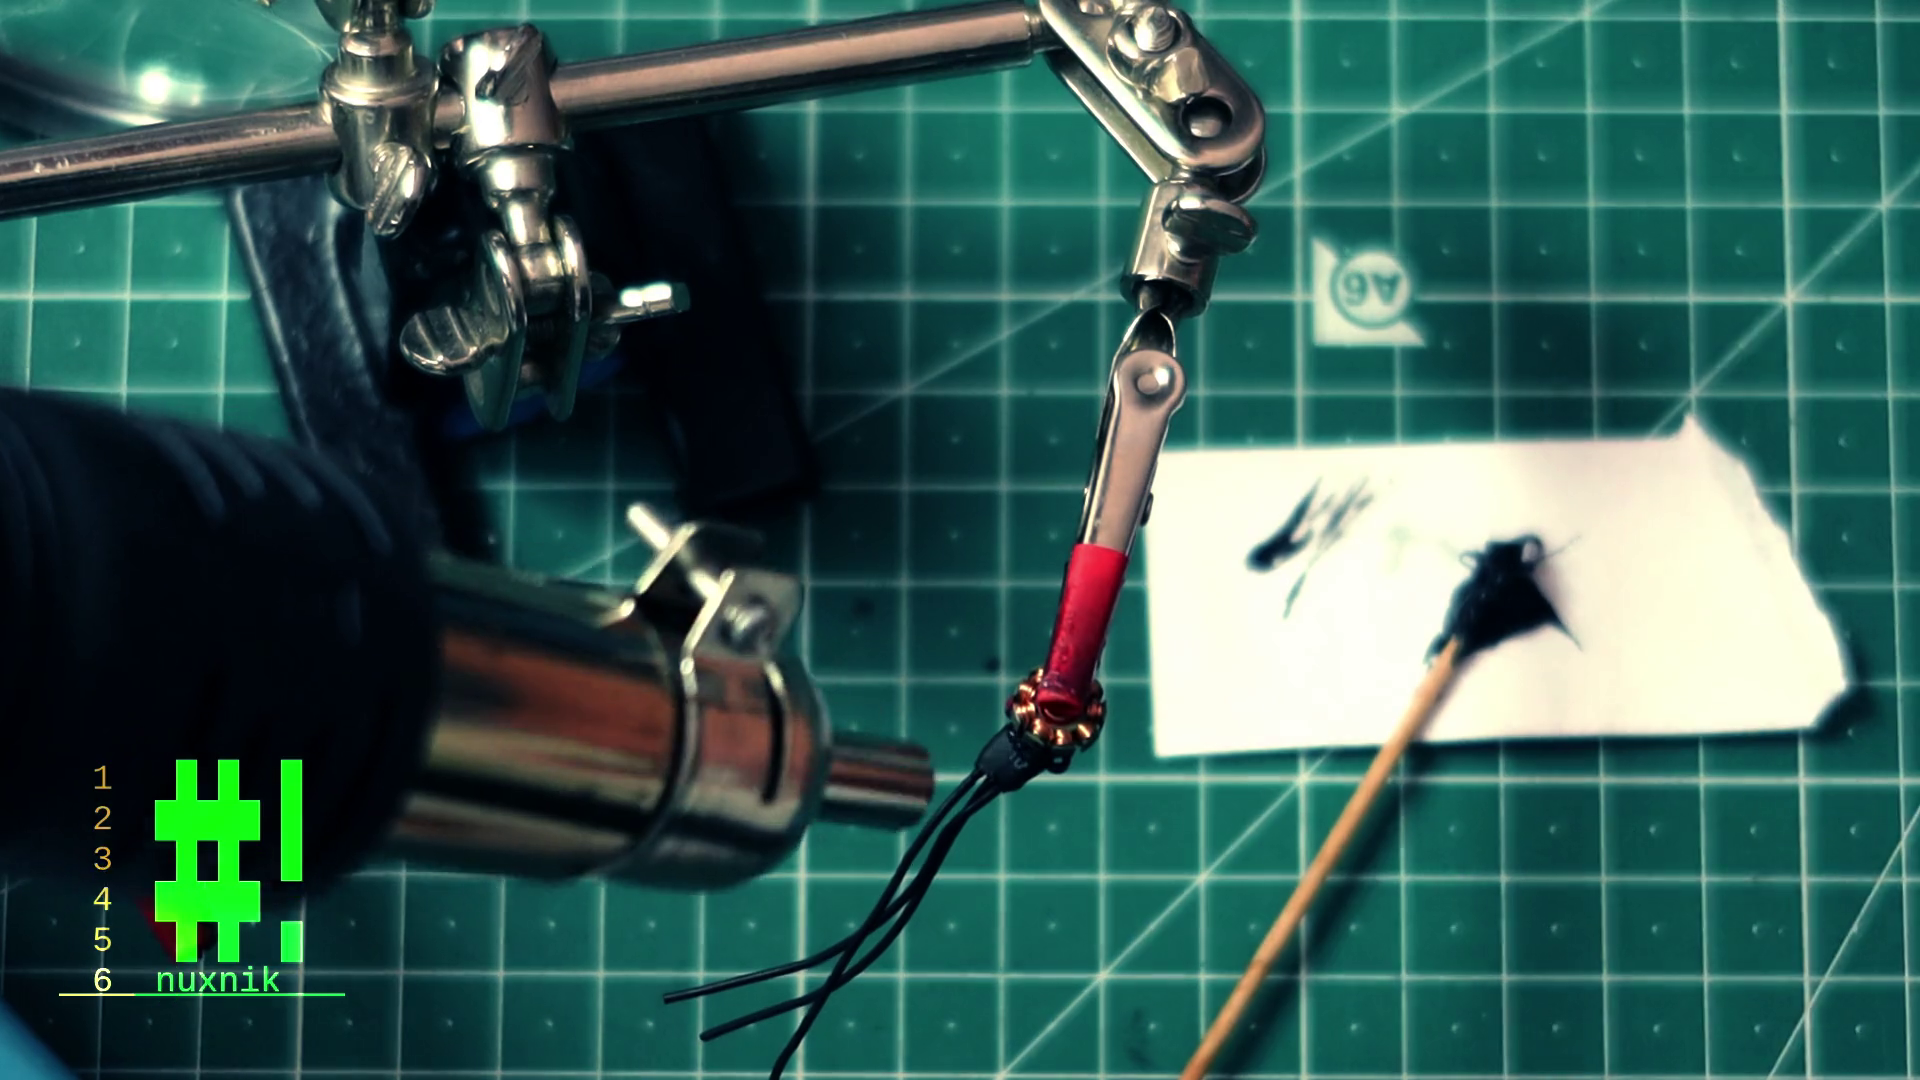
For a final touch, we will add another blob of silicone to attach the motor wires to the stator, thereby making the joint a little more robust.
As a last step, let the silicone dry.
Motor Assembly
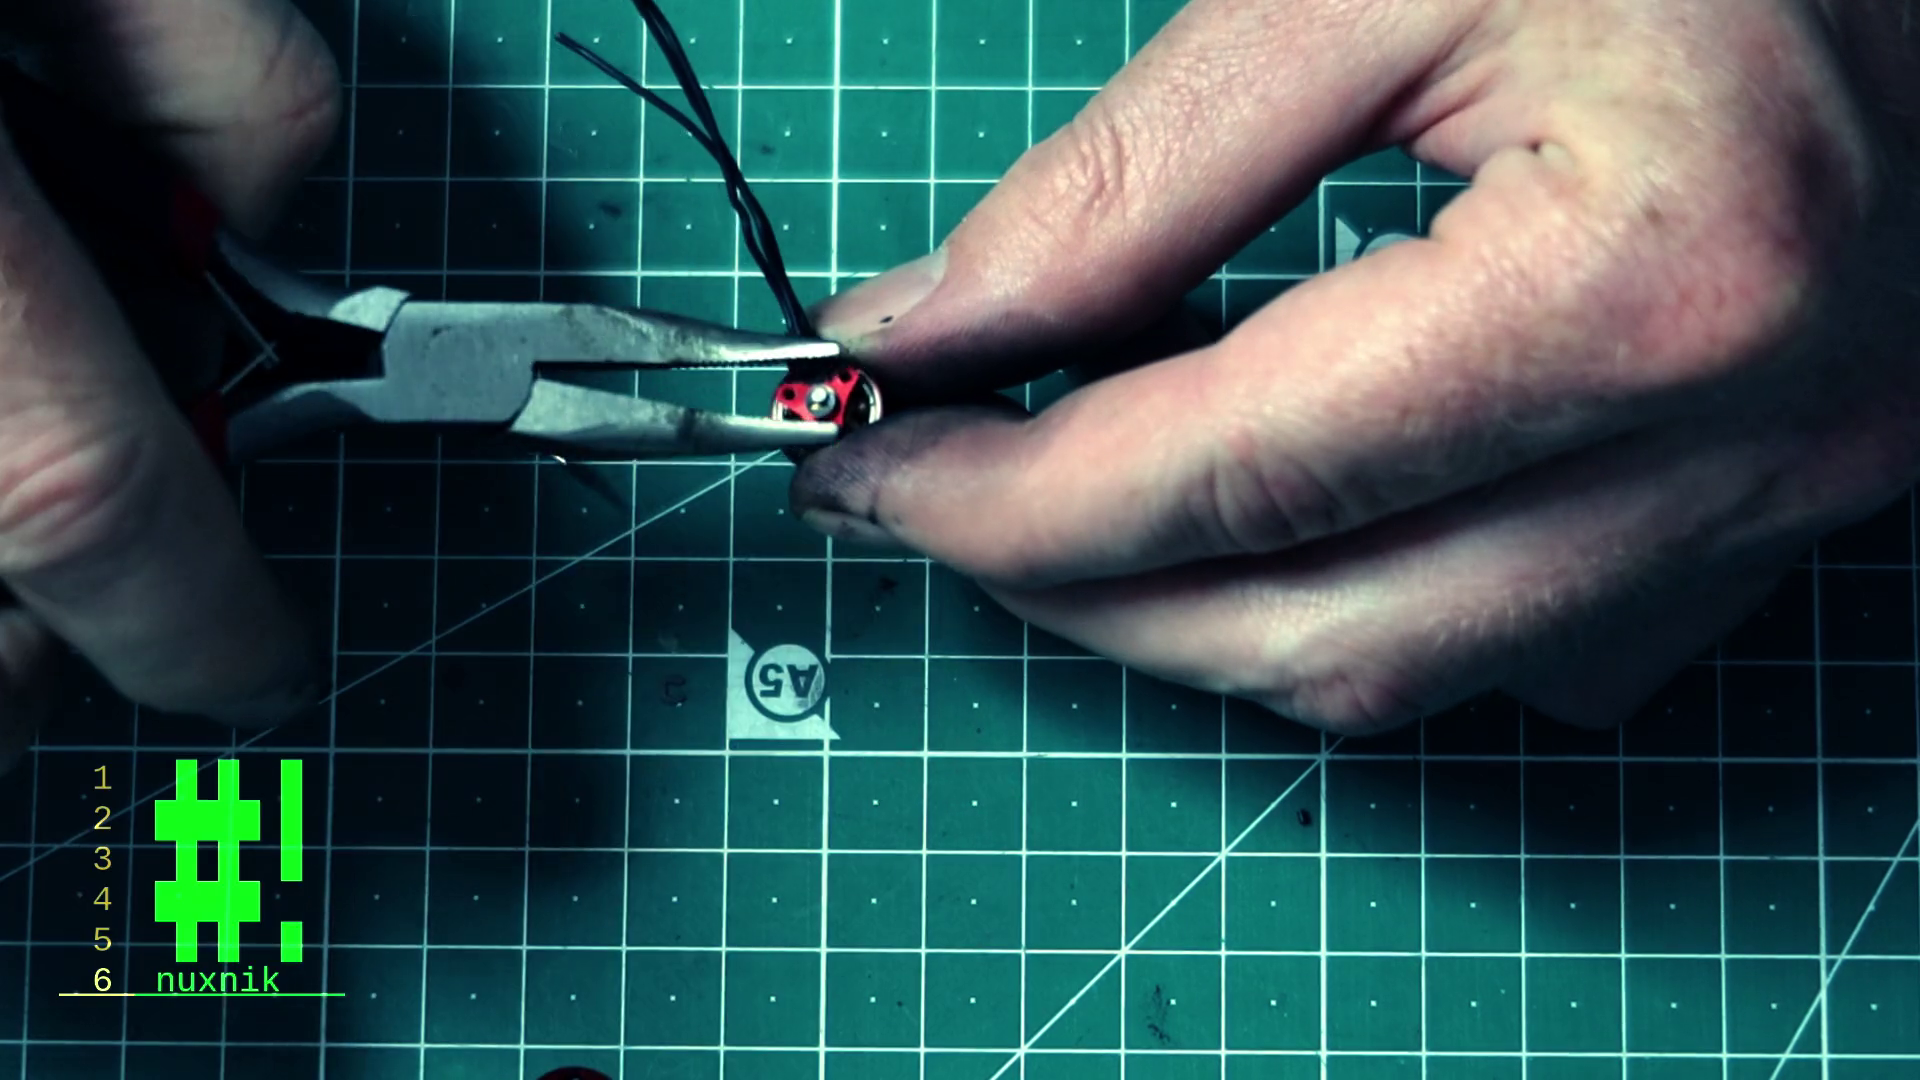
Attaching the motor back to the bell is the reverse process of how we took them apart. For attaching the c-claps, I have found another method to be helpful. After replacing the plastic and brass washers, place the c-clamp with the open facing part of the ring toward the motor shaft.
With a small pair of pliers, add a little pressure to snap the clamp back into place.
Now you should be good to go, and your motor should hopefully work as well as the day you bought it!
Video Guide
To better visualize the rewinding process, I have made a complimentary video guide along with this article. I would also appreciate it if you would like/subscribe to my channel or leave a comment below.
Thoughts
Sure, it is easier to simply order new motors and throw the old ones away. However, with the price of motors skyrocketing in the last years, you can save a little money. If money is not the issue, rewinding your motors, is useful to better understand how brushless motors work. For a more technical and detailed explanation concerning the architecture of brushless motors, check out this article.